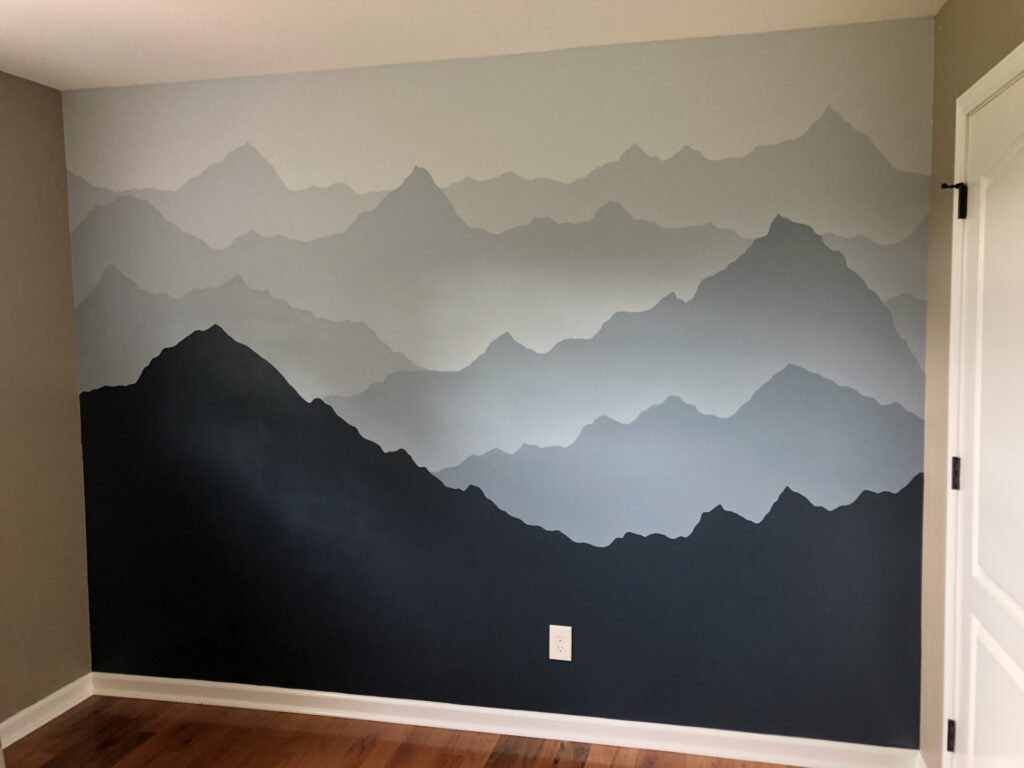
Inspired by the Blue Ridge Mountains of North Carolina, this mountain wall mural was the perfect addition to my son’s nursery. Having an accent wall in a nursery or bedroom is really popular right now, and one of the cheapest ways to make an accent wall possible is by using paint! This mountain wall mural may look complicated or intimidating, but it is actually quite easy and only required two-quart cans of paint. Follow along to see my step-by-step guide!
(This post contains affiliate links. As an Amazon Associate, I may earn a commission on the purchase of qualifying products at no cost to you.)
Step 1: Pick Colors for Mountain Mural
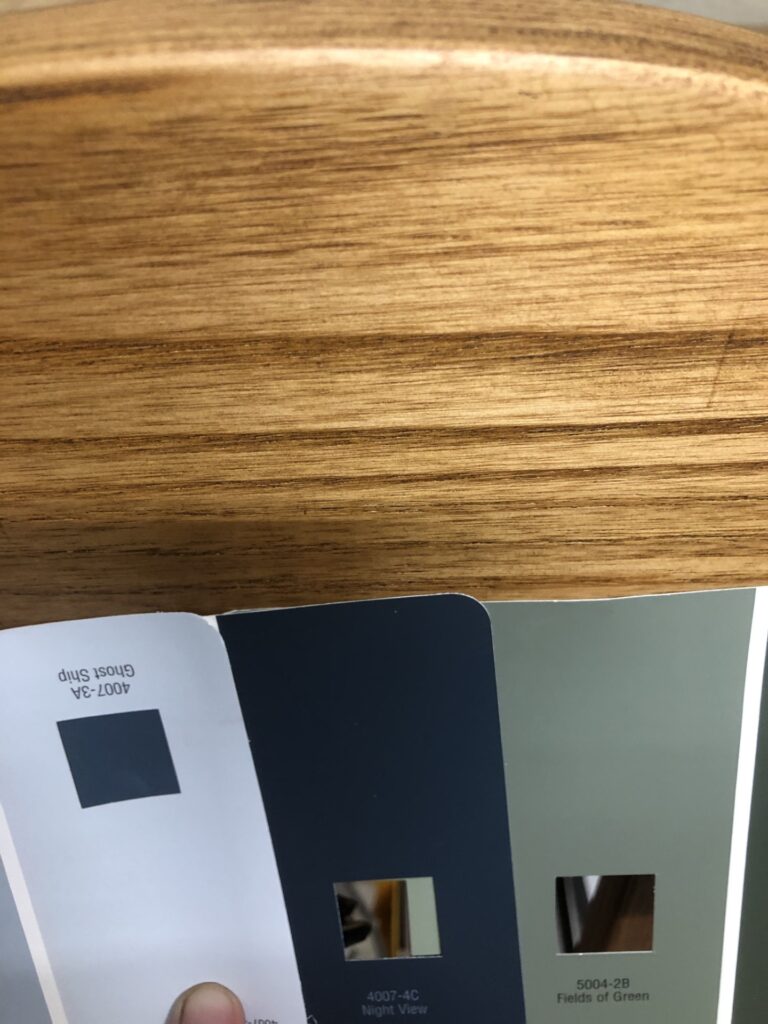
Since this mountain wall mural was inspired by the blue ridge mountain range, I chose a blue color theme. Ideally the mountain wall will follow an ombre color gradient. The only two colors you need to buy will be the lightest color and the darkest color. To achieve the ombre effect just add a little bit of the darker color with the darker color as you move down the wall. The lighter color I chose was Ghost Ship by Valspar and the darker color was Night View also by Valspar. I bought a quart of each, and it was plenty for my wall.
Step 2: Pick a Mountain Scape for Inspiration
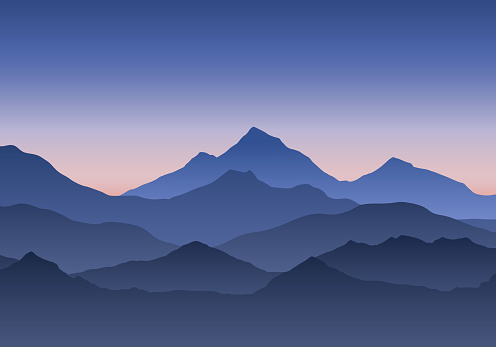
A quick google search for a layered mountain landscape can help you find some inspiration on how to plan the mountain wall mural out. Here is a good example:
- Pro Tip: Use chalk to draw out the landscape of the mountains on the wall. Chalk is much easier to erase than pencil and completely disappears when painted over.
Step 3: Prepare the Wall for Paint
Now that you have your colors picked out and your mountain landscape lines drawn, it is time to get started painting. It is always best to tape off areas that you do not want paint on. A high-quality painter’s tape such as this one is best to ensure good adhesion, so no paint leaks under the tape. I taped off the baseboards, ceiling, and surrounding walls. Also placing some plastic drop cloth, paper, or old towels on the floor is a good idea so that no paint splatters onto the floor. You will also want to remove any electrical covers at this time as well.
Step 4: Paint the Mountain Wall Mural
It is important to start at the top with the lightest color and work your way down. An angled paintbrush like this one is best in order to get sharp lines around the edge of each color and then use a small roller like this one to fill in the middle.
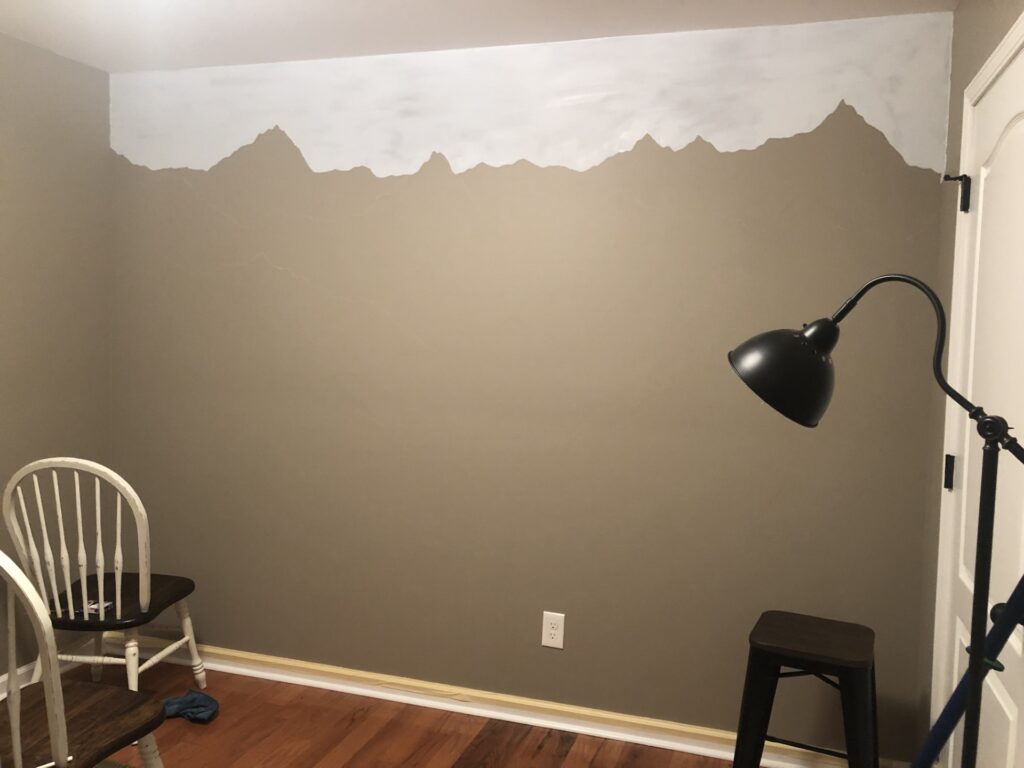
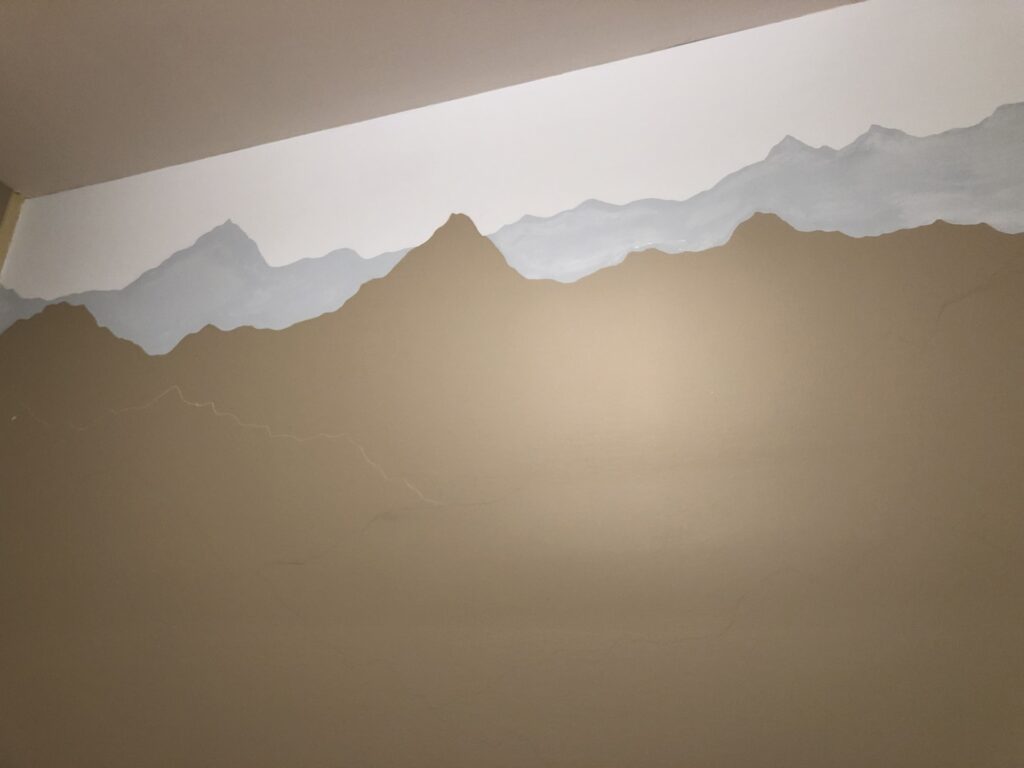
I used small containers with lids (like leftover deli ham containers) to mix the gradient colors for the rest of the wall. It is always better to mix more than you need than to try to match the color again. I also found that each section needed two coats of paint to look best.
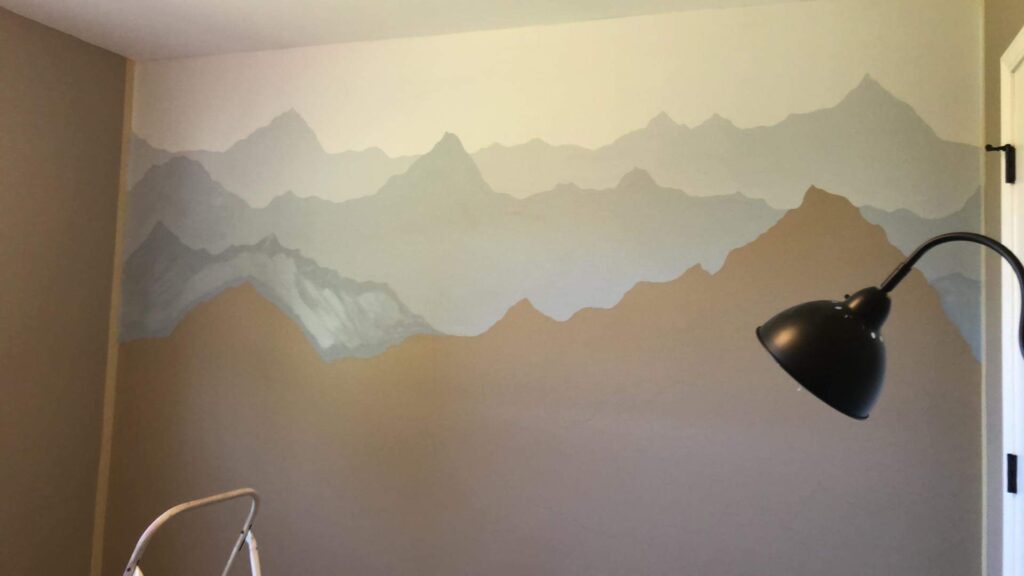
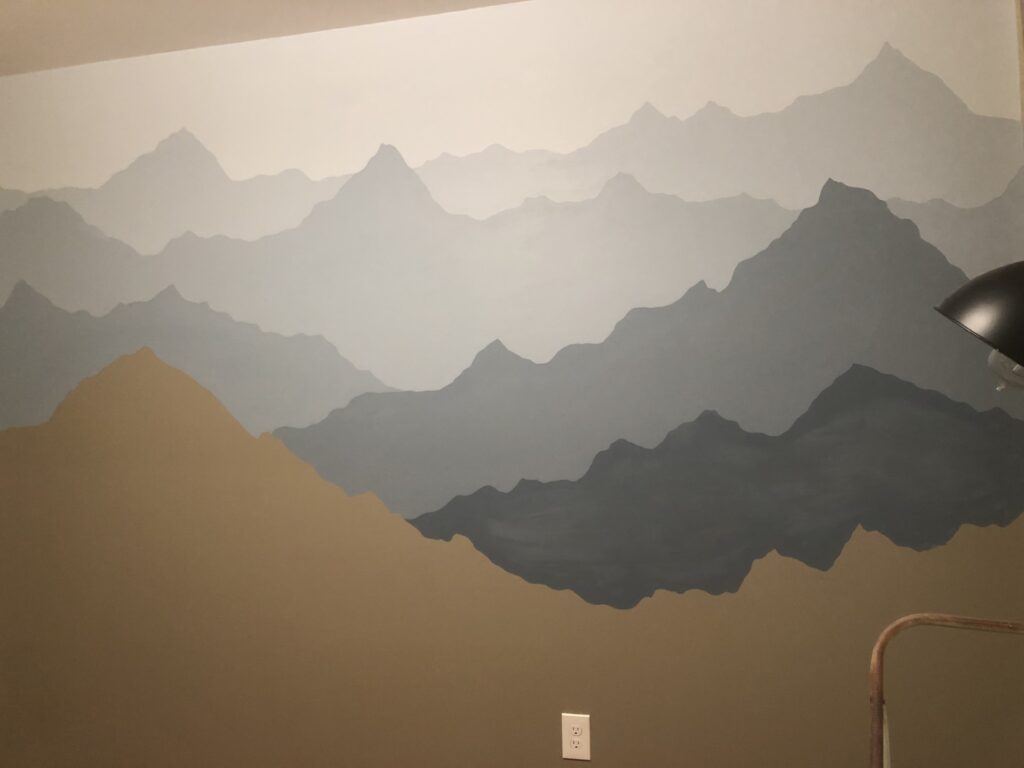
To finish the wall, continue mixing the dark and light color together as you go down the wall. The large section at the bottom is solid Night View without any lighter color added to it.
Recommended Products
- Painter’s Tape
- Angled Paintbrush
- Small Paint Roller
- 1 Quart can Valspar Ghost Ship (satin finish)
- 1 Quart can Valspar Night View (satin finish)

[…] easy! It can be done with only two small cans of paint and less than $100. If you are interested, check out my blog post on how to paint a mountain wall mural where I share ideas and […]