Potato flake sourdough starter is not like your average sourdough starter. It produces a much sweeter loaf of bread and is much easier to maintain. Potato sourdough starter is fed with dehydrated potato flakes, warm water, and sugar. The loaf is made using only six ingredients, and it makes the perfect slice of bread to eat alone or as a sandwich. Read on to learn how to make a potato flake sourdough starter, then check out my blog post on how to make a loaf of bread using your new starter!
What is Potato Flake Sourdough
Potato flake sourdough is also referred to as North Carolina Sourdough. It is not like a traditional sourdough that contains only flour and water. Traditional sourdough has an iconic sour flavor and is the oldest form of bread leavening. Potato flake sourdough produces a much sweeter loaf of bread. When the starter is fermenting, it smells more like a sweet beer than a traditional sourdough. Also, potato flake sourdough starter is much easier to maintain. My traditional sourdough needs to be fed twice a day when it is not in the refrigerator, and that gets exhausting. This type of sourdough starter only needs to be fed every 3-5 days. In a small family like mine, that amount of bread is much more manageable.
Sourdough starter is a living and active bacteria. It is a good bacteria and it used as a replacement for yeast in recipes. The fermentation process sourdough uses to make bread rise is healthier than using traditional yeast because it breaks down gluten making it easier for our bodies to digest.
What Ingredients Are Needed For A Potato Flake Sourdough Starter?
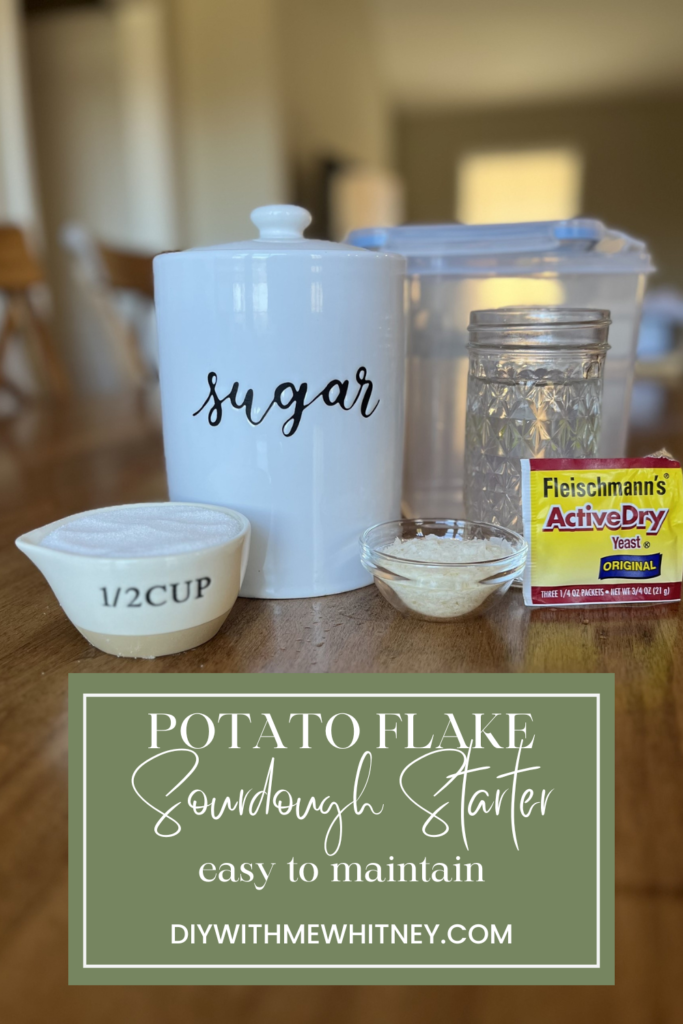
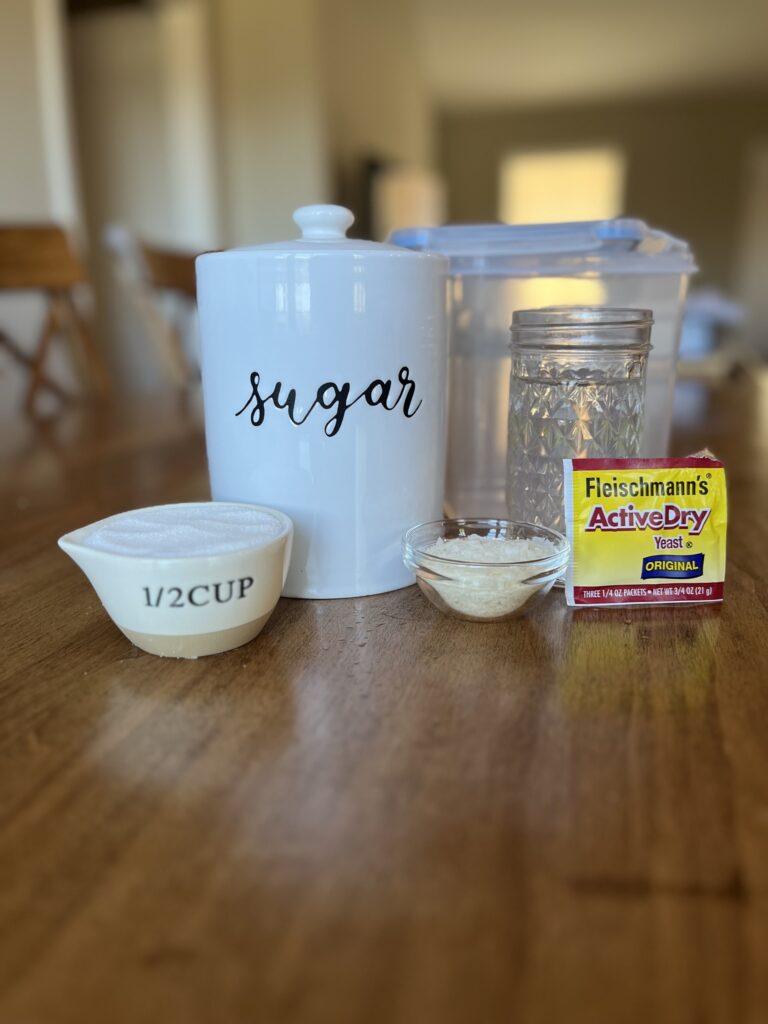
To start a potato flake sourdough starter you only need four simple ingredients:
- Warm Water – the water needs to be between 95-105 degrees F. Warm water activated the fermentation process, but if it is too hot it can kill the bacteria in the yeast.
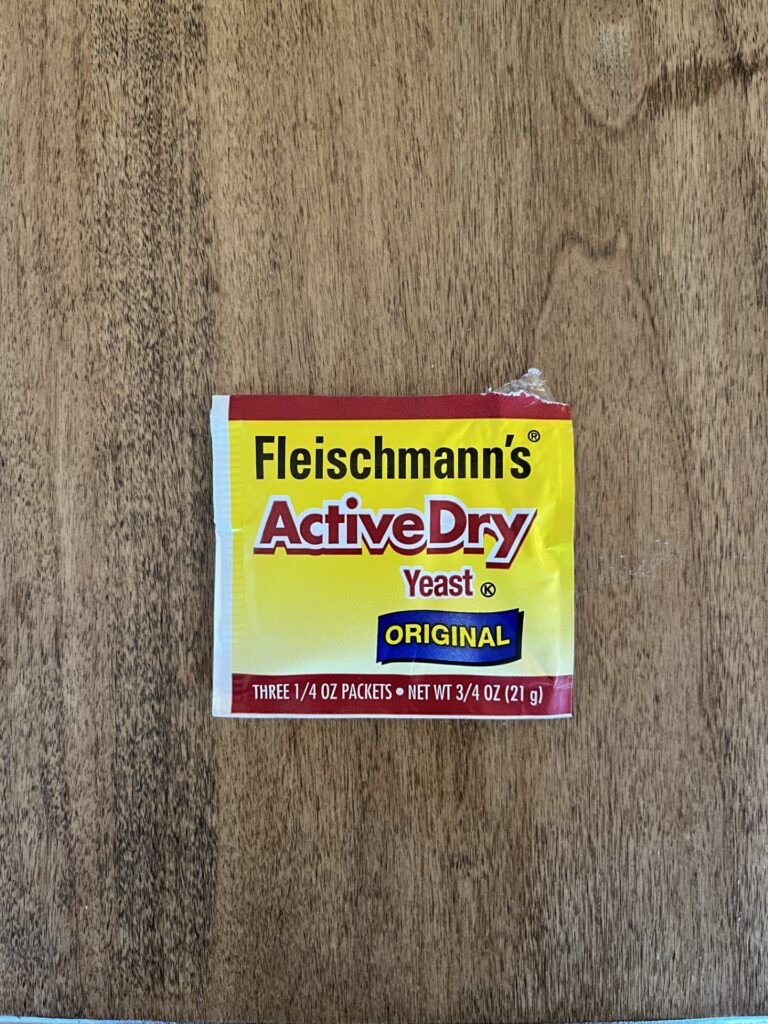
- Active Dry Yeast – I use Fleischmann’s Active Dry Yeast. You need active dry, not instant dry yeast. Dry yeast is only used at the beginning of this type of starter. Once the starter gets established, it only needs water, sugar, and potato flakes to live.
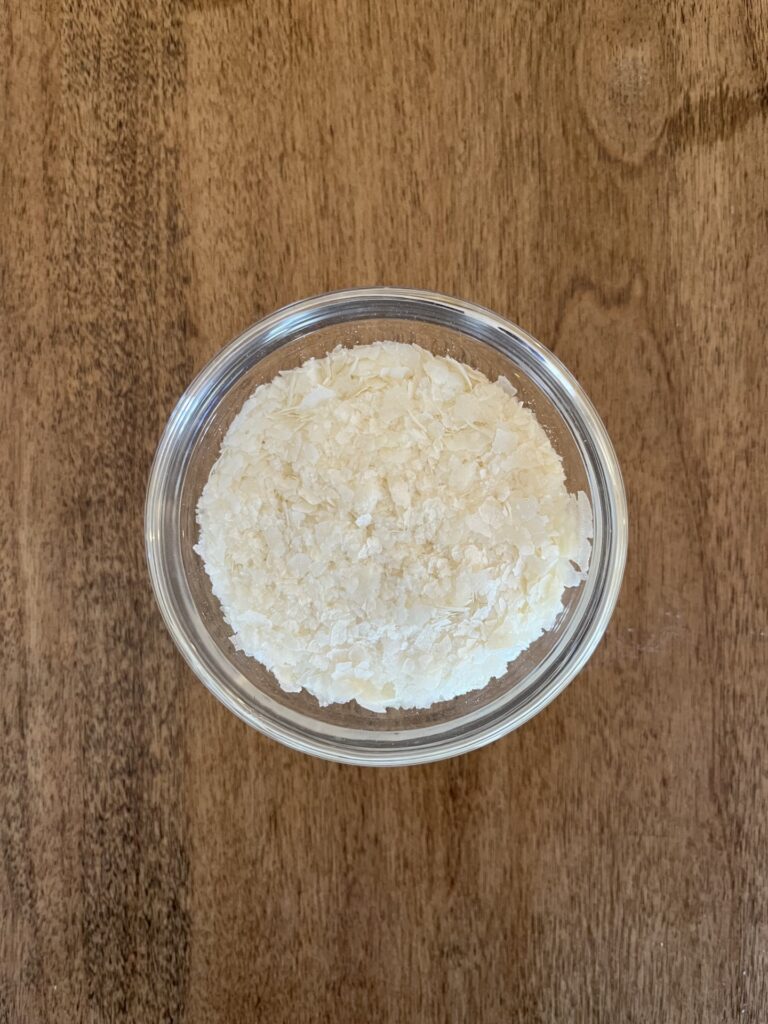
- Dried Potato Flakes – any brand of dried potato flakes will work. I have read where some people use buttery flavored potato flakes, but I have only ever used original unflavored potato flakes.
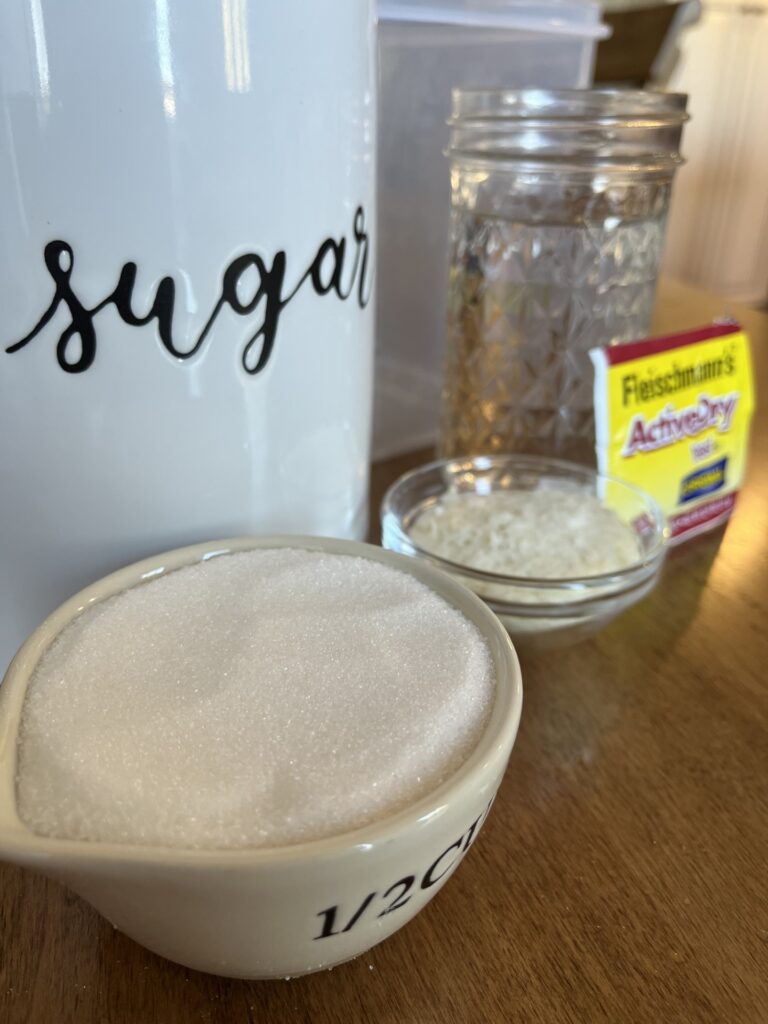
- Sugar – plain white cane sugar is another main ingredient in this recipe. Fermentation and yeast loved to feed off sugar, and this is what helps make the bread have a sweeter flavor.
Step-By-Step Instruction For Starting a Potato Flake Starter
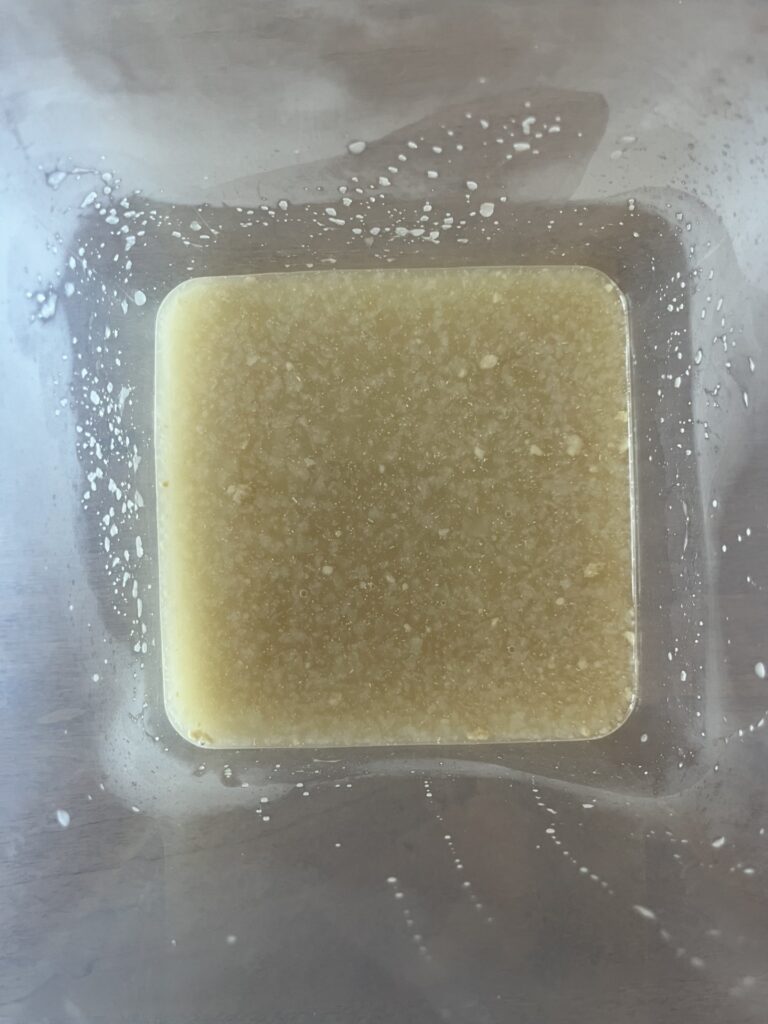
- Day 1: Mix together 1 cup warm water, 1/2 cup sugar, 3 TBS potato flakes, and 1 packet (2-1/4 teaspoons) active dry years in a large glass jar or plastic container. Cover loosely with a tea towel, or lid not tightened all the way down. Leave out on counter at room temperature to ferment for 2 days.
- Day 2: Stir. The starter should still be out on the counter at room temperature, covered loosely.
- Day 3: Stir. The starter should still be out on the counter at room temperature, covered loosely.
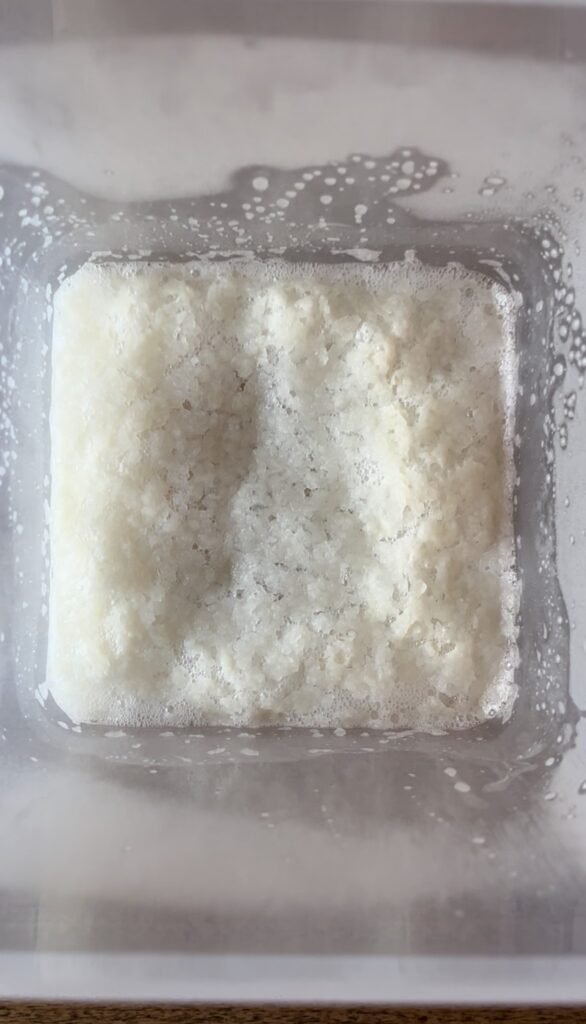
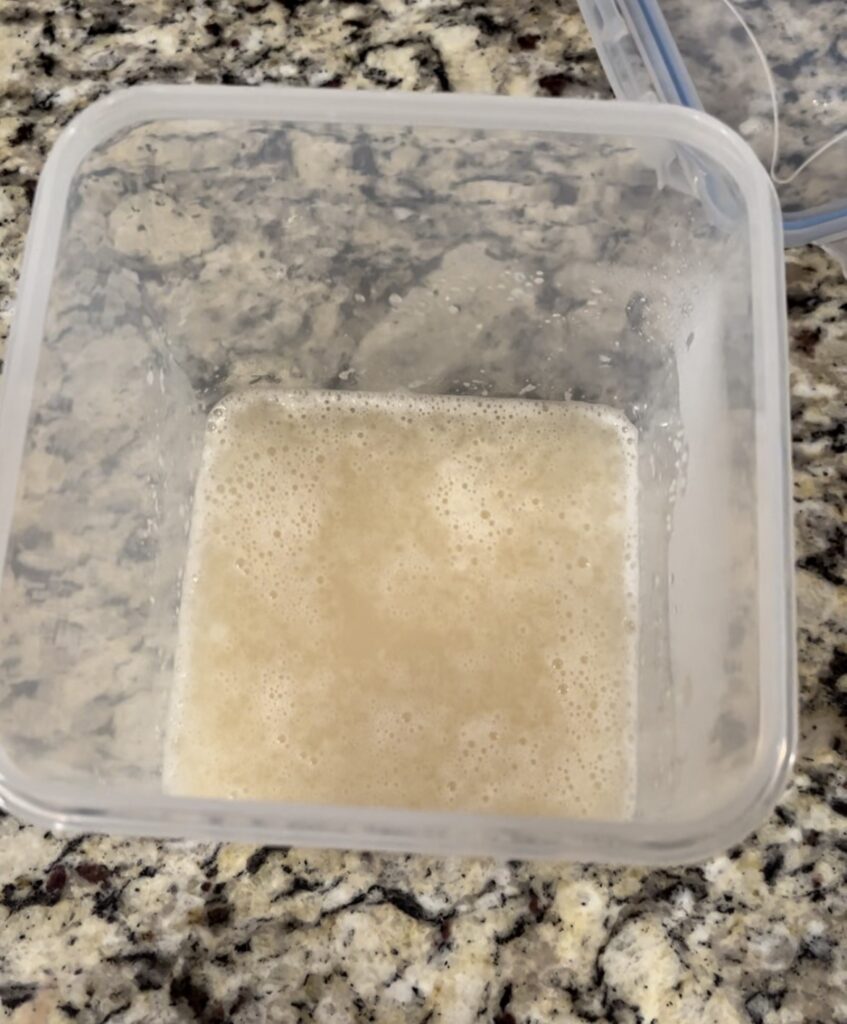
- Day 4: Feed Starter. Feed the starter with 1/2 cup sugar, 3 TBS potato flakes, and 1 cup warm water. Allow starter to sit on counter at room temperature for 8-12 hours. It should be bubbly and active.
- 8 – 12 hours after feeding: remove 1 cup to either bake bread with or discard. Return the rest of the starter to refrigerator. The starter will need to be fed every 3-5 days.
Potato Flake Starter Recipe Card

Step-By-Step Instructions For Maintaining The Starter
- In a medium sized bowl or measuring cup mix together 1 cup warm water, 1/2 cup sugar, and 3 TBS potato flakes. Stir until dissolved.
- Remove starter from refrigerator and add to starter the mixture above.
- Stir well and let sit on counter at room temperature, loosely covered, for 8-12 hours.
- After 8-12 hours has passed, remove 1 cup to bake with and return remaining starter to refrigerator.
- Repeat this process every 3-5 days.
Tips for Baking Sourdough
When baking sourdough bread, everything has to be done on a certain timeline. It sounds overwhelming, at first, but as long as you plan ahead it is not difficult at all. I highly recommend keeping a calendar handy and write out what needs to be done on each day. If you are wanting to bake bread for a certain event, it is a good idea to work backwards. Write down when you want to make the bread, then work backwards from there. I have included a baker’s timeline below to help with the planning process!

Shop This Post
(As an Amazon Affiliate, I may earn a commission on the purchase of qualifying products at no cost to you)
- Large Container – These are my favorite containers for storing flour and my potato flake sourdough starter!
- Active Dry Yeast – ACTIVE dry NOT instant dry!!
