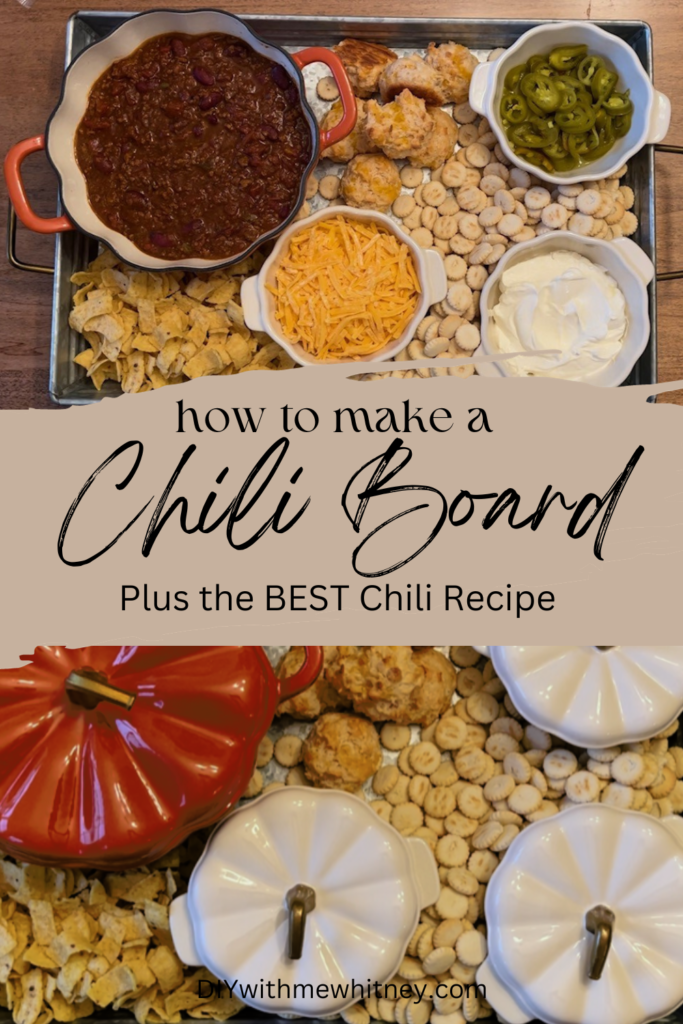
Chili is one of the most iconic fall dishes there is, and it is great to serve to a crowd. This fall themed chili charcuterie board is so easy and fun to make! It is a beautiful way to serve chili that also makes all the toppings easily accessible. See how to make a chili charcuterie board as well as all the cute pumpkin topping bowls! Also, check out my blog post on how to make the best classic chili recipe!
(As an Amazon Associate, I earn a commission from qualifying purchases at no cost to you)
Supplies for A Chili Charcuterie Board
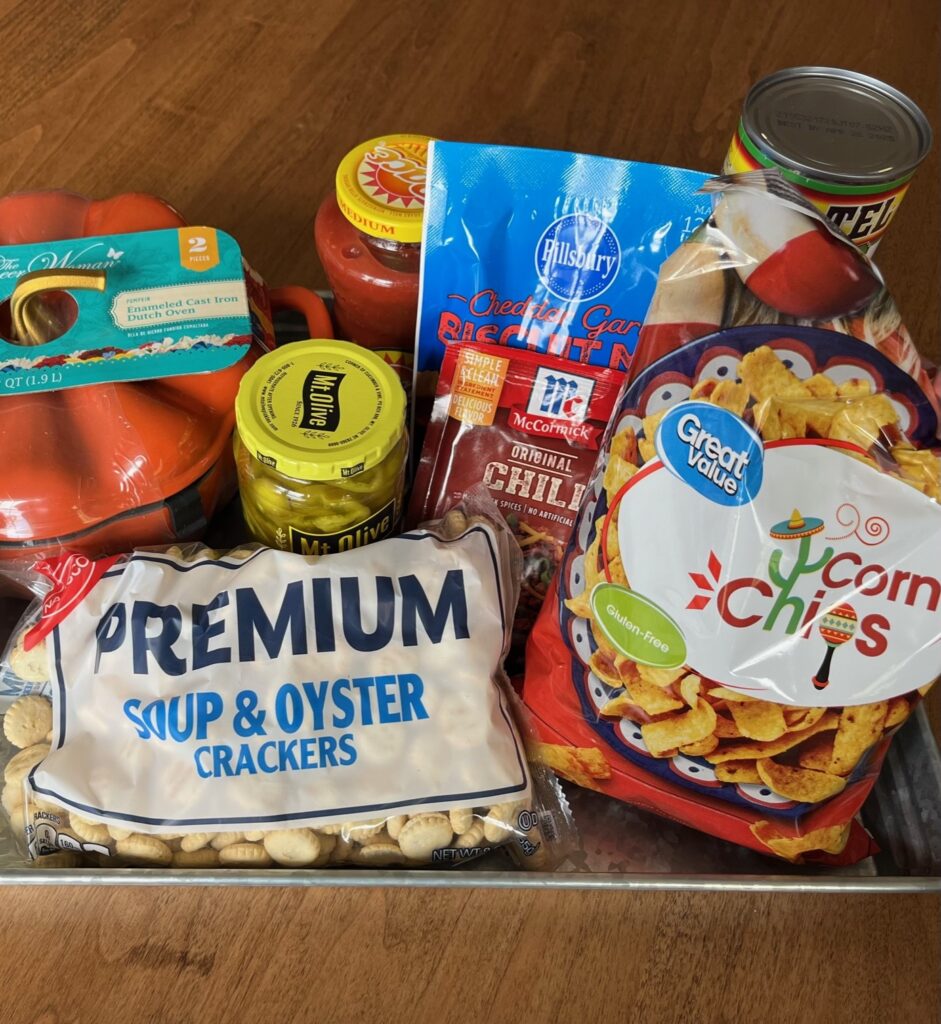
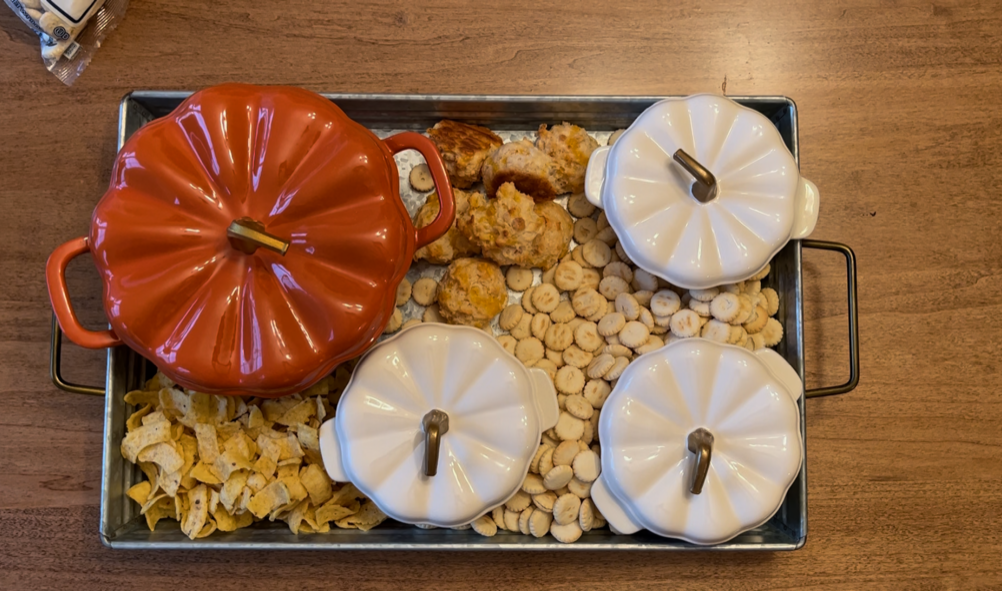
The beauty of making a charcuterie board is that you can get as creative as you want! The first thing you need is a large board or tray to put the food on. I piled chips and crackers on the board, so I chose a metal tray with tall sides that I already had on hand. If you are in the market for one, I recommend this metal tray, or this wooden one. For reference, my tray is 12 in. x 18 in.
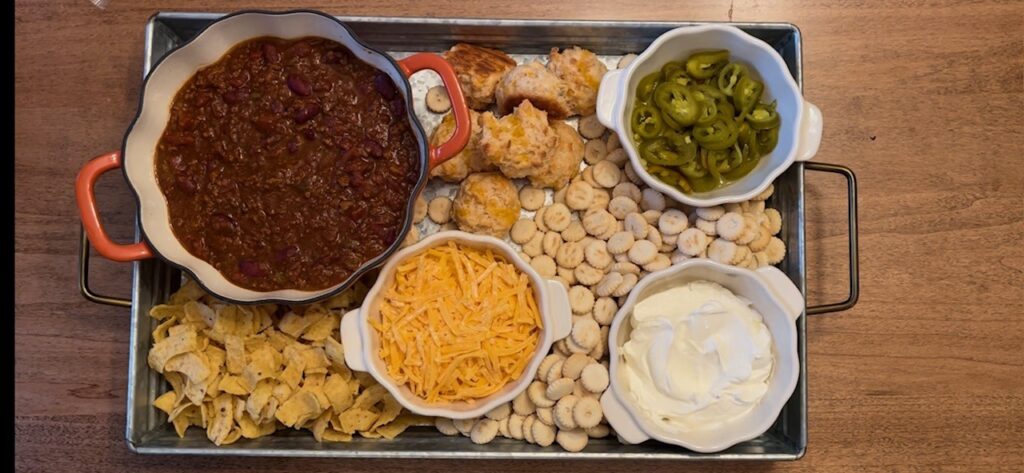
I chose to use corn chips, oyster crackers, and garlic cheddar biscuits on my chili charcuterie board. I found these adorable little white pumpkin cocottes, so I chose to use them for jalapenos, sour cream, and cheddar cheese.
- 12 x 18 Wooden Serving Tray
- 12 x 18 Metal Serving Tray
- Dutch Oven for Chili – I used this 2 Qt. Pioneer Woman Pumpkin shaped Dutch oven in the orange color. It also comes in a while color, and it is only $25! If you are looking for a nicer Dutch oven that is not pumpkin shaped, I have this 5.5 Qt. Le Creuset Dutch oven in the color Sea Salt. I think this one is the perfect size and I use it all year around.
- Bowls for Toppings – I used this set of 3 white pumpkin shaped cocottes also by Pioneer Woman. These come in the same orange and white colors as well.
- The Best Chili Recipe
Step 1: Plan out the board
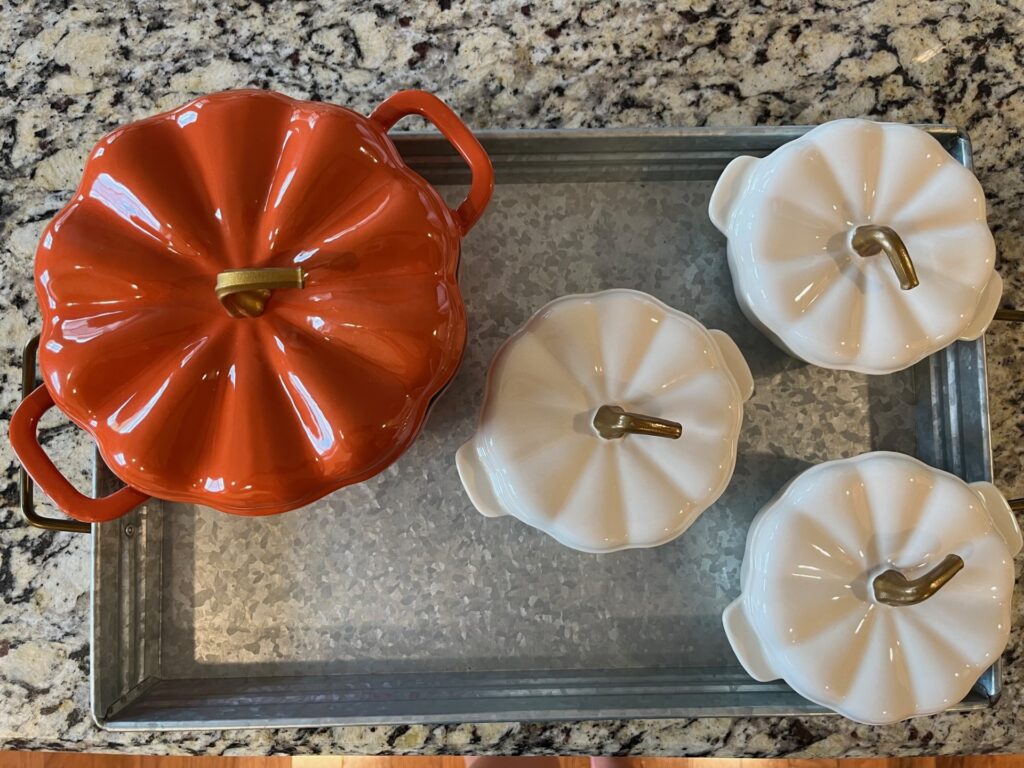
First you will need to plan out the chili charcuterie board. Go ahead and place the empty bowls on the tray and play with the spacing. Get an idea of how you want it to look so that you will have a plan when it’s time to place the food.
Step 2: Fill and place the bowls
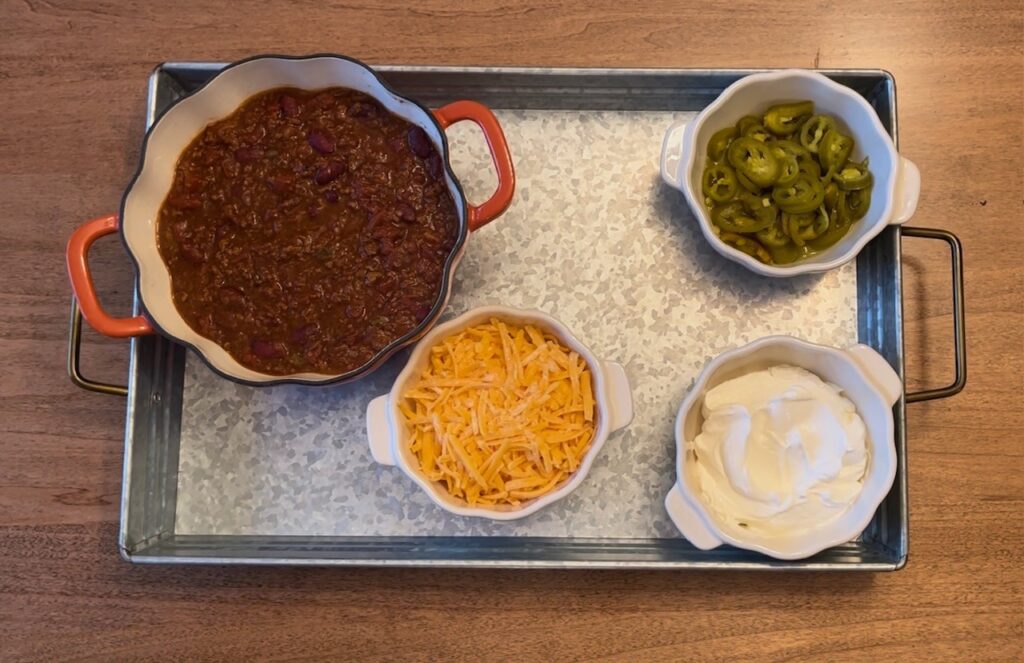
The next step in making a chili charcuterie board is to fill and place the bowls. First I filled the chili bowl and placed it on the board. Next I filled the three little bowls with sour cream, jalapenos, and cheddar cheese. I chose to fill the bowls away from the board and then place them on the board in order to prevent any messes on the final product.
Step 3: How To Make a Chili Board
Now it is time to add the filler. You can get as creative as you want with this step. I just added some corn chips, cheddar biscuits, and oyster cracker. Sadly all three of these toppings are the same color, so my board was really lacking in color. I would recommend sprinkling some chopped green onions around to help add some color.
Enjoy!
This Chili Charcuterie was so fun and easy to make! I hope you will try this for a fall family dinner or for you next fall gathering! It was definitely a crowd pleaser for me, and I loved how accessible all the toppings were! The fall shaped bowls were the perfect addition to this chili charcuterie board!
