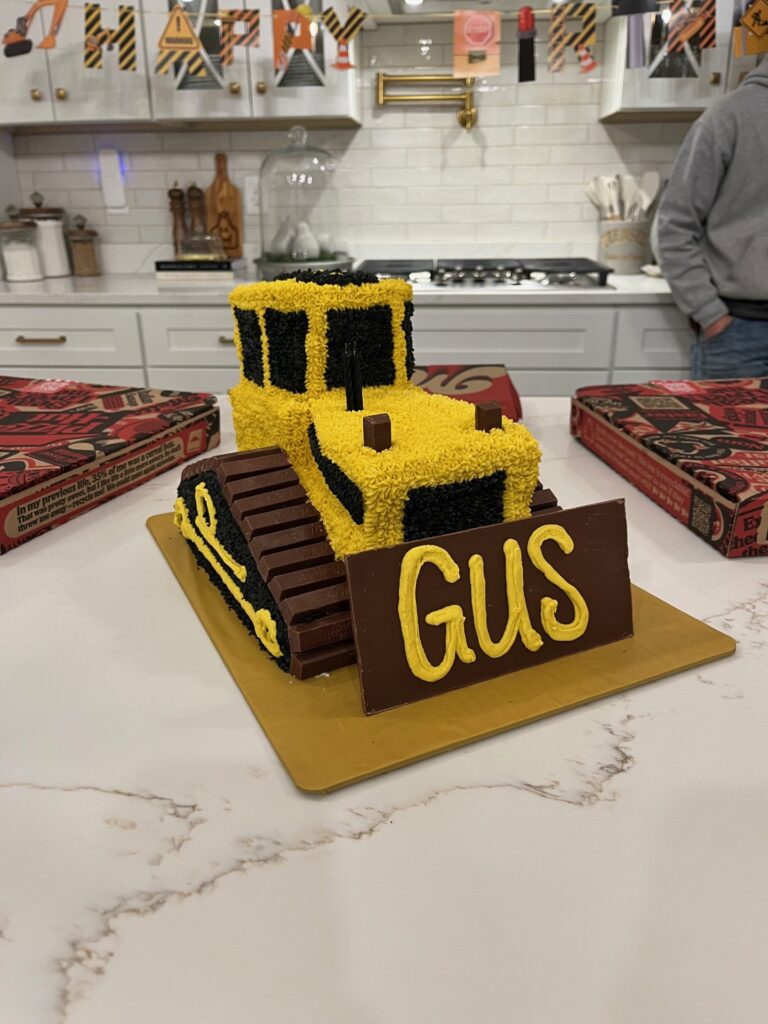
See how to make a bulldozer cake with this simple step by step guide! This bulldozer birthday cake turned out really impressive but was actually simple to make. My son absolutely loved it for his construction themed 3rd birthday party, but this would be a perfect cake for any age! Keep reading to follow my step-by-step guide and download a printable pattern to you cut the bulldozer pieces!
(This post contains affiliate links, and as an Amazon Associate, I may earn a commission on the sale of qualifying items at no cost to you!)
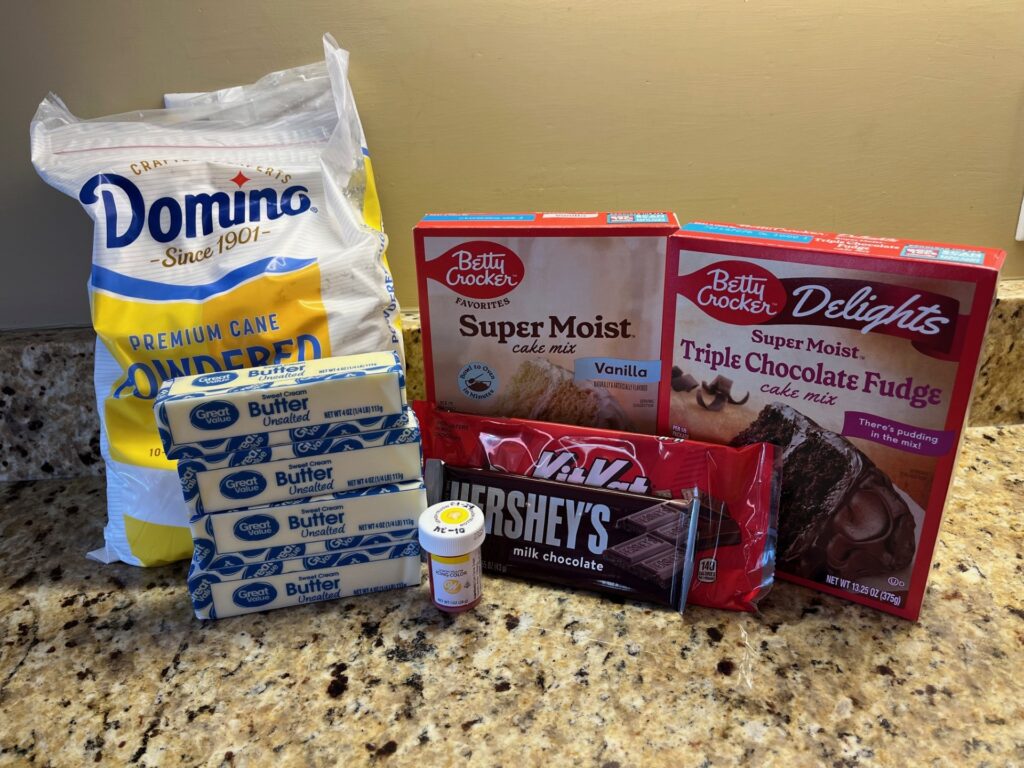
Bulldozer Cake Supplies
- 4 boxes of cake mix (I used 2 boxes of Betty Crocker Super Moist Vanilla, and 2 boxes of Betty Crocker Triple Chocolate Fudge)
- 9×13 cake pan
- 10×10 cake pan
- Bulldozer Cake cutting pattern
- Disposable icing bags
- #18 icing tip
- Yellow, Brown and Black food coloring
- Premade black icing
- Cake support dowels
- Cake leveler
- Cake board
- Snack size KitKats
- XL Hersheys chocolate bar
Step 1: Bake Cakes
First you will need to bake the cakes so they will have plenty of time to cool before applying icing. Prepare the cake batter according to the package instructions. Line the bottoms of the 9×13 and 10×10 pans with parchment paper and spray the pans with nonstick cooking spray. This will help the cakes come out of the pan cleanly.
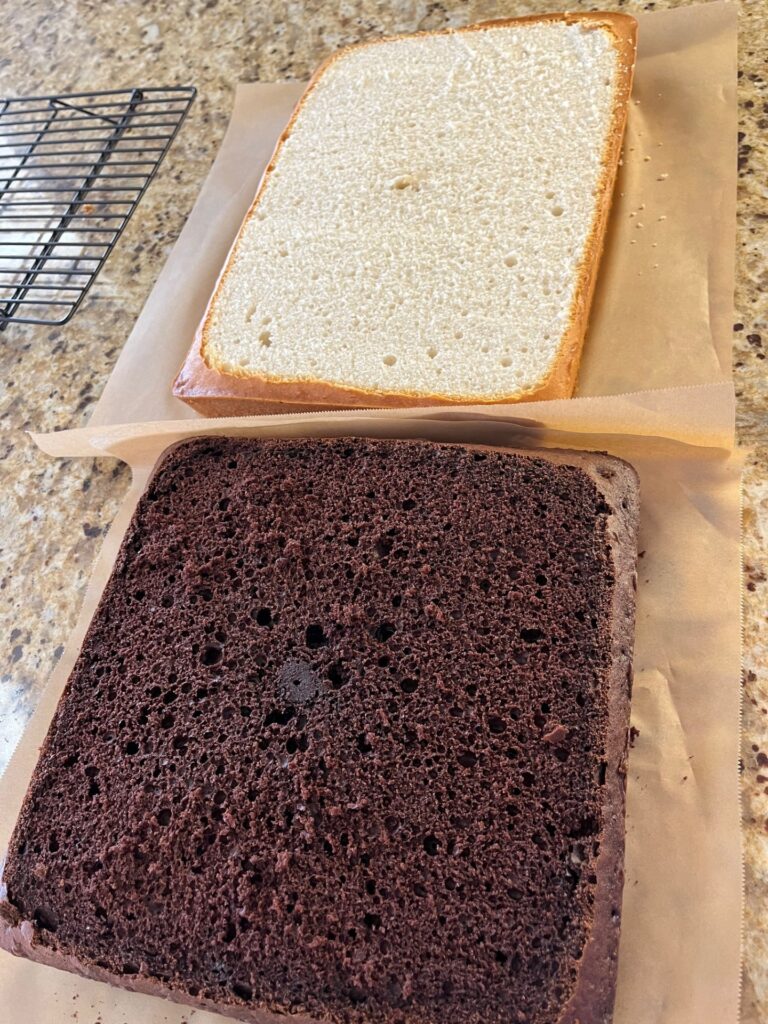
White cake mixes ate usually sturdier than chocolate, so I used white cake for the bottom layers and chocolate for the accent pieces. To do this, bake the white cake in the 9×13 pan and chocolate in the 10×10 pan.
Not all of the chocolate batter will fit in the 10×10 pan. The pans need to be about 2/3rds of the way full of batter so that they don’t overflow when baking.
Step 2: Prepare the Icing
Once the cakes are baked, they will need to cool completely before cutting or baking. While waiting on the cakes to cool, prepare the icing. I always use Natasha’s Kitchen recipe for vanilla buttercream and it turns out great every time. For this cake, I doubled the icing recipe to ensure I had enough icing and ended up having just enough!
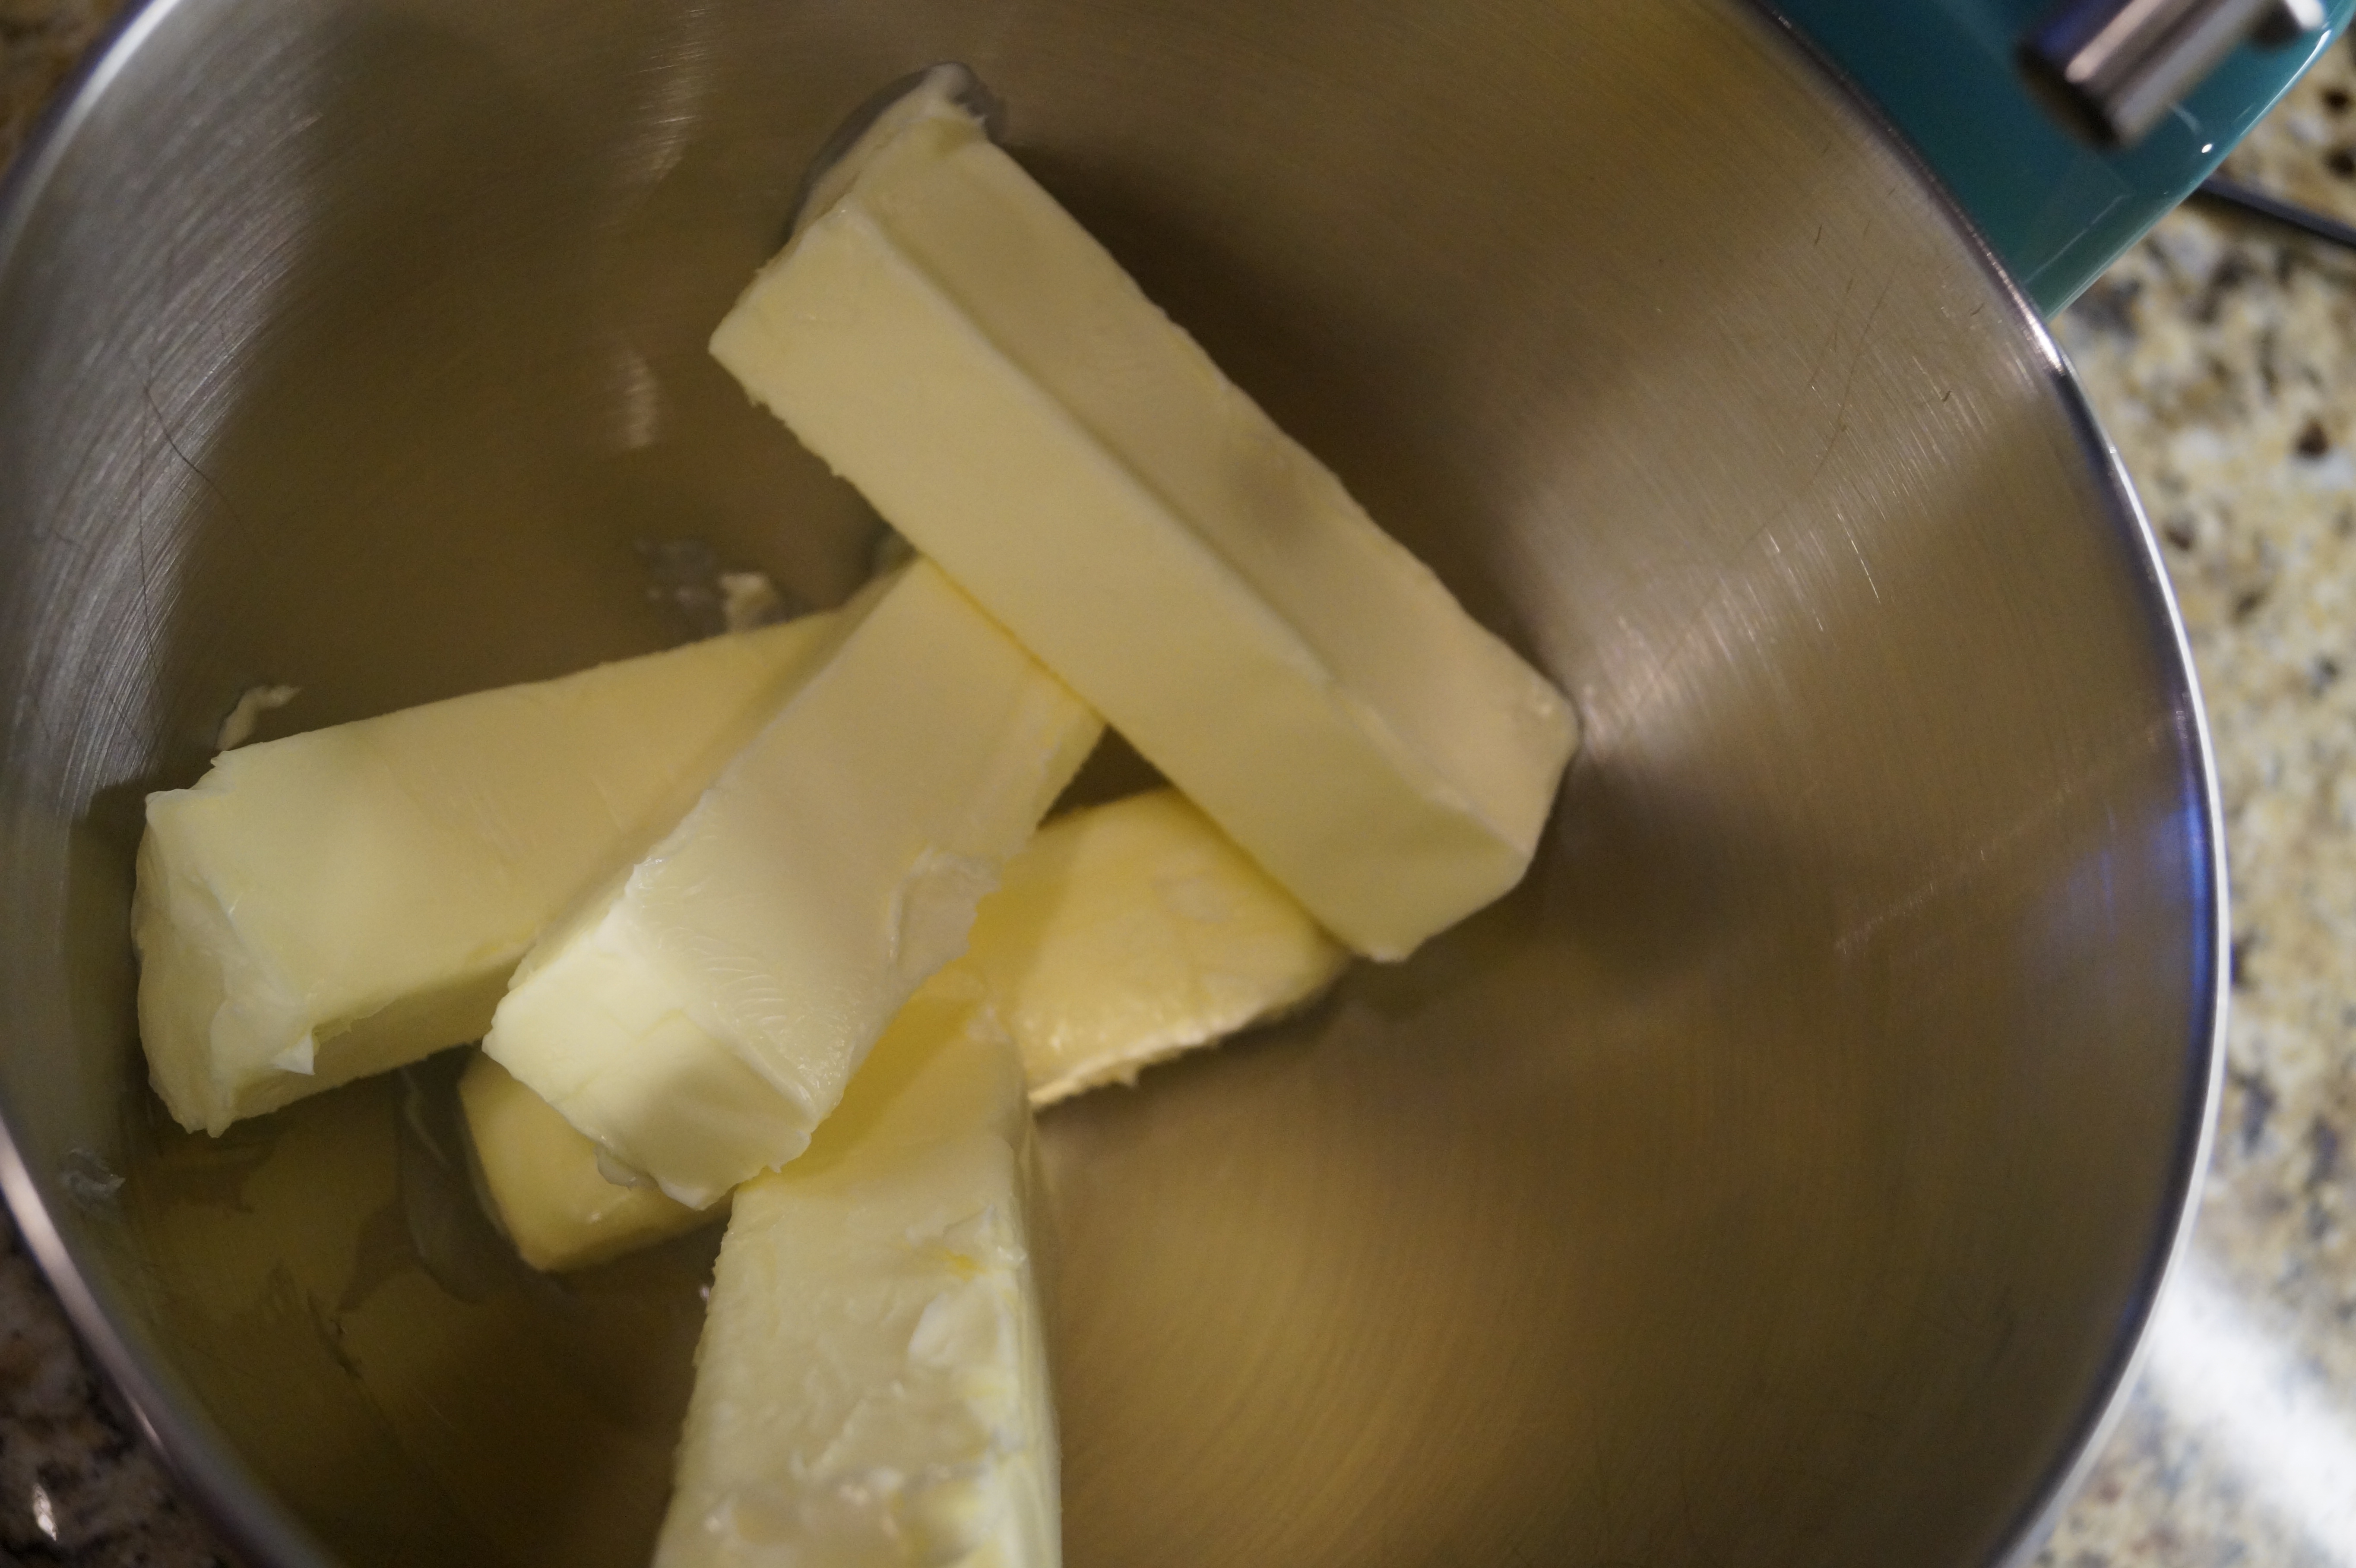
To make the double recipe of icing you will need:
- 6 sticks of unsalted butter
- 10 cups powdered sugar
- 1/2 tsp fine sea salt
- 6 tsp vanilla extract
- A few TBS of milk if needed – I have never had to add milk
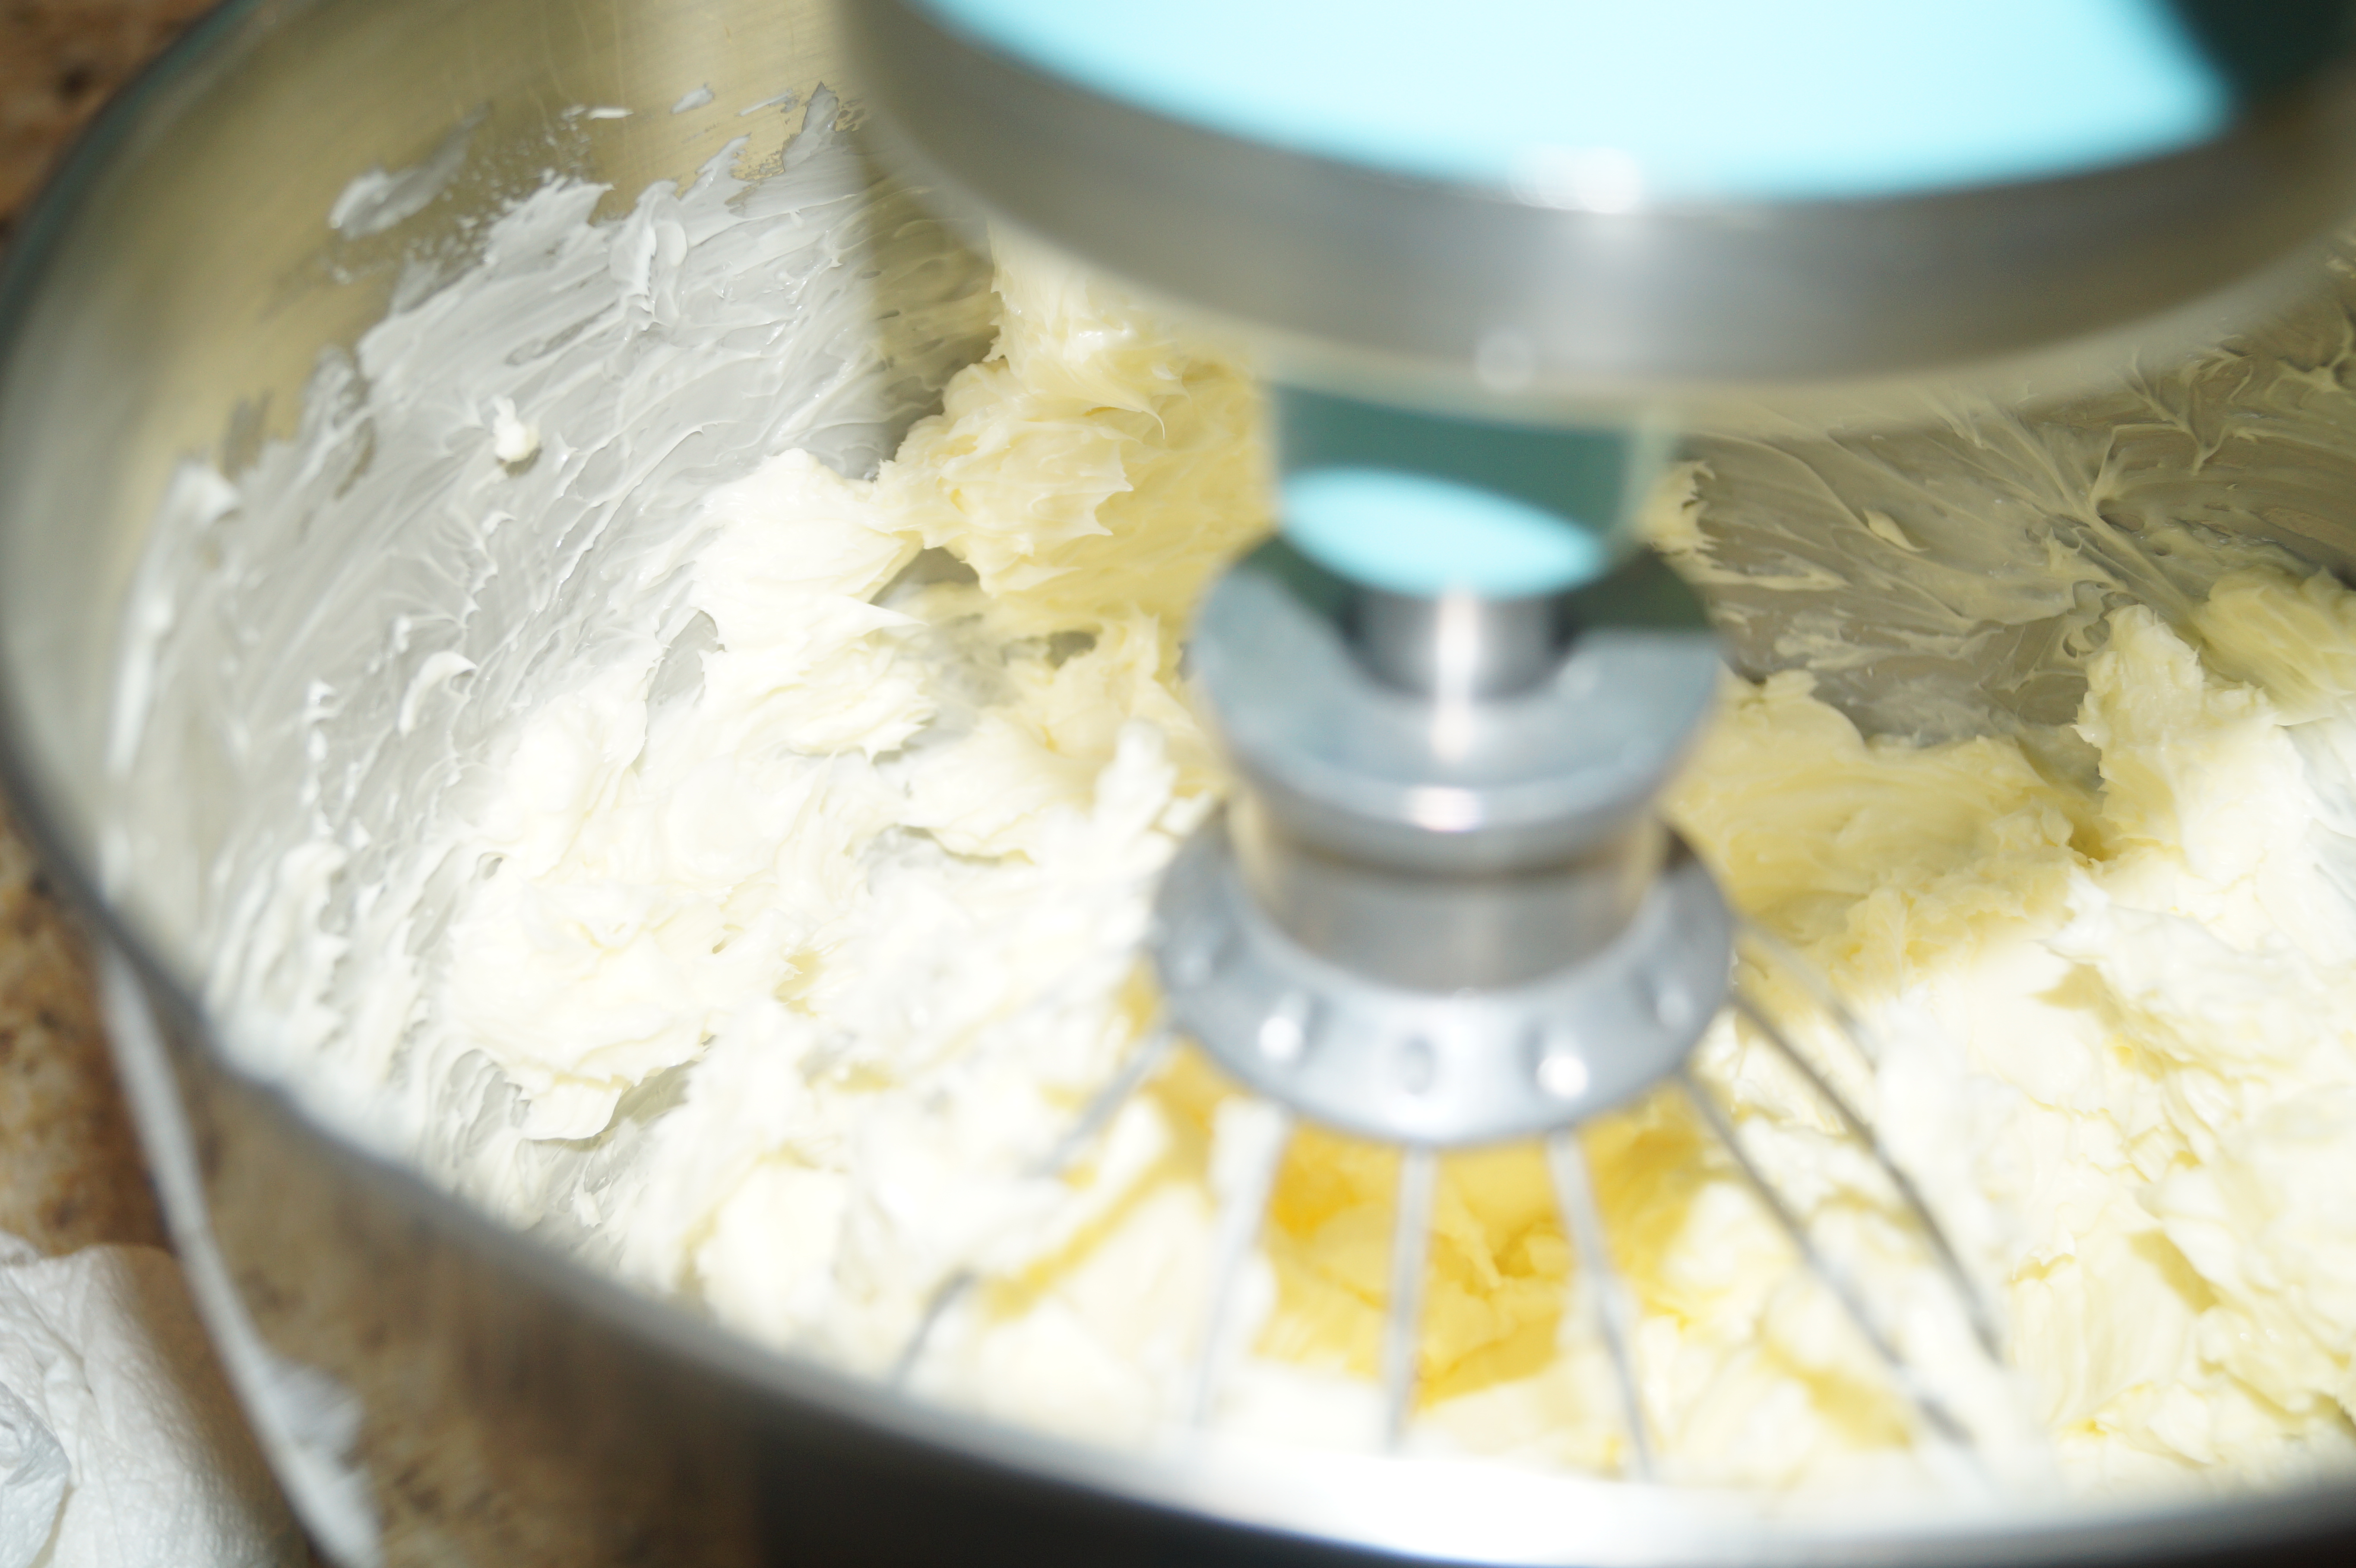
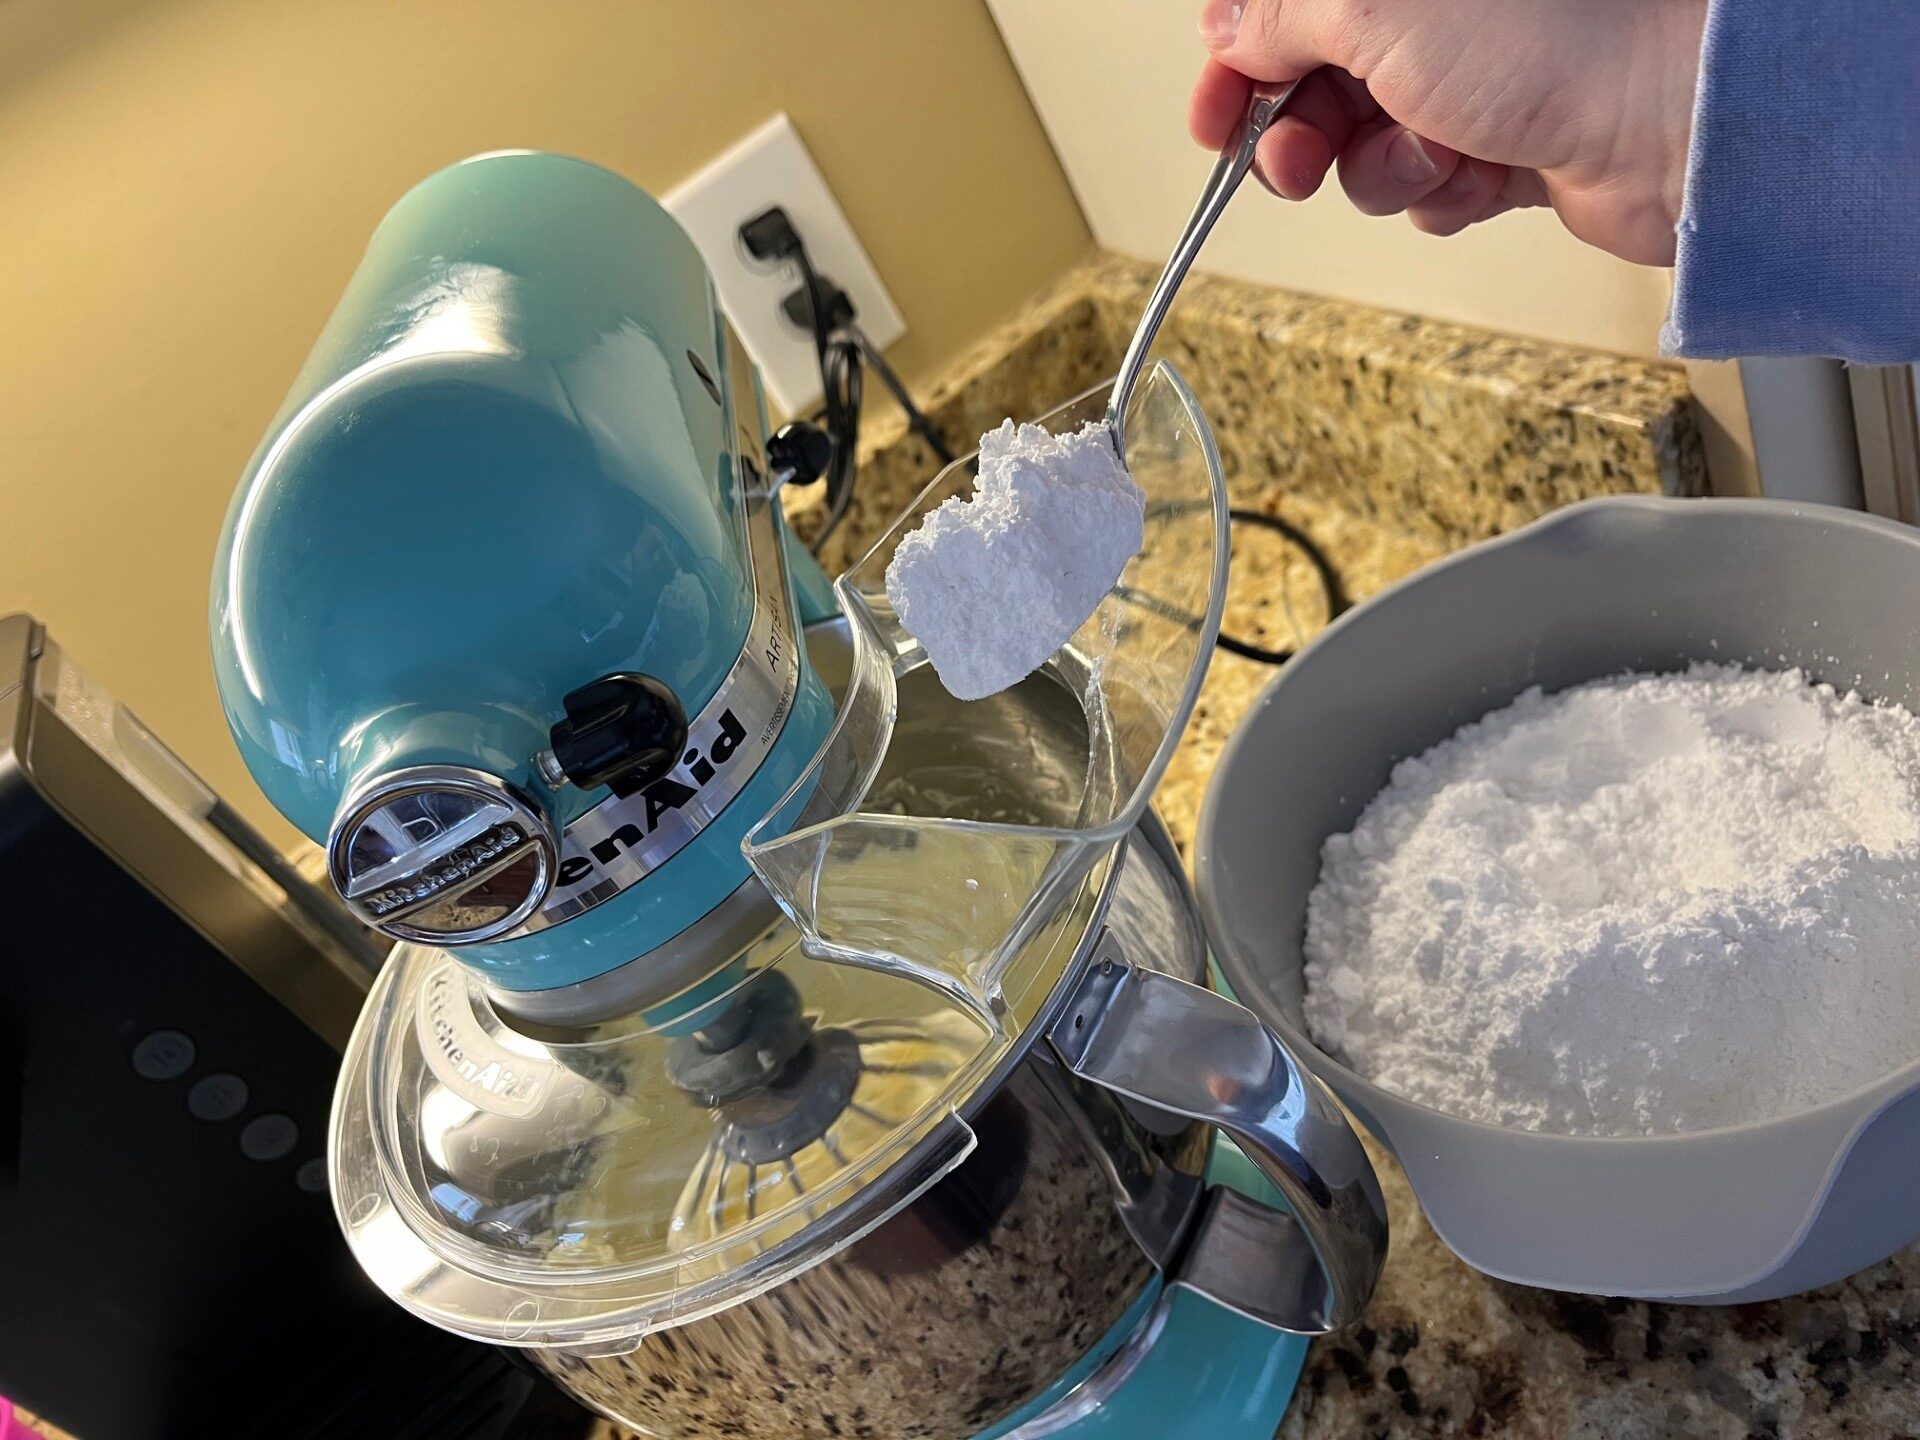
Icing making tips: Making icing makes a huge mess, but I have found a way to help reduce the mess a little bit. I highly recommend using a shield like this one if you have a Kitchen Aid Mixer. Also, premeasuring the powdered sugar into a bowl then adding it a spoonful at a time helps cut down on the mess.
Step 3: Cut the Cakes
If you haven’t already, now is the time to download my Bulldozer Cake cutting pattern! This pattern takes the guess work out of cutting the shapes for this cake. Simply download it, cut it out, and follow the instructions in this post on how to use the pattern!
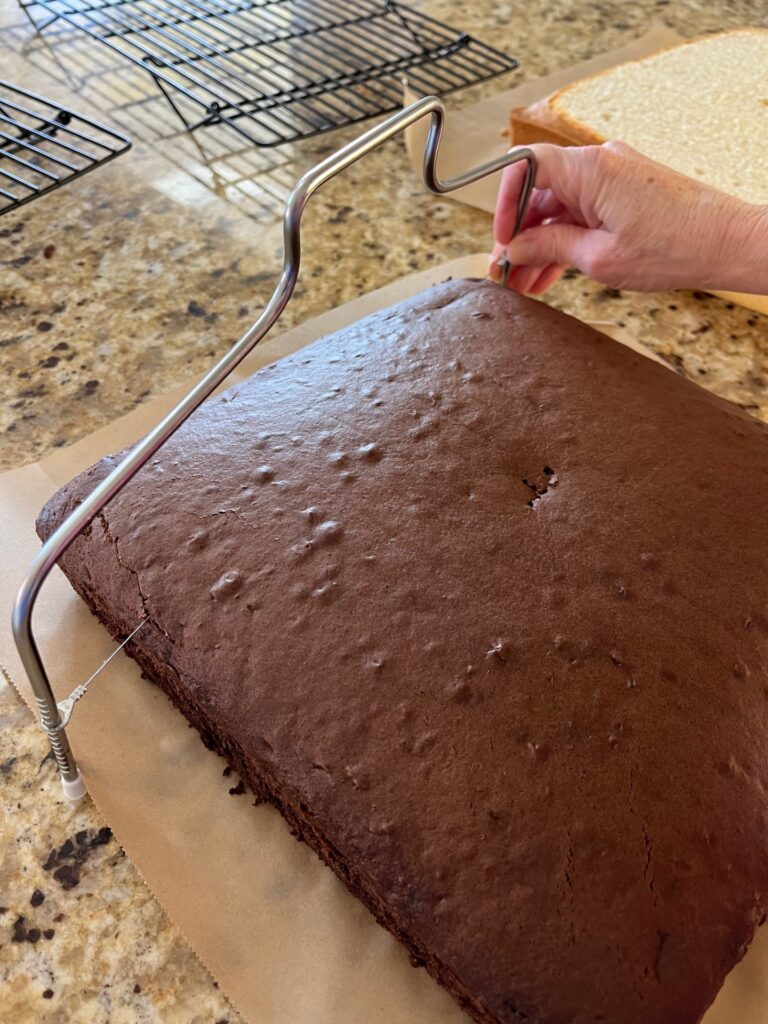
Level the Cakes
This is one of the most important steps in making any layered cake. When cakes bake, the middle puffs up higher than the edges. In order to have a level surface to stack the cakes on, the rounded middle needs to be cut off. The easiest way to do this is by using a cake leveler.
Cut Bulldozer Cake Body
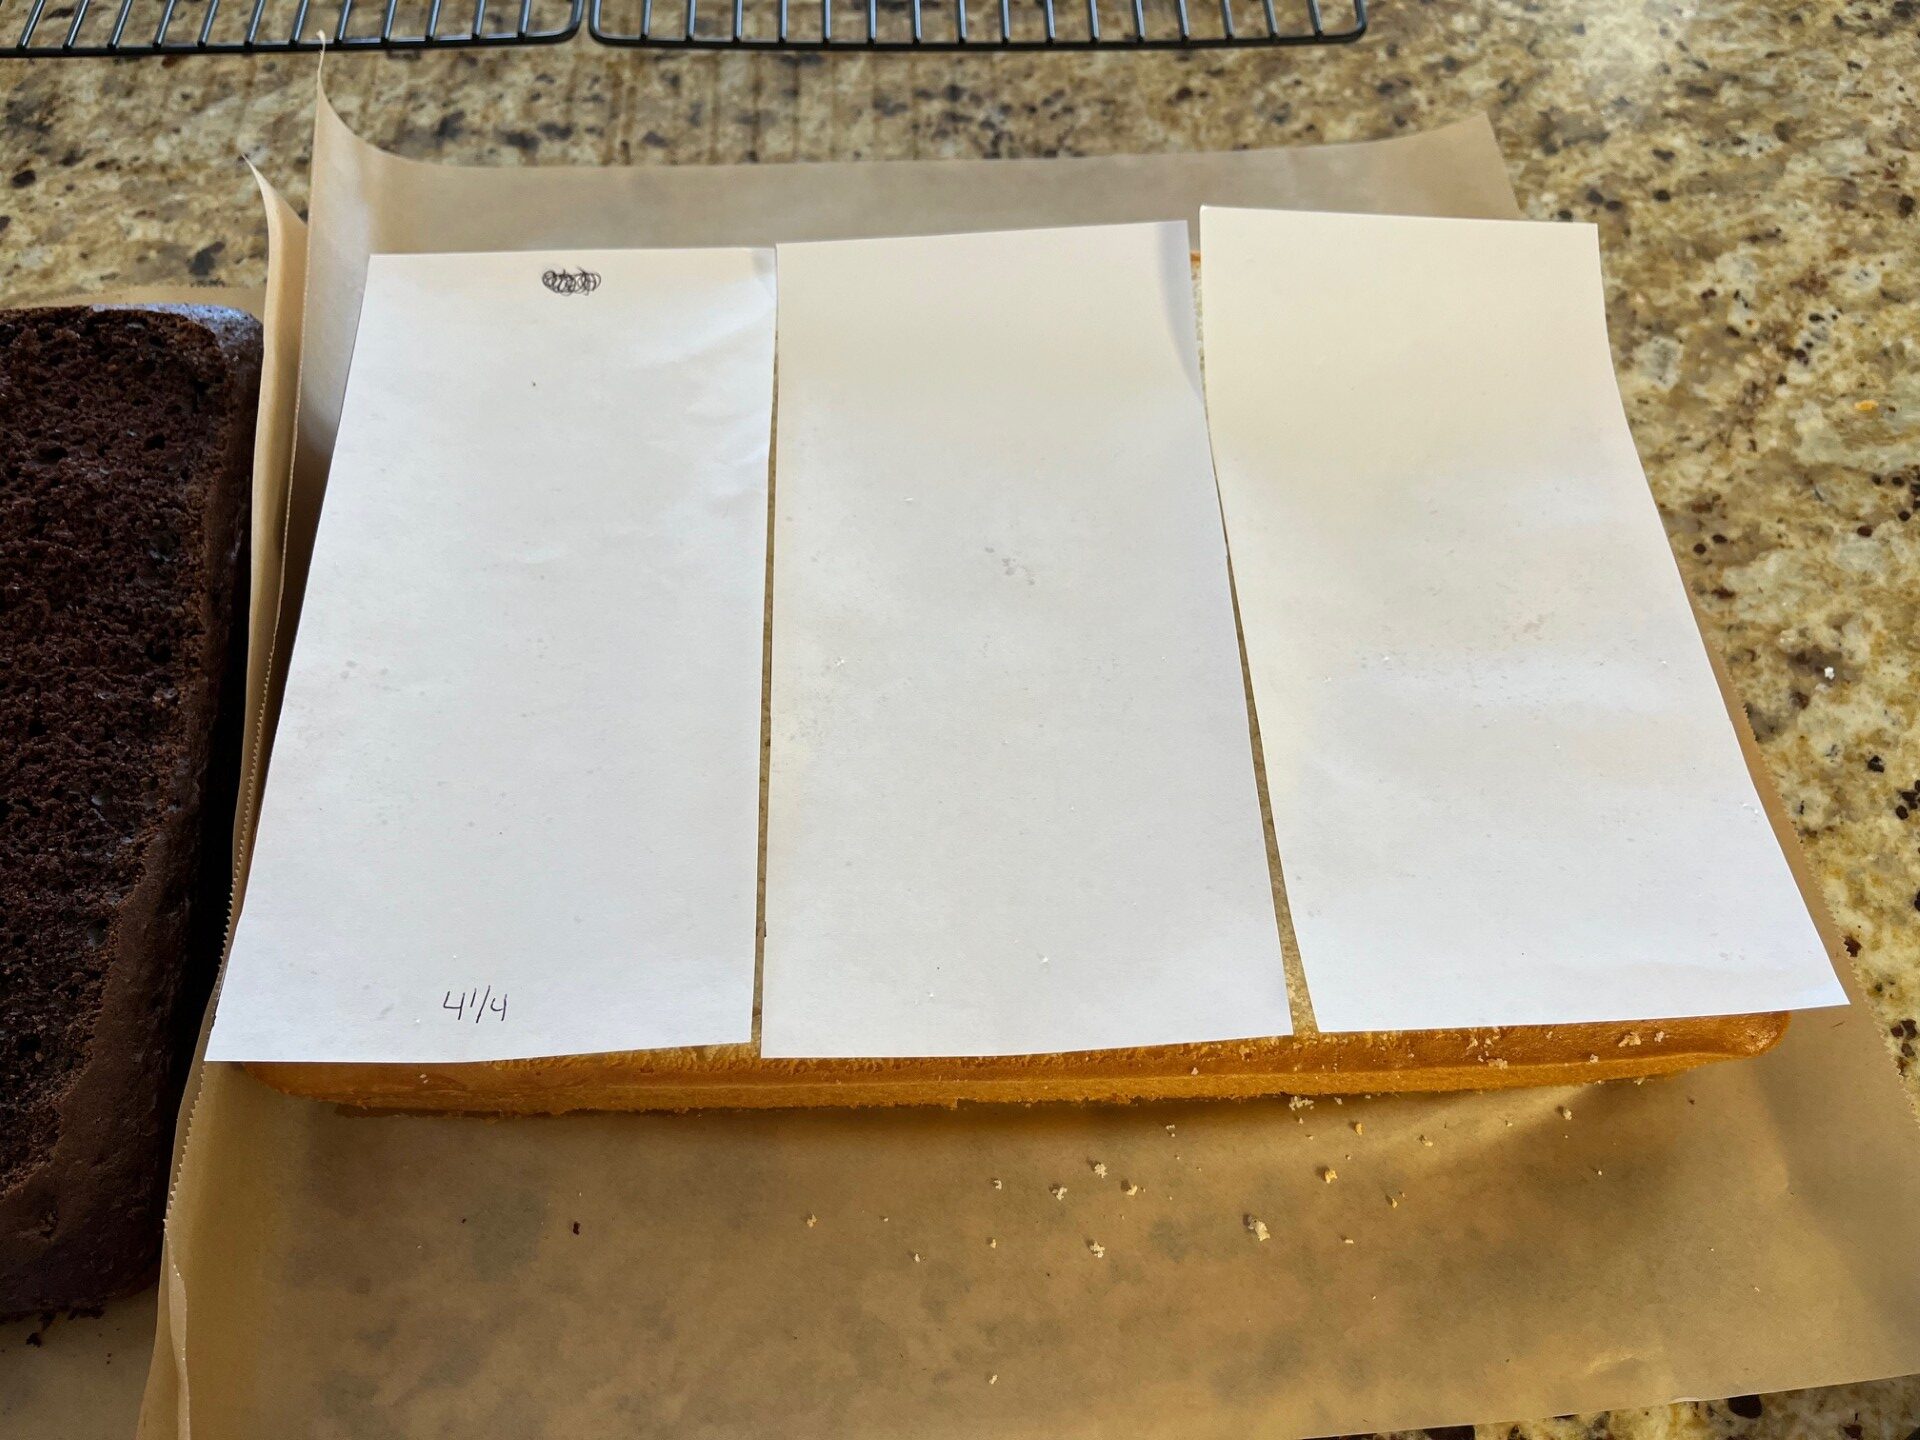
The body of the bulldozer cake will be cut out of the 9×13 cake – vanilla in my case. Do this by cutting it into equal thirds. The large rectangle on the pattern can be used to equally divide the cake.
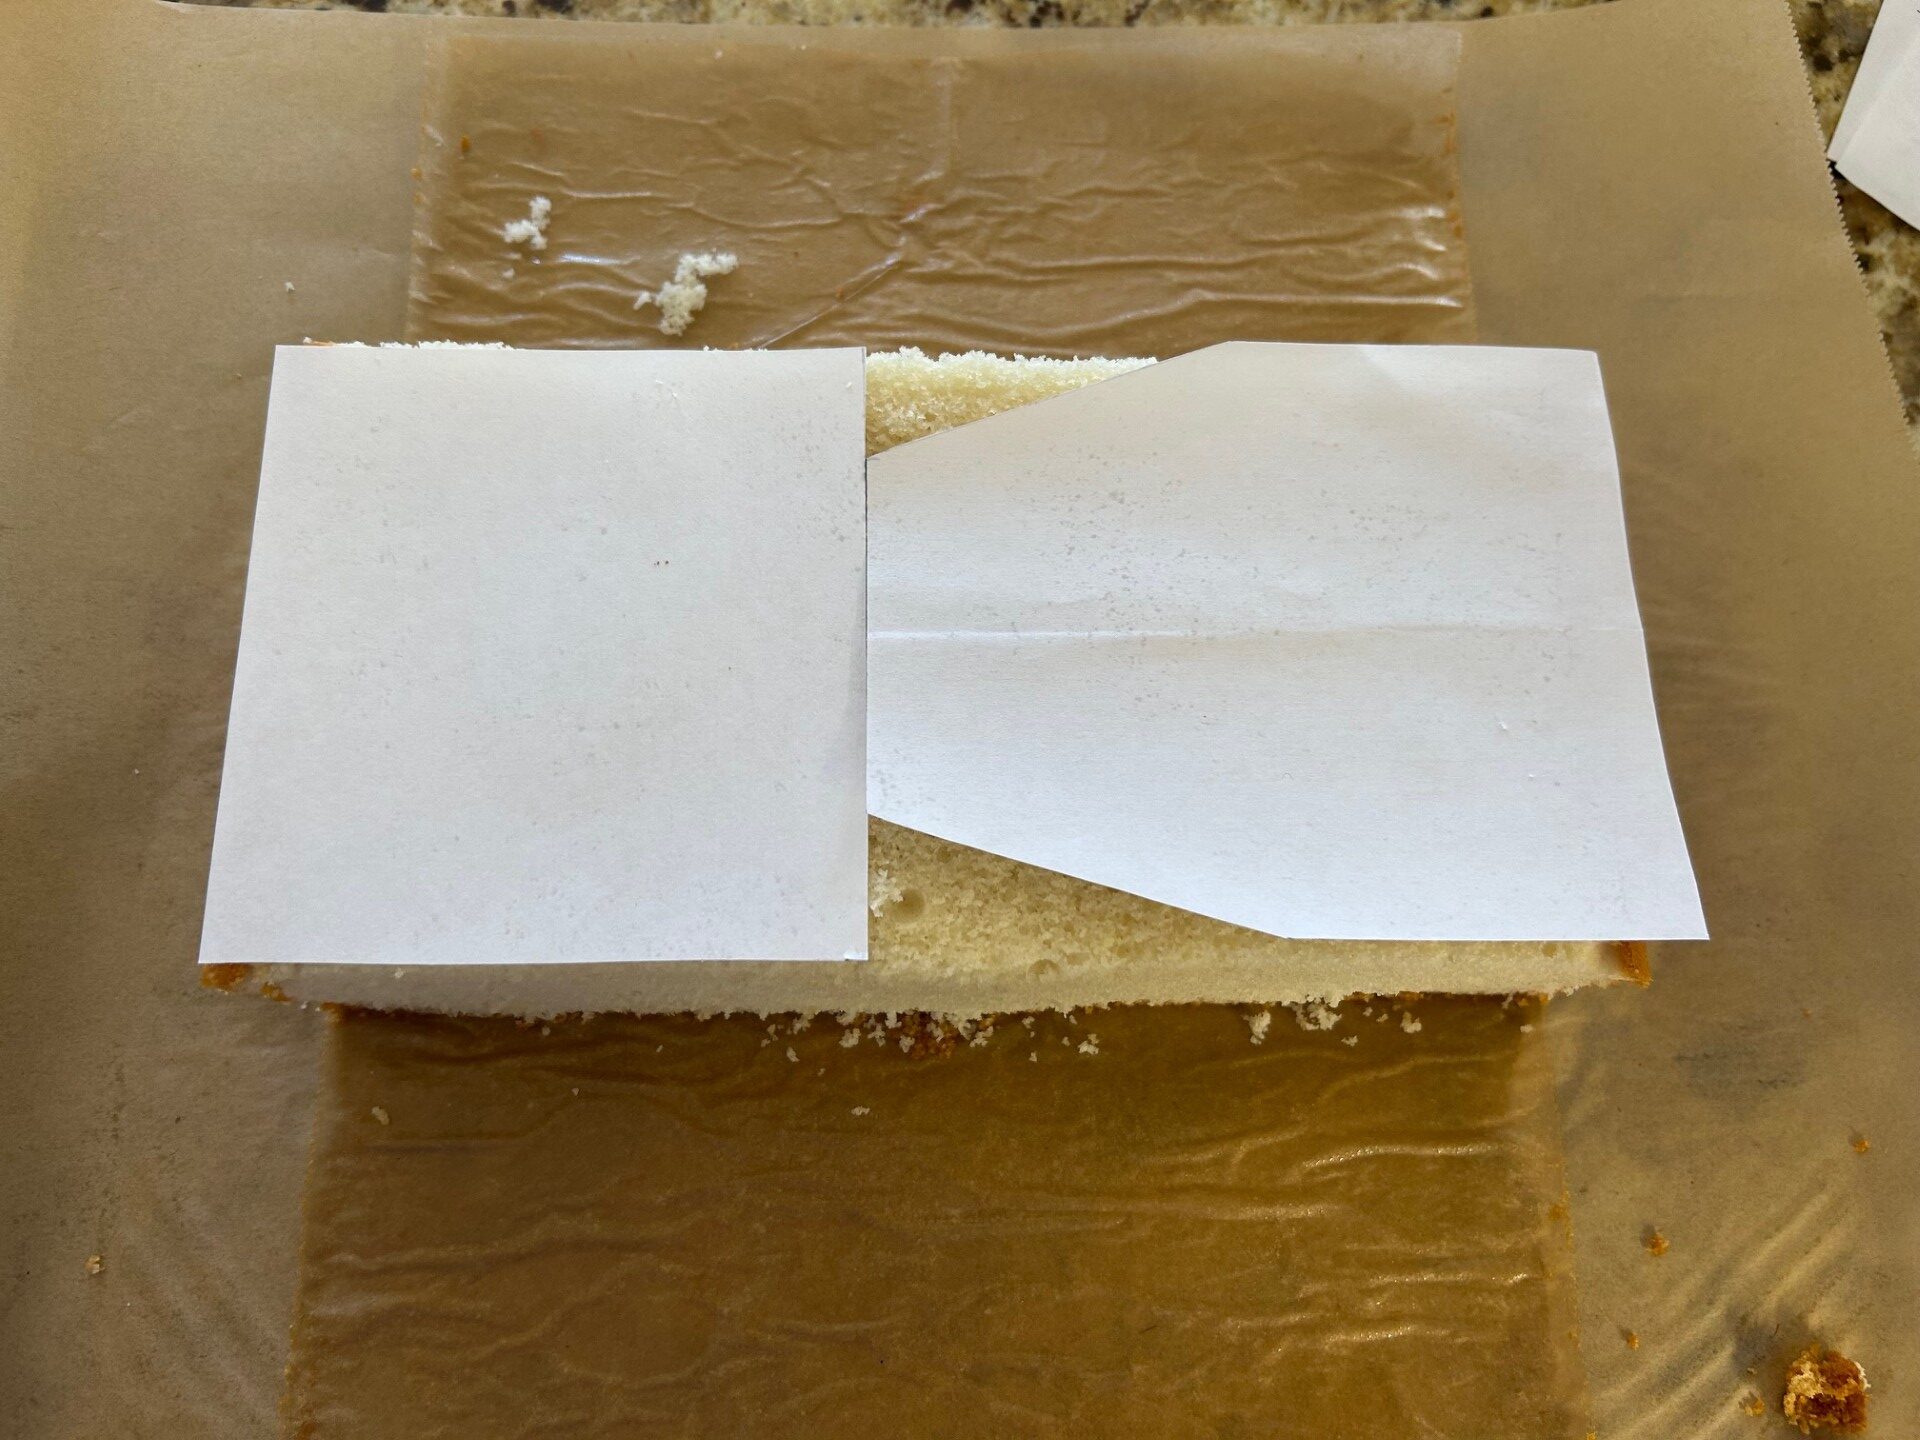
Trim Top Layer of Bulldozer Body
Now, take one of the 3rds and trim it into the shape of the hood. I chose to use the middle section without the outside “crust.”
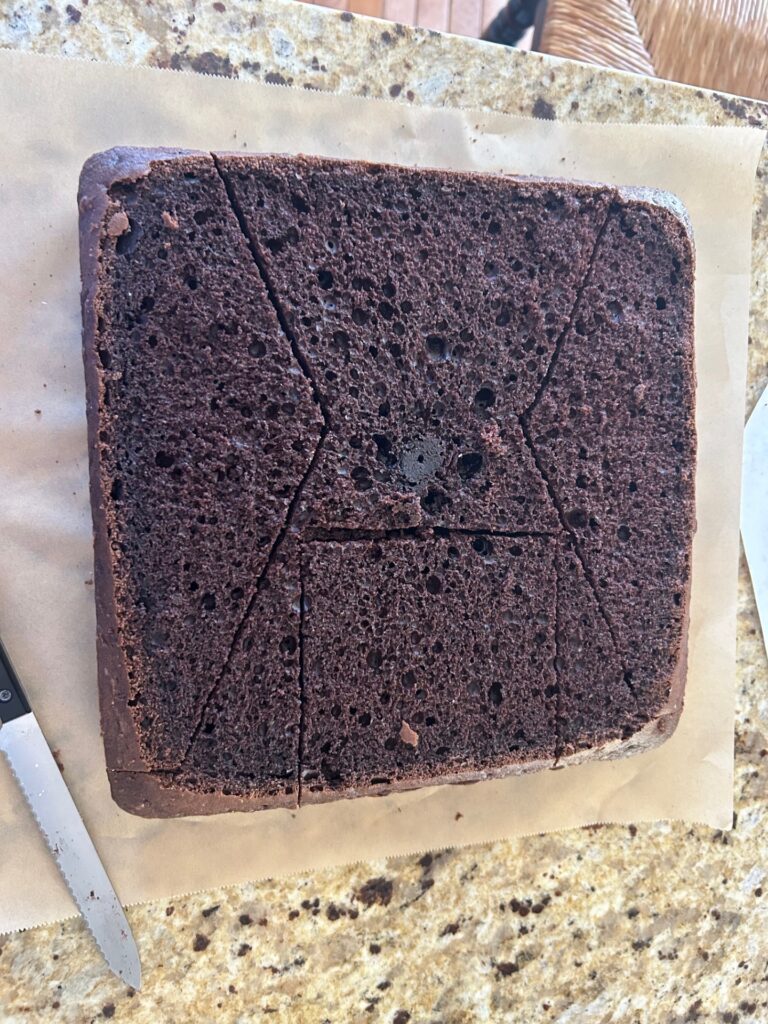
Cut Tracks and Cab
Now, cut the tracks and cab out of the 10×10 cake – chocolate in my case. I initially had the cab being a square but then decided to angle the front edges. The angled edges are show on the pattern. In order to fit all the cuts into the cake, lay out the pattern and cuts as shown in the image below.

Trim Bottom Layer of Body and Top Layer of Cab
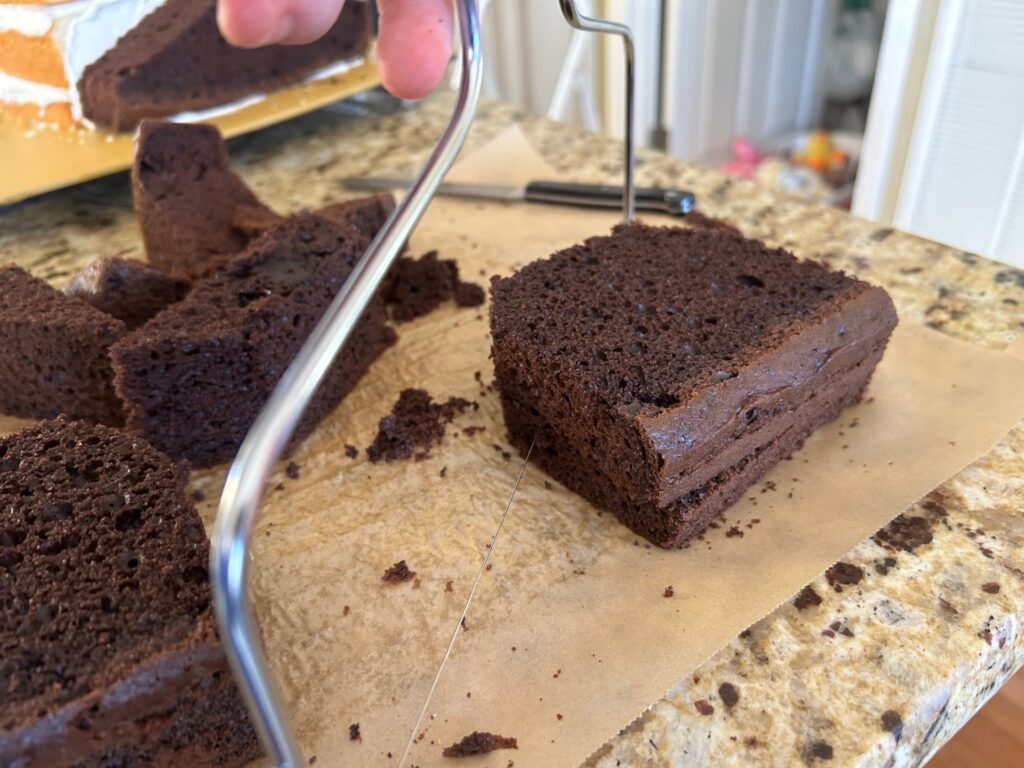
in order to keep the cake from being way too tall, I decided to cut the heights of the bottom layer of the body and the top layer of the cab in half. I did this the cake leveler as well in order to ensure the cuts were even.
Step 4: Assemble the Cakes
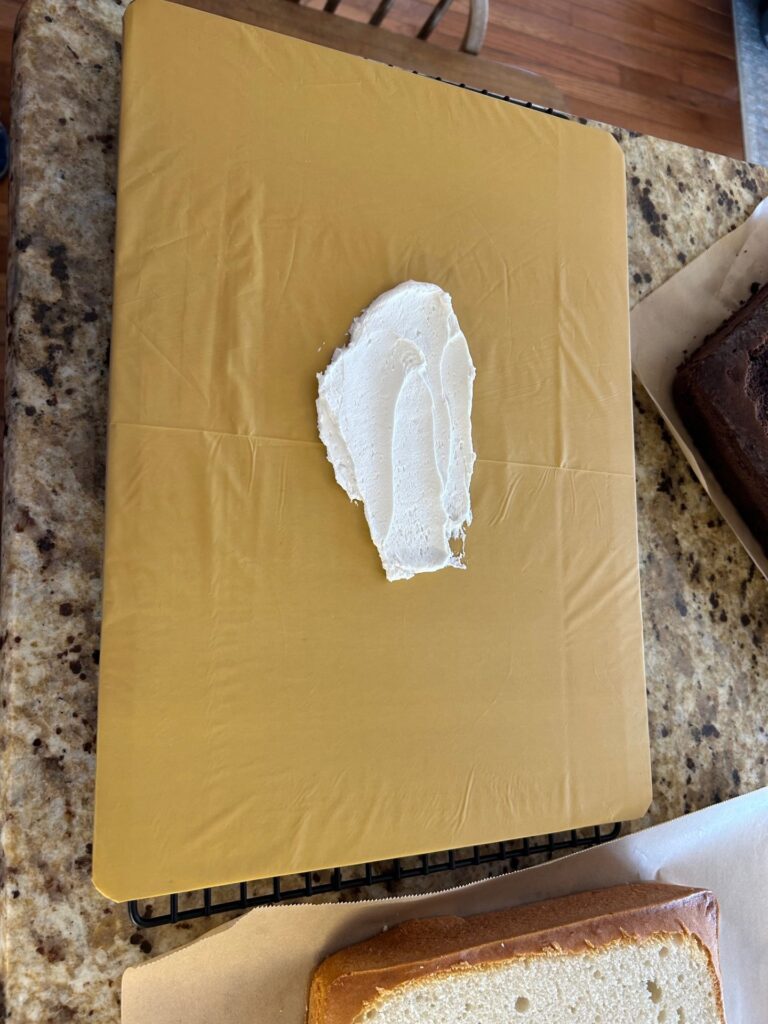
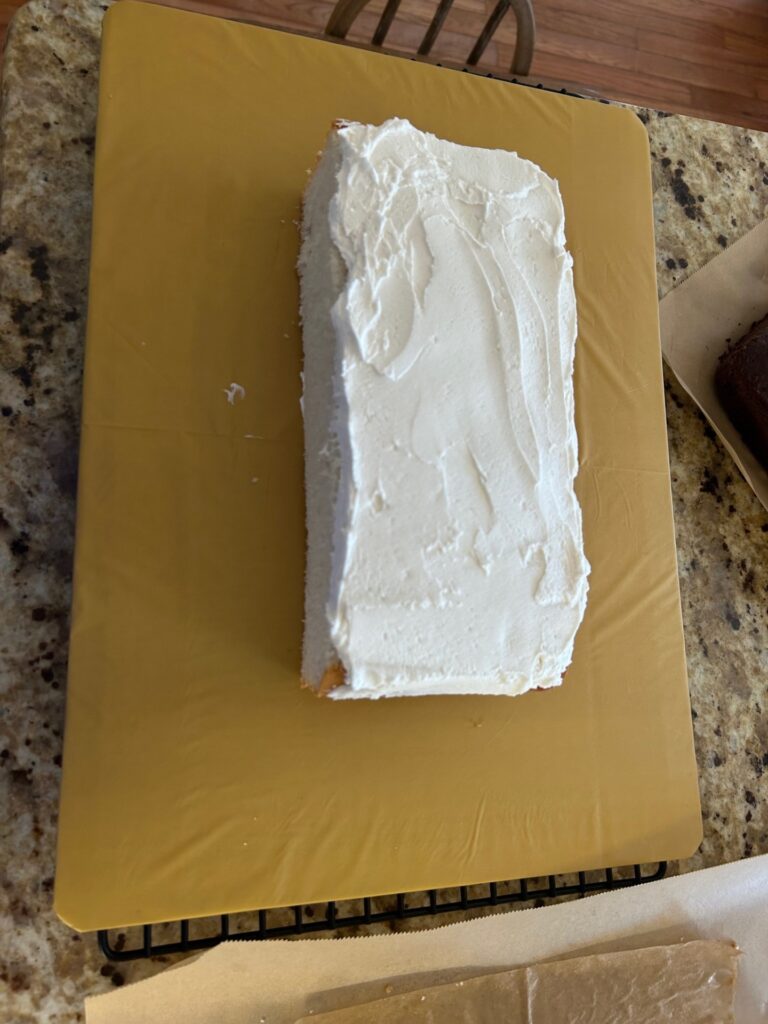
Now it is time to assemble the cakes onto the cake board. I usually cover my cake board with a cheap tablecloth like this one so that the cake won’t leave greasy spots on the board. Once your cake board is covered, put down a little bit of icing to glue the cake to the board.

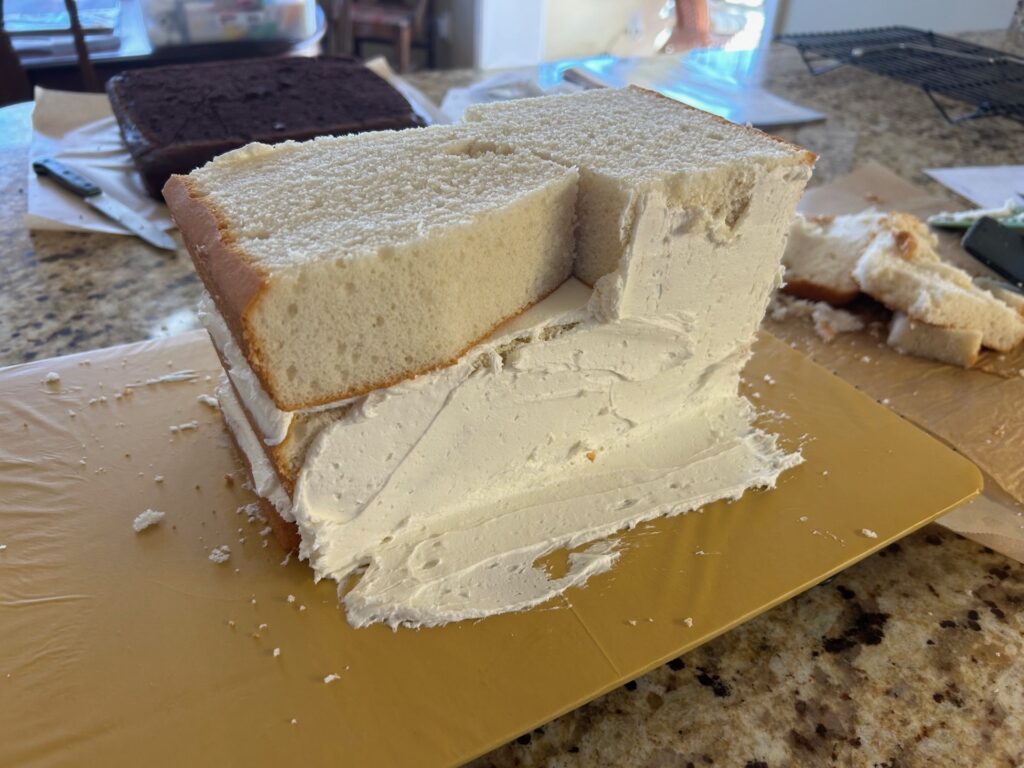
Now, lay the bottom layer (the one that was cut in half) of the bulldozer body onto the cake. Once, you have it down, apply an even layer of icing on top of it then place the next layer of cake. Repeat this process all the way up to the top of the bulldozer body.
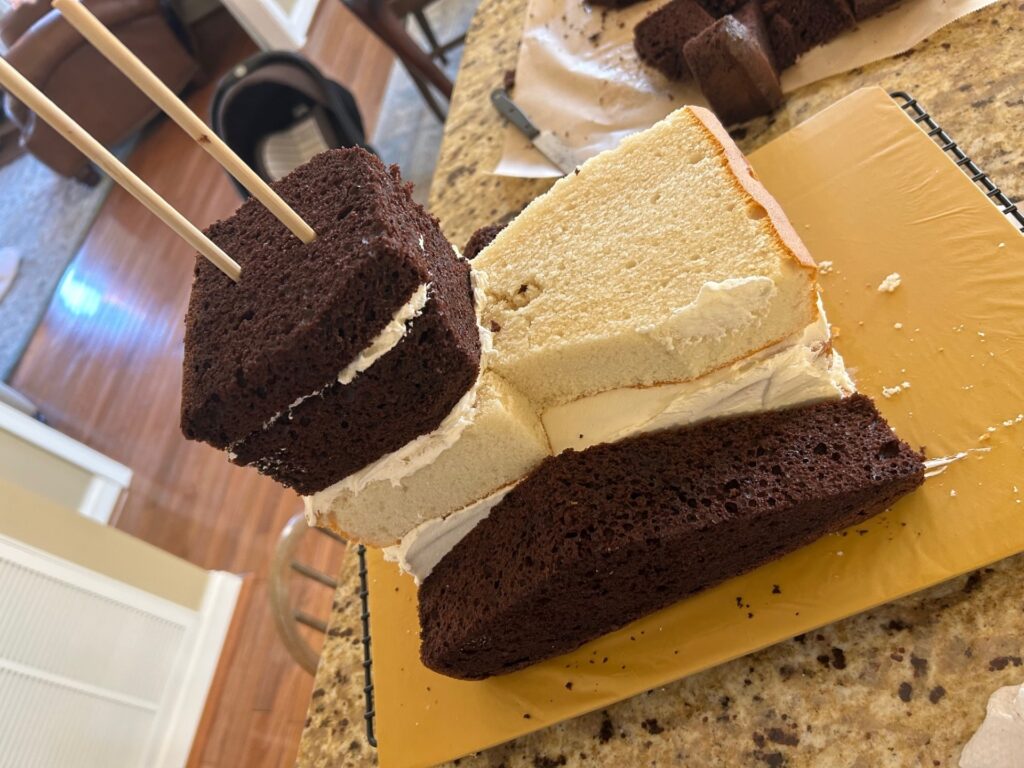
Now it is time to put the track pieces on. Apply a thin, even layer of icing to the side of the bulldozer body and the cake board (as shown in the image above) to glue these cake pieces in place. Once the tracks are on, layer icing and cake up to the top of the cab.
The cab part of the cake ended up being pretty tall, so I stuck cake support dowels into the cake to help hold it together. It is very common to use support dowels on a cake this tall.
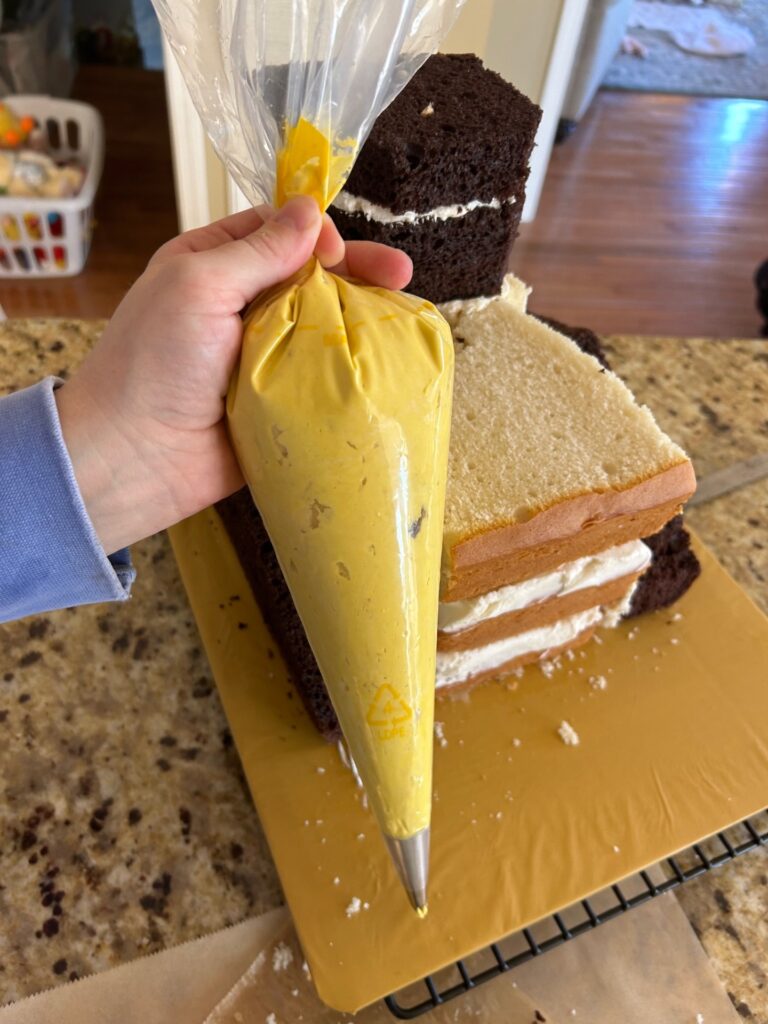
Step 5: Ice the Cake
Now it is time to ice the cake! Divide the icing into about 3/4 and 1/4. Color 3/4 of the icing yellow and the rest will be black. To make the yellow I used Wilton Lemon Yellow and a little bit of Wilton Brown to mute the brightness of the yellow a little bit.
Making black icing has always been a challenge for me. This time, I added about 1/4 cup of cocoa powder to the icing then mixed in a tube of Wilton Premade Black icing. You could just use premade black icing, but it is usually pretty runny. If you plan to do this, I recommend adding powdered sugar to help stiffen it up.
Using a #18 icing tip, apply yellow stars all over the bulldozer body. To keep the icing from piling up too much, I left the windows and grill blank. They will be filled in with black.
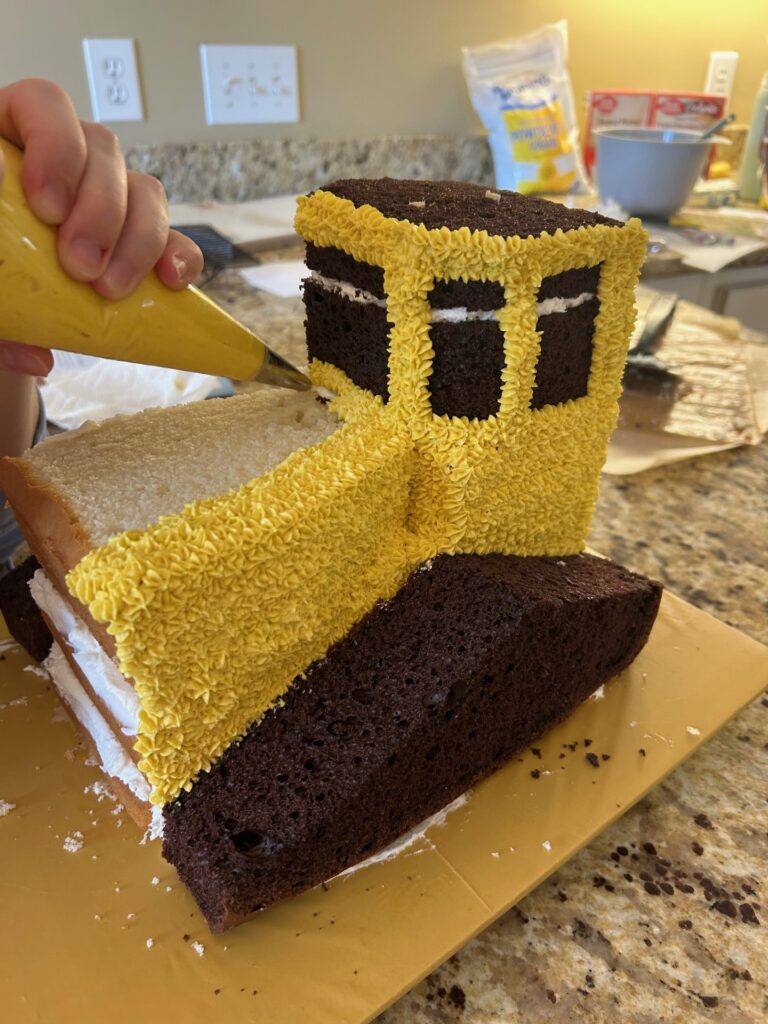
Once all of the yellow is done, fill in the windows and grill with the black.
Now it is time to add the tracks. First, I trimmed all the KitKats down, cutting them at the top of the “K.” Then, I applied a layer of black icing around the top of the tracks. This is just to glue the KitKats down. The sides of the track will be starred with #18 tip.
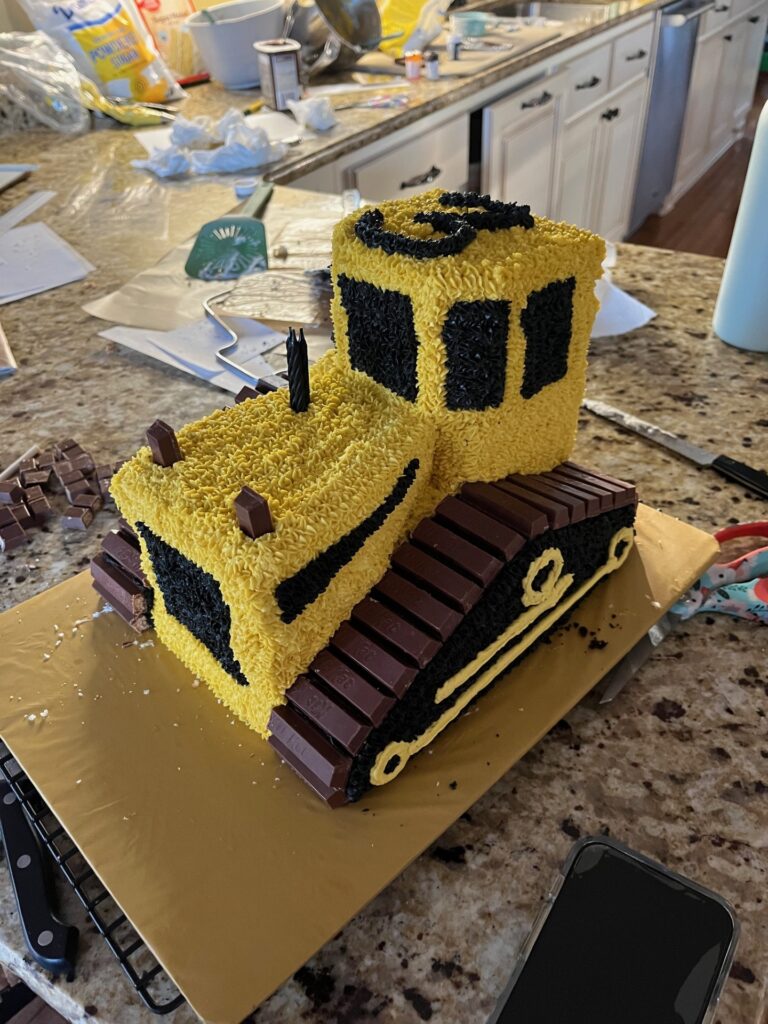
Lastly, I added a few dimensional accents. I used a smooth round icing tip to add the yellow accents inside the track and the #18 star to add black along the side of the hood. I used KitKats for the ‘intakes’ at the front of the hood, and black candles for the ‘smokestack.’
To attach the blade, stick two KitKats in the front of the bulldozer, on either side of the grill. Then, use the angles at the end of the KitKat to lean the chocolate bar up against.
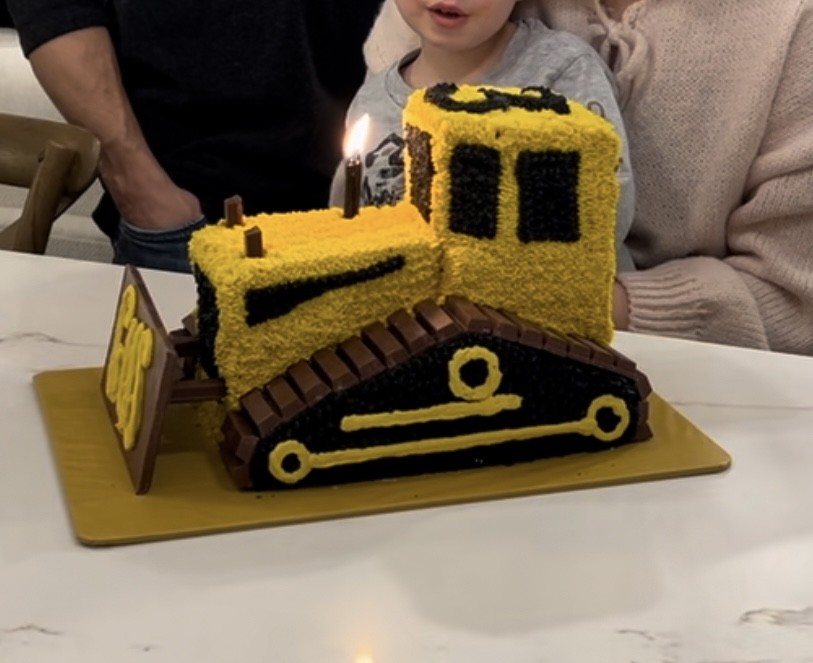
Enjoy!
I hope this step-by-step guide helped you create this awesome cake! This impressive bulldozer birthday cake is sure to be a hit at your next construction themed birthday party! From age 3 to 103, this cake is sure to please any birthday boy! Also, to complete your construction themed birthday party, check out this construction party supply set!