Learn how to make a baby name banner for your little one’s room or nursery in this step-by-step tutorial. This baby name banner turned out so sweet and was super easy to make. I love a quick sewing project, and with a baby girl on the way sewing for her has become one of my favorite things to do! The beauty of DIY is that you can create something exactly how you want it. I found a beautiful old quilt to make the letters with, but you can use any color or pattern fabric you want! Read more for the full tutorial!
(This post contains affiliate links, and as an Amazon Associate, I may earn a commission on the purchase of qualifying items at no cost to you.)

Supplies
- Sewing Machine
- Thread
- Polyfill Stuffing
- Fabric
- String, Ribbon, or Yarn
- Roman Shade Rings
- Command Hooks
- Pattern Letters
Create a Baby Name Banner Pattern
I created a pattern on Canva using the font “Bobby Jones” set to 800. I then used the outline effect tool set on 53 to give me an idea of a seam allowance. To use the outline effect, click the “Effects” button to the right of the top bar. It is highlighted in purple in the photo below.
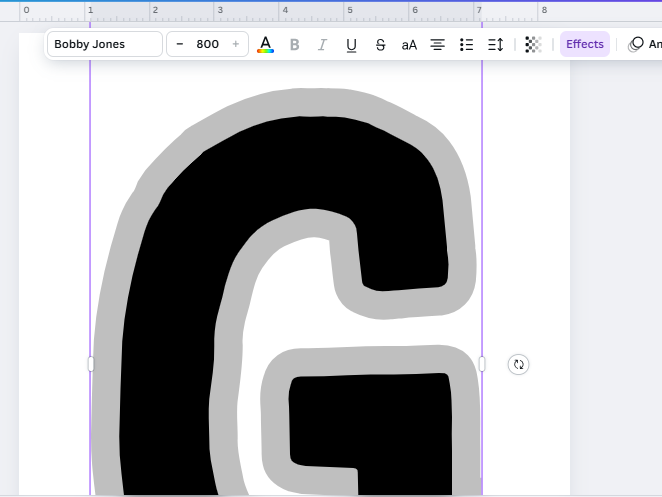
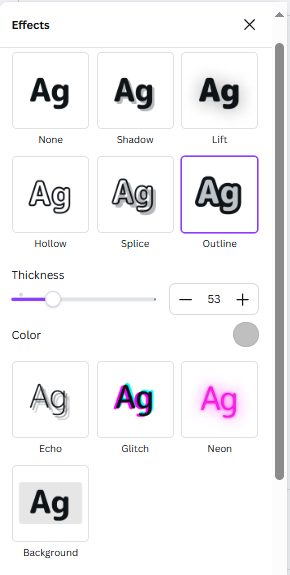
Next, choose outline and adjust thickness to desires seam allowance. I used 53 on all of my letters, which allowed about .5 inch.
This combination made the finished letters about 8.5-9 inches tall.
Print and Cut Out Pattern
After printing your letters out, simply cut around the seam allowance. Now you have a pattern for your baby name banner!
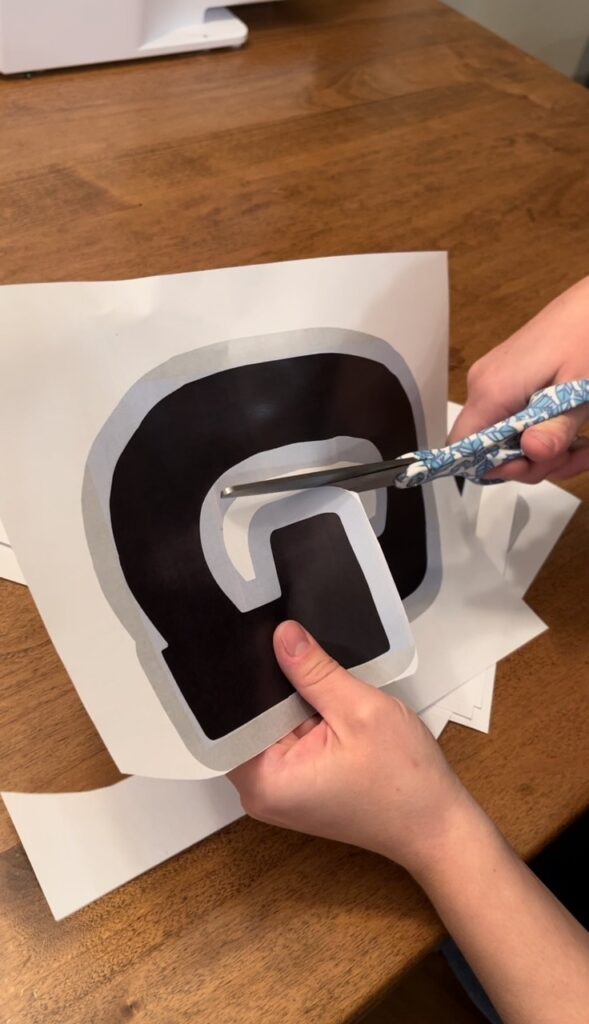
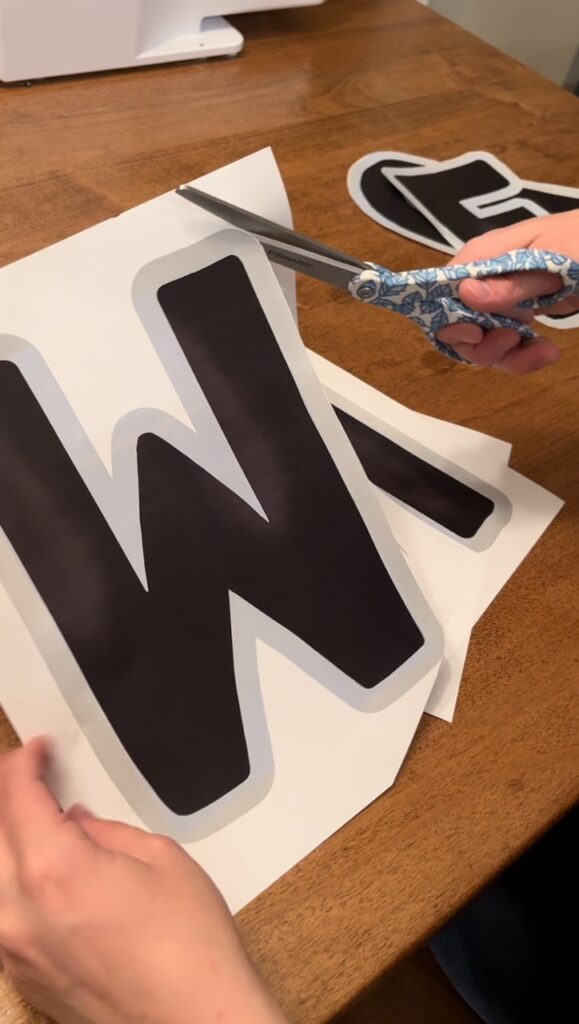
Cut Letters out of Fabric
Now it is time to cut the letters out of the fabric. You’ll have to pay attention to the orientation of the letter and the fabric at this point. I chose not to turn my fabric inside out because I liked the frayed edge of the quilt. If you choose to hide seams by turning the letter inside out after sewing, you will need to make sure to cut the right side of the fabric. In the cutting step, it only matters if you are using a different face fabric and backing. Since the old quilt I used was so thick, I used a thinner backing fabric.
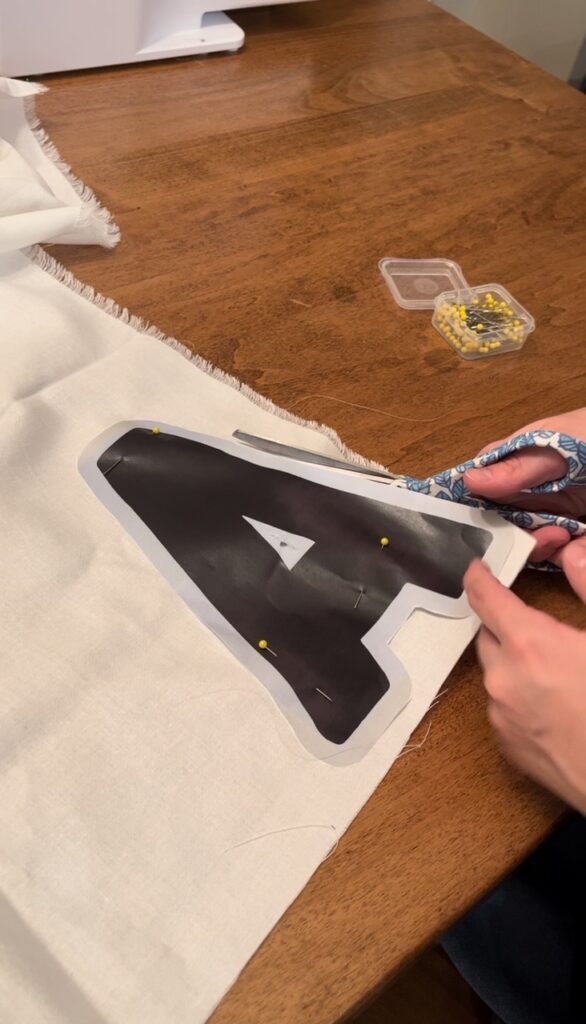
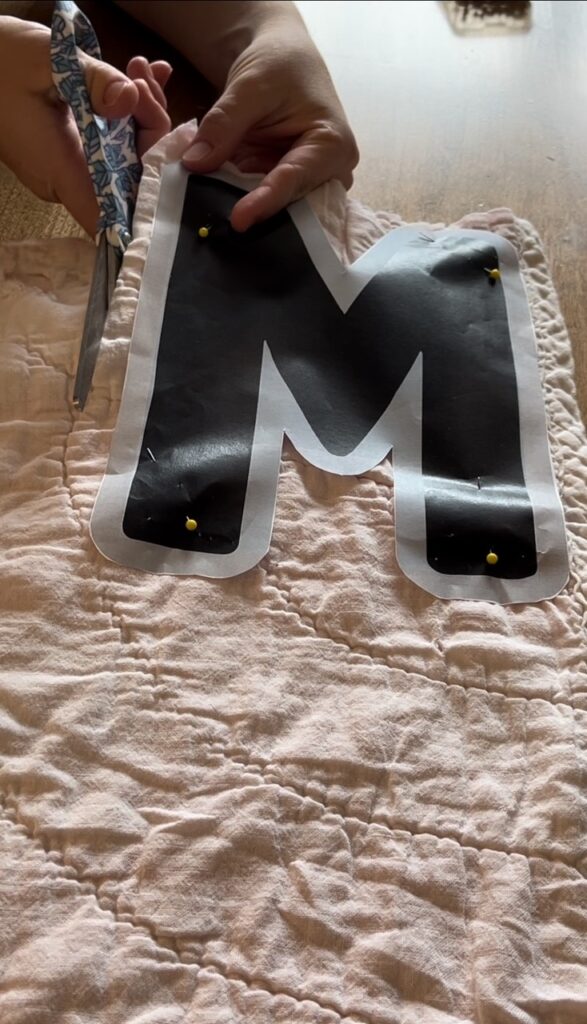
Sew Baby Name Letters
Next, use your sewing machine to sew the front and back pieces of the letters together. Again, if you are planning to turn the letter inside out to hide the seam, made sure the right sides of your fabric are facing when sewing. To help visualize the end result, it helps to pin everything together before sewing then start to turn it inside out to make sure it will look the way you want it to.
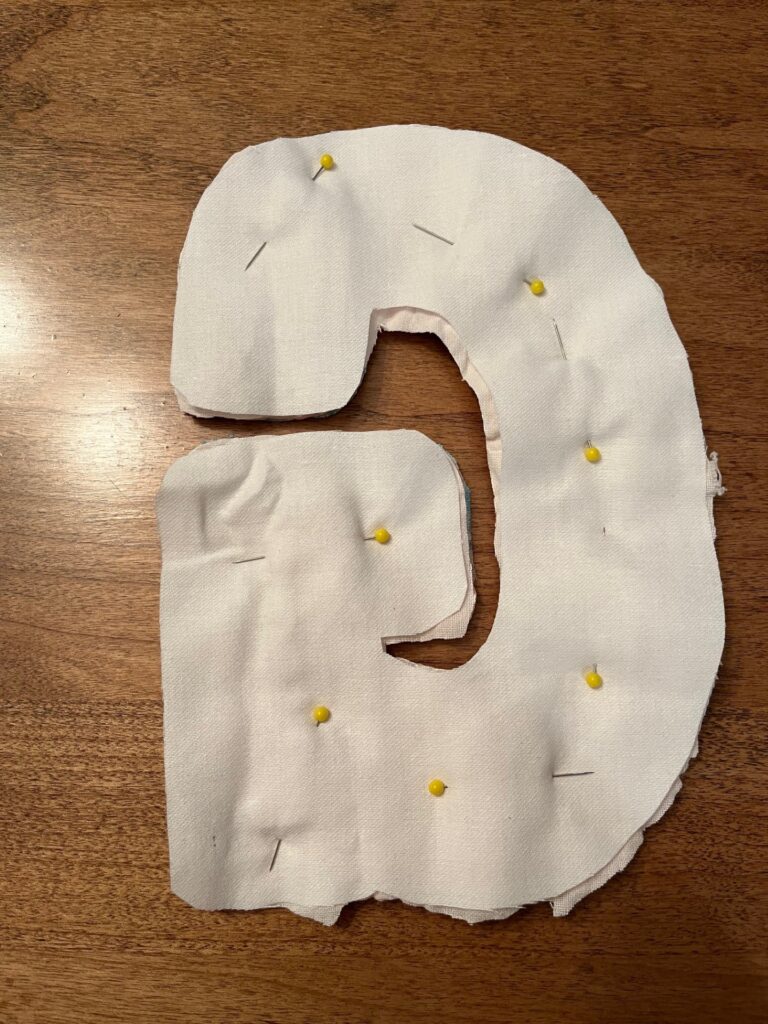
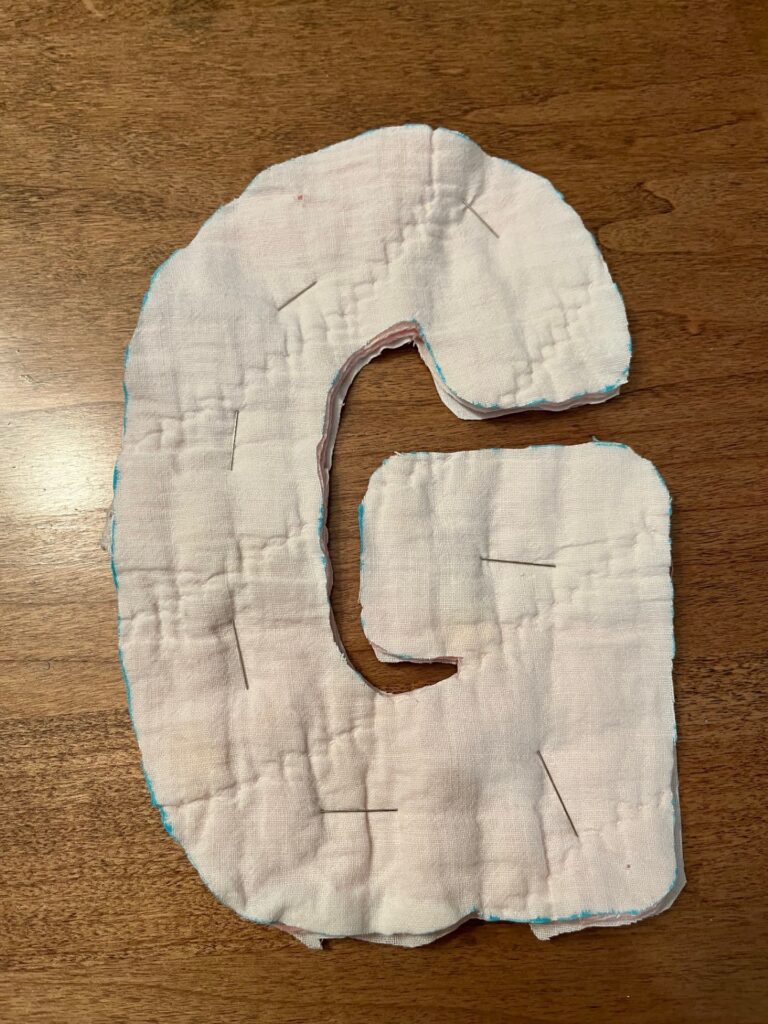
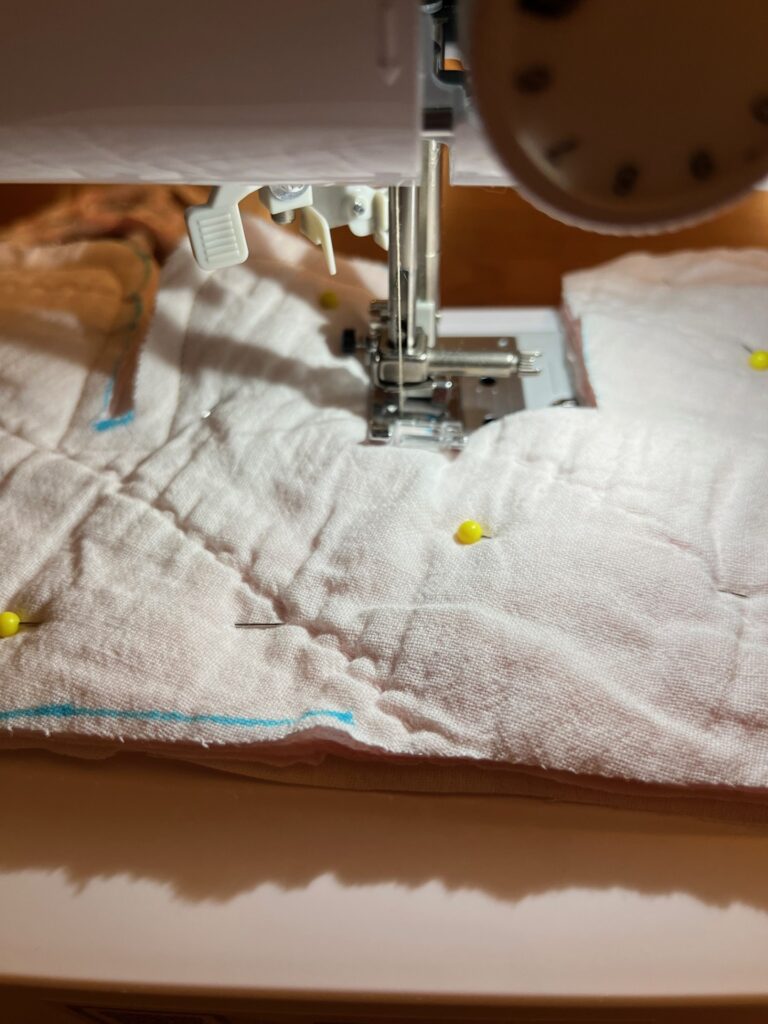
When sewing, be sure the leave an opening in order to fill with stuffing!
Stuff Baby Name Banner Letters
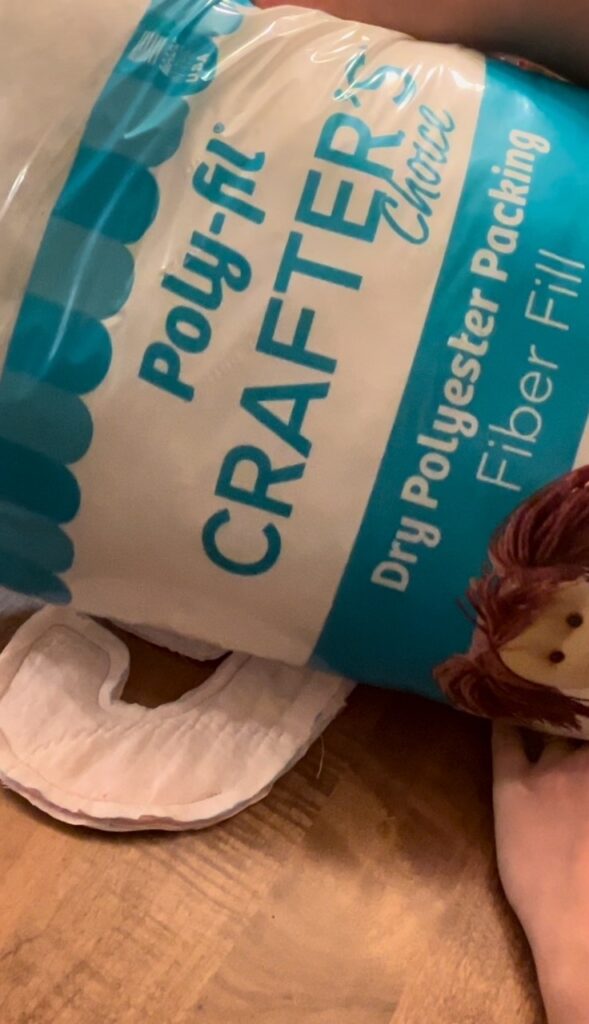
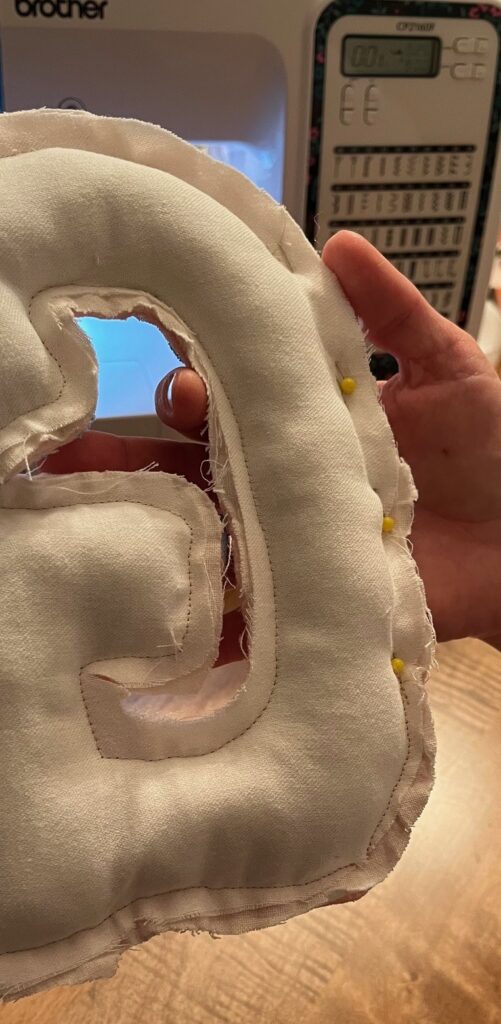
Now it is time to fill letters with polyfill. You do this as if you were making a pillow. Sometimes I have to use a pair of scissors, or a popsicle stick to help get the filling into the corners. Be careful not to overstuff the letters!
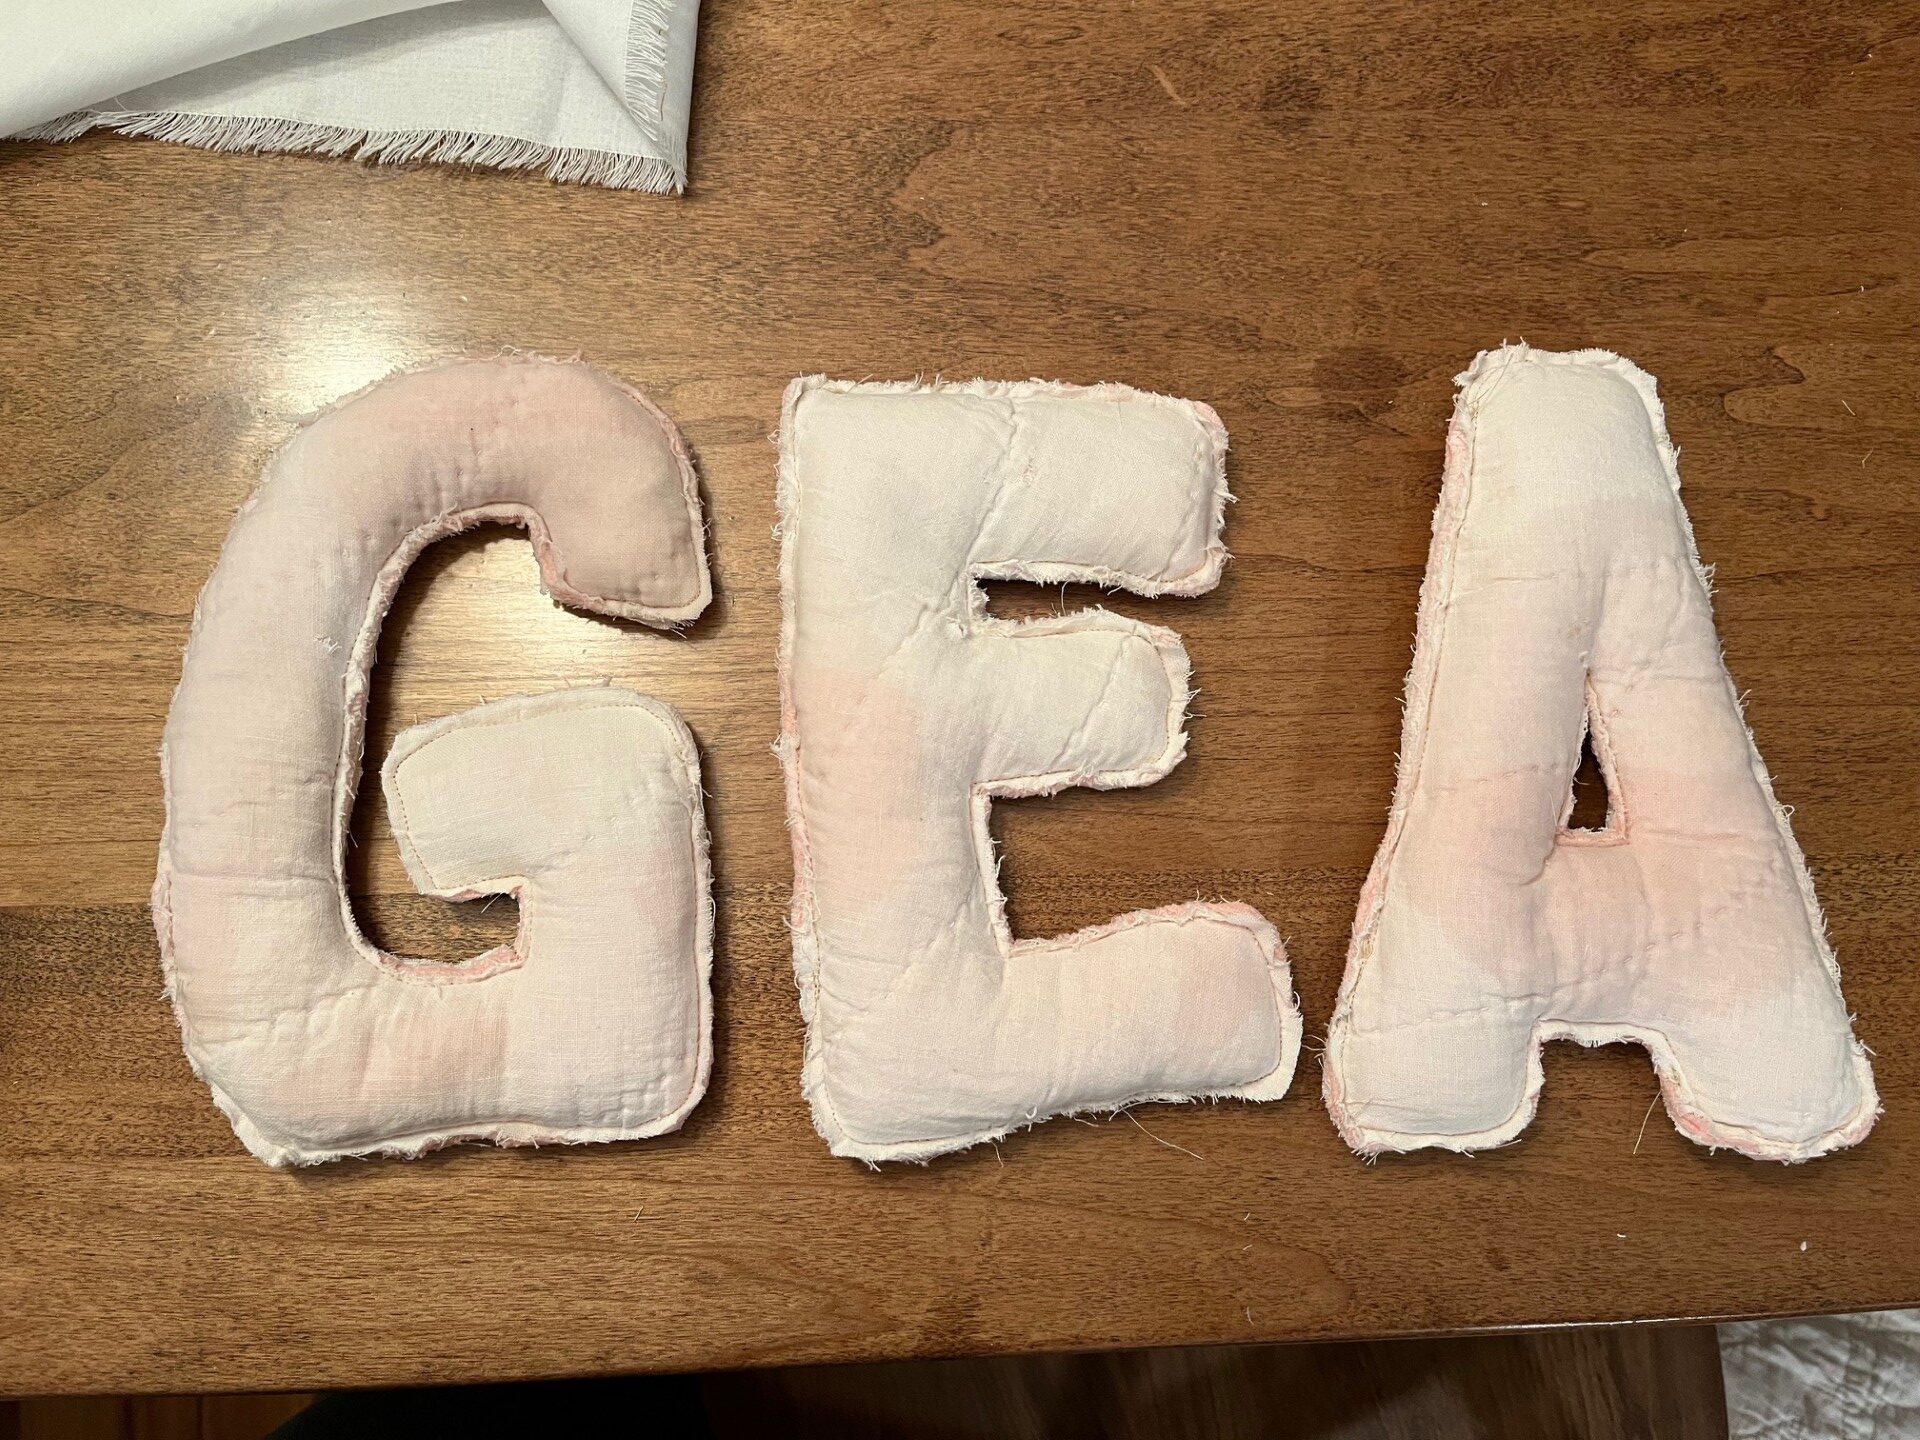
After stuffing, pin up the opening you left and sew it together. Since I left rough, frayed edges, I just sewed it up with the sewing machine. If you are turning your letters inside out and want to hide the seam, use this tutorial video on how to use the ladder stitch to finish your letters!
Attach Letters to Ribbon
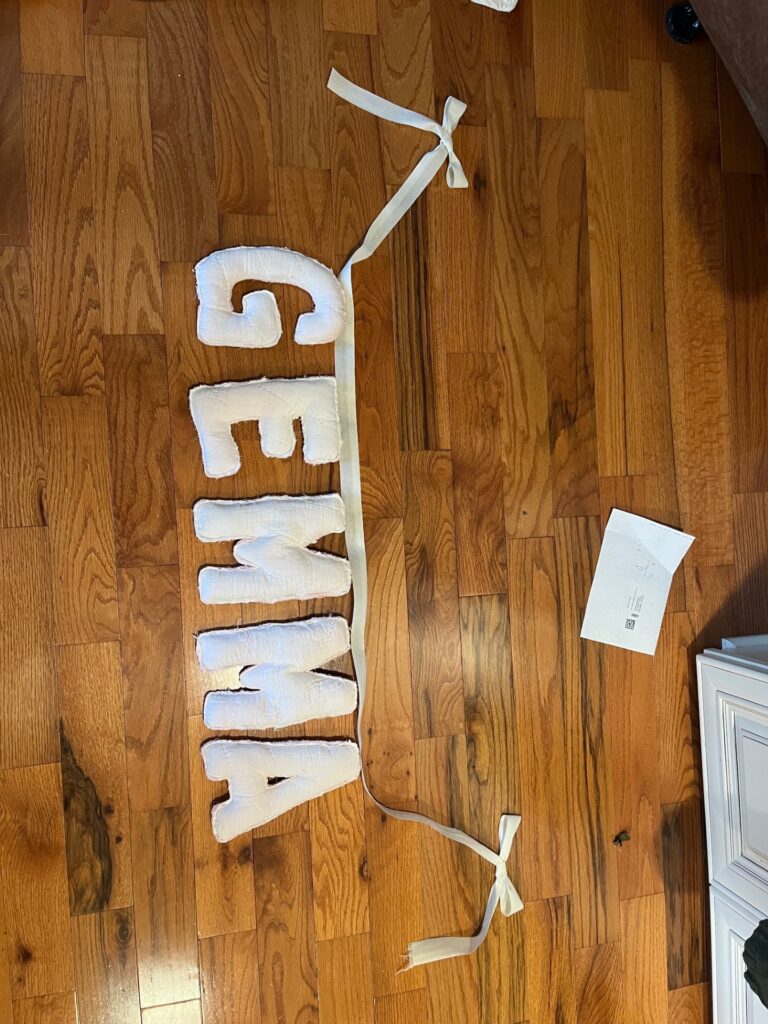
Next, space out the letters along a ribbon or string and attach it together. I hand stitched each letter onto a piece of fabric ribbon then tied bows at each end. If you want to learn how to tie a perfect bow, check out my instructional video here!
I decided to sew these roman shade rings on the back of the bows and sew the bows so that they wouldn’t come undone. This way, I could just hang the ring onto the command hook, and it looks like a perfect bow hanging from the wall.
Hang Baby Name Banner and Enjoy!
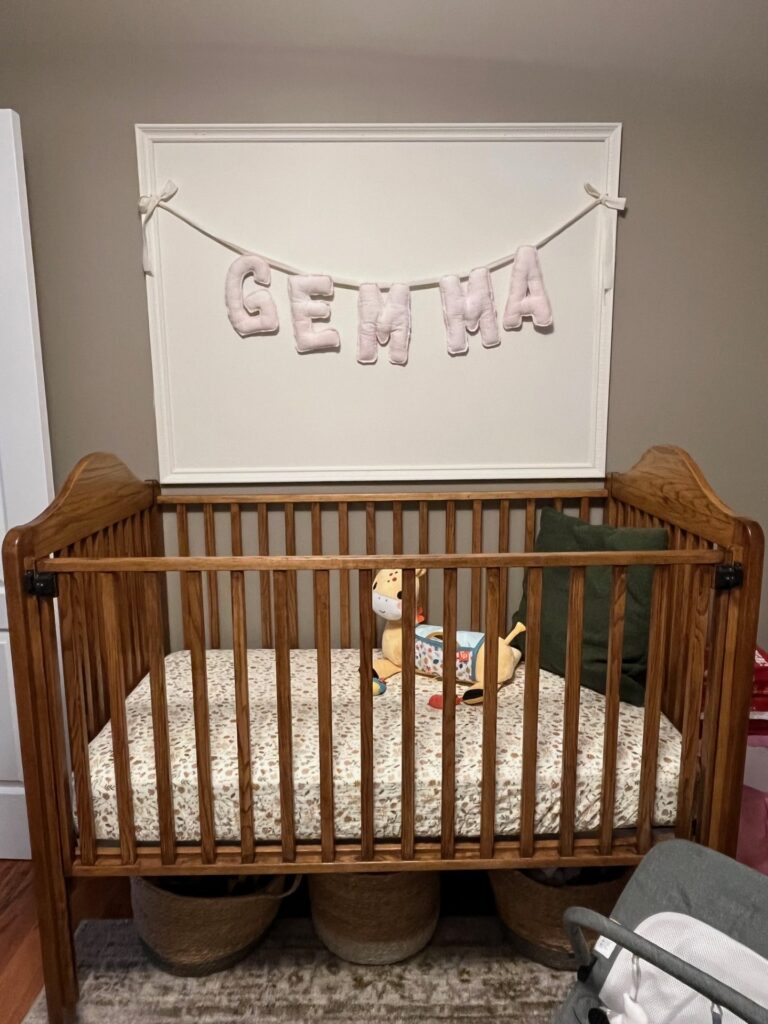
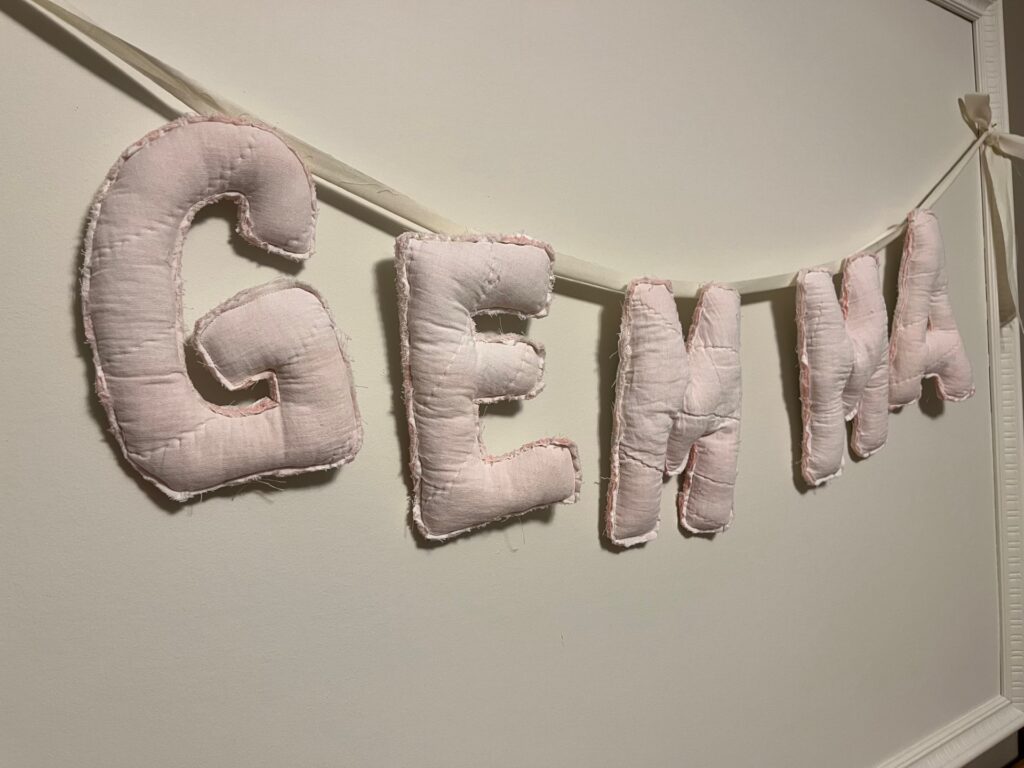
I hope this inspires you to create something special for your little one’s nursery! To me, there is nothing more special than handmade decorations, and this DIY baby name banner was the perfect addition to my little girl’s nursery! Happy DIY-ing!
