If you are wondering how to achieve a perfect neutral brown stain color every time, then this is the technique for you. I wish I had learned about this stain combination sooner because now I want to redo everything in my house! This is the best way to even grain blotchiness, reduce yellow/orange undertones and achieve a soft neutral brown!
(This post contains affiliate links. As an Amazon Associate, I may earn a commission on qualifying purchases at no cost to you)
Supplies
- Nitrile Gloves – These are my favorite gloves to use for DIY projects. It’s good to go ahead and get nitrile gloves because some chemicals can eat through regular latex gloves.
- Tack Cloth – Tack cloth is extremely helpful when prepping a surface for its finish. It is hard to remove all the fine dust without it! The product linked above is wax free, so you don’t have to worry about wax getting underneath the finish.
- Sandpaper – You can never have too much sandpaper, and this variety pack is perfect for all DIY projects.
- Stain Cloths – I have cut up old white t shirts before, but these lint free cloths are ideal.
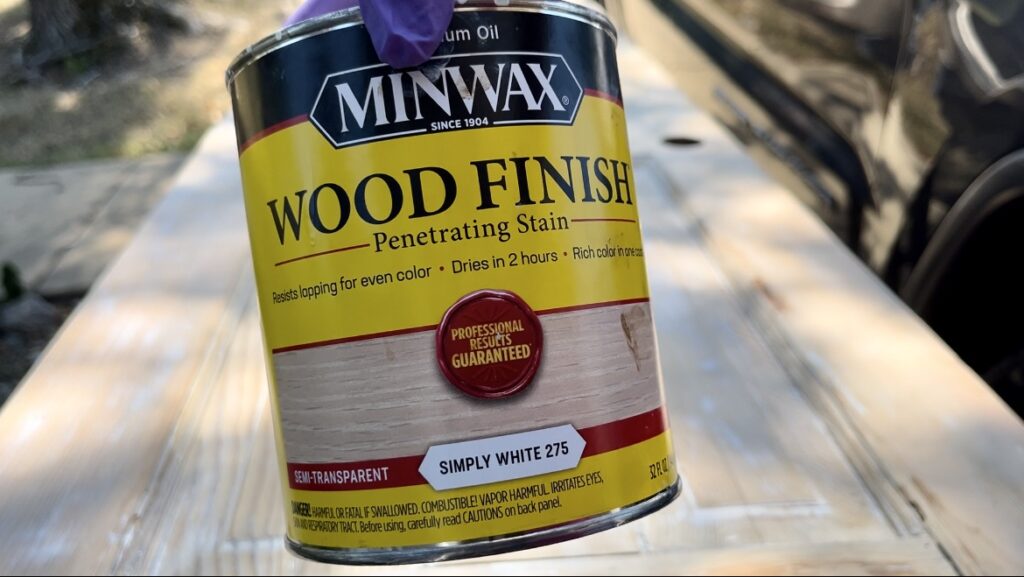
- Minwax Simply White – this is the key ingredient to getting the perfect soft stain color
- Minwax Oil Stain – You can use any stain color you want, but I have the most experience with Provincial, Dark Walnut, and Early American
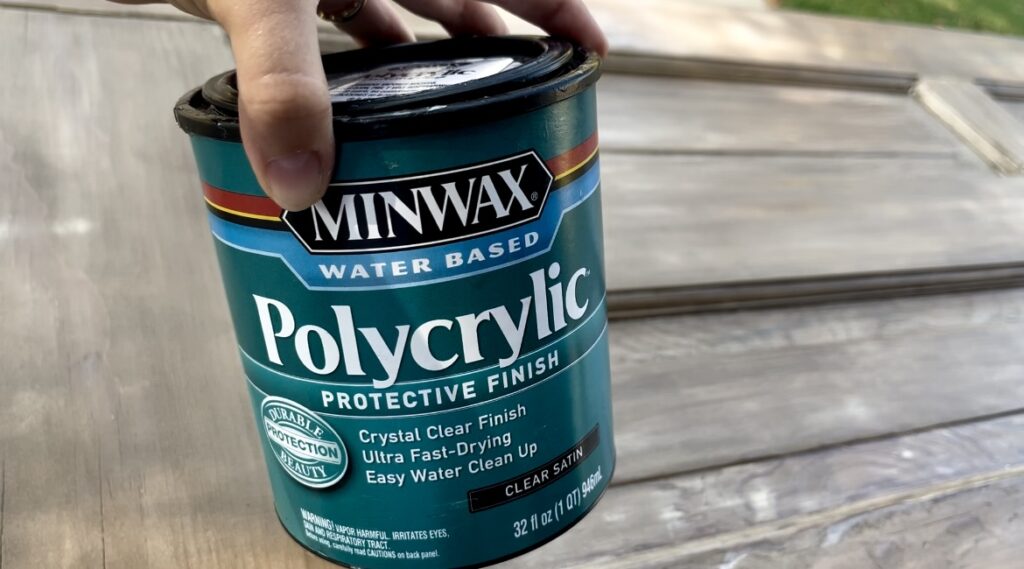
- Minwax Polyurethane (oil based) or Minwax Polycrylic (water based)
The Perfect Neutral Brown Stain Combination
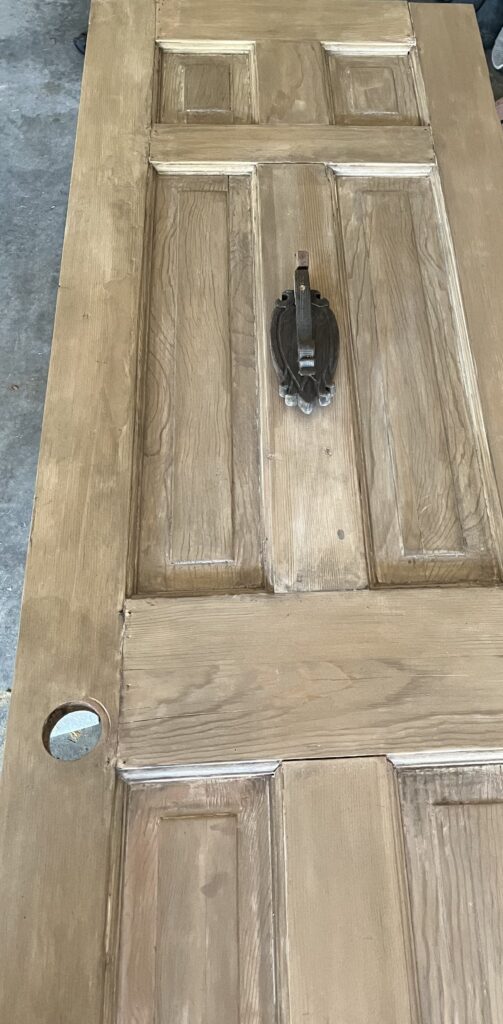
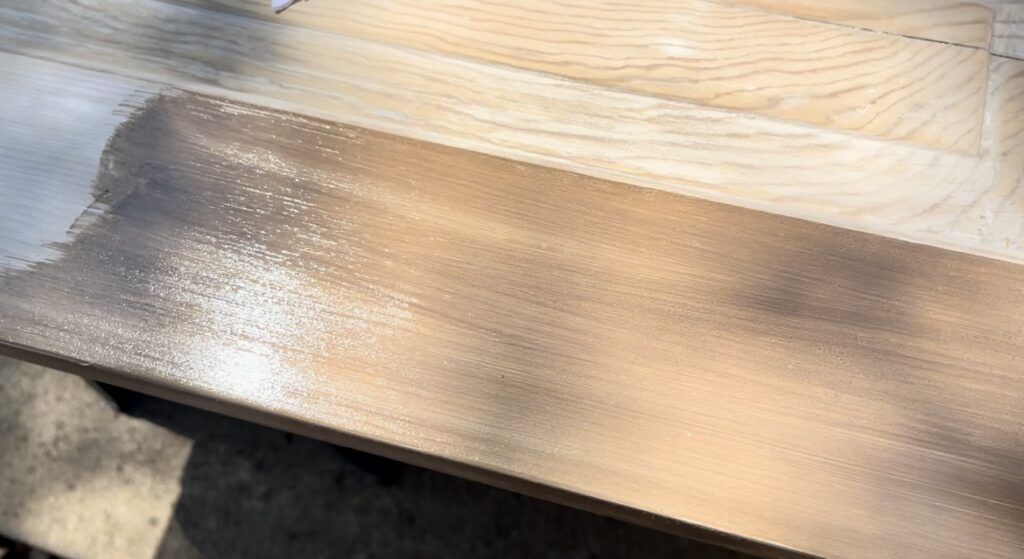
As you can see from the photo above, this stain technique can make all the difference in the world! The left and right side of that piece of wood is stained with dark walnut, the right side just has simply white under it. A simply white undercoat can tone down a stain and help fill in the cracks for an even, neutral finish. (This is Minwax Dark Walnut on a Birch cabinet door.)

Step 1: Surface Preparation
It is always important to start with a smooth surface when staining wood. When working with raw wood, I recommend sanding with 120 grit or 180 grit, and then with 220 grit right before staining. If the surface is already pretty smooth, for example, the unfinished cabinet door pictured above, then it is only necessary to sand with 220 grit. Sanding helps to open up the wood grains to allow for better stain penetration.
Step 2: The Key to Neutral Brown Stain – Minwax Simply White
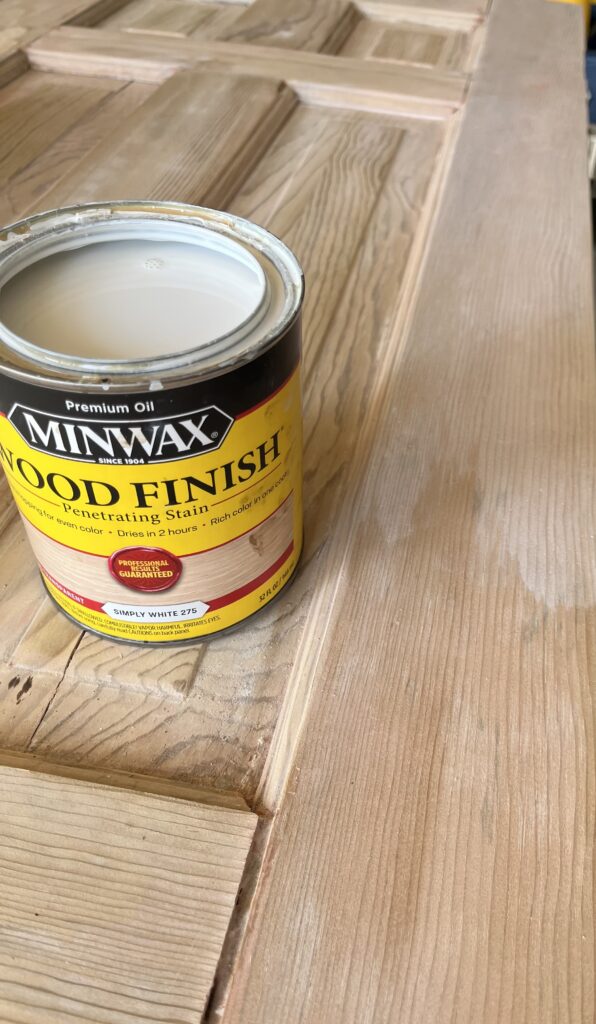
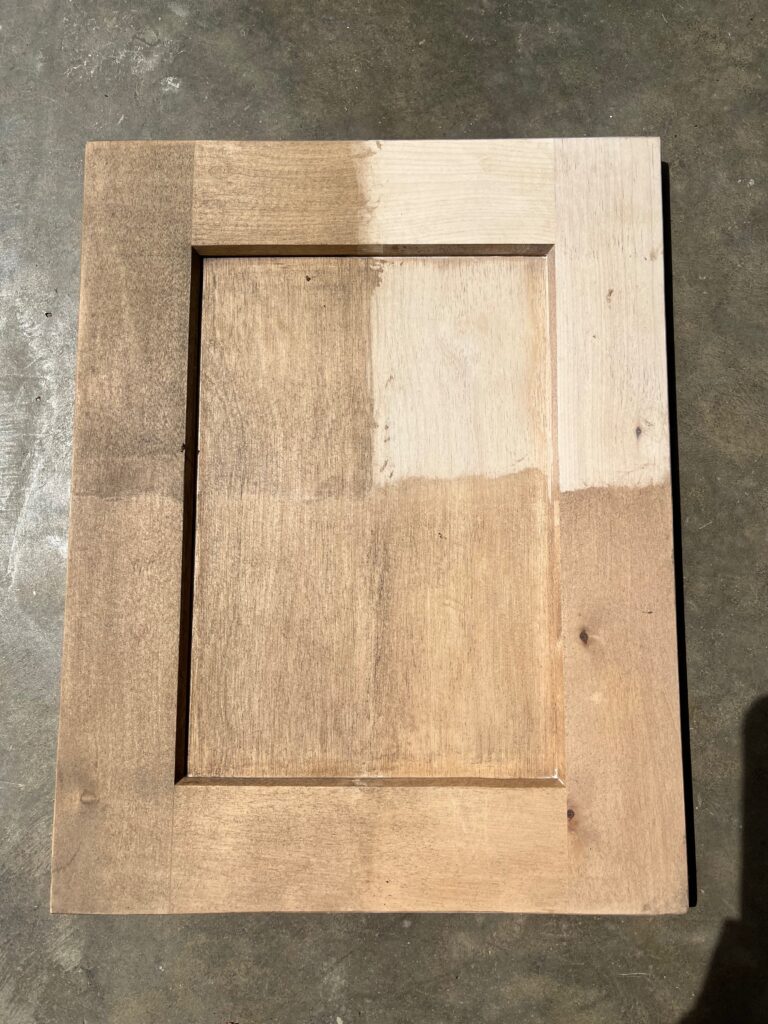
The bottom part of this pine door does not have Simply White applied, but the top part does. You can see how affective it is in canceling out red/orange tones and creating an even, neutral surface for stain application!
Disclaimer: I only have experience using this technique on pine and birch woods. I have stained poplar and can attest that it is very difficult to get an even finish. When working with poplar or maple, it may be beneficial to use a traditional pre-stain conditioner then simply white before staining. It would be worth testing a small spot before going all in on a project. If I ever try it, I will update with my thoughts!
Step 3: Final Stain Color
The final stain color can be anything you want! Minwax Provencial is usually my go-to stain color. I have tried a few different colors but always seem to fall back to Provencial! Here are some examples of what I have colors I have tried with this technique as well as the wood types:
Step 4: Polyurethane over Neutral Brown Stain
Happy DIYing!
I hope this neutral brown stain technique helps you create something you love! It has certainly made a difference in my staining adventures!