Turn any old plastic or Styrofoam pumpkin into a beautiful home decor piece with these simple DIY moody pumpkin tricks! Literally any pumpkin will do – the pumpkins I used had been sitting in a barn for probably 10 years. They looked horrible and were headed to the trash. I added a little bit of texture and some metallic wax finish, and now they look better than before!
(This post contains affiliate links, and as an Amazon Associate, I may earn a commission on the purchase of qualifying products at no additional cost to you.)
Don’t have Amazon Prime? Try it FREE here!

Supplies:
- Old or New plastic or Styrofoam Pumpkins
- Paint – whatever colors you want
- Baking Soda
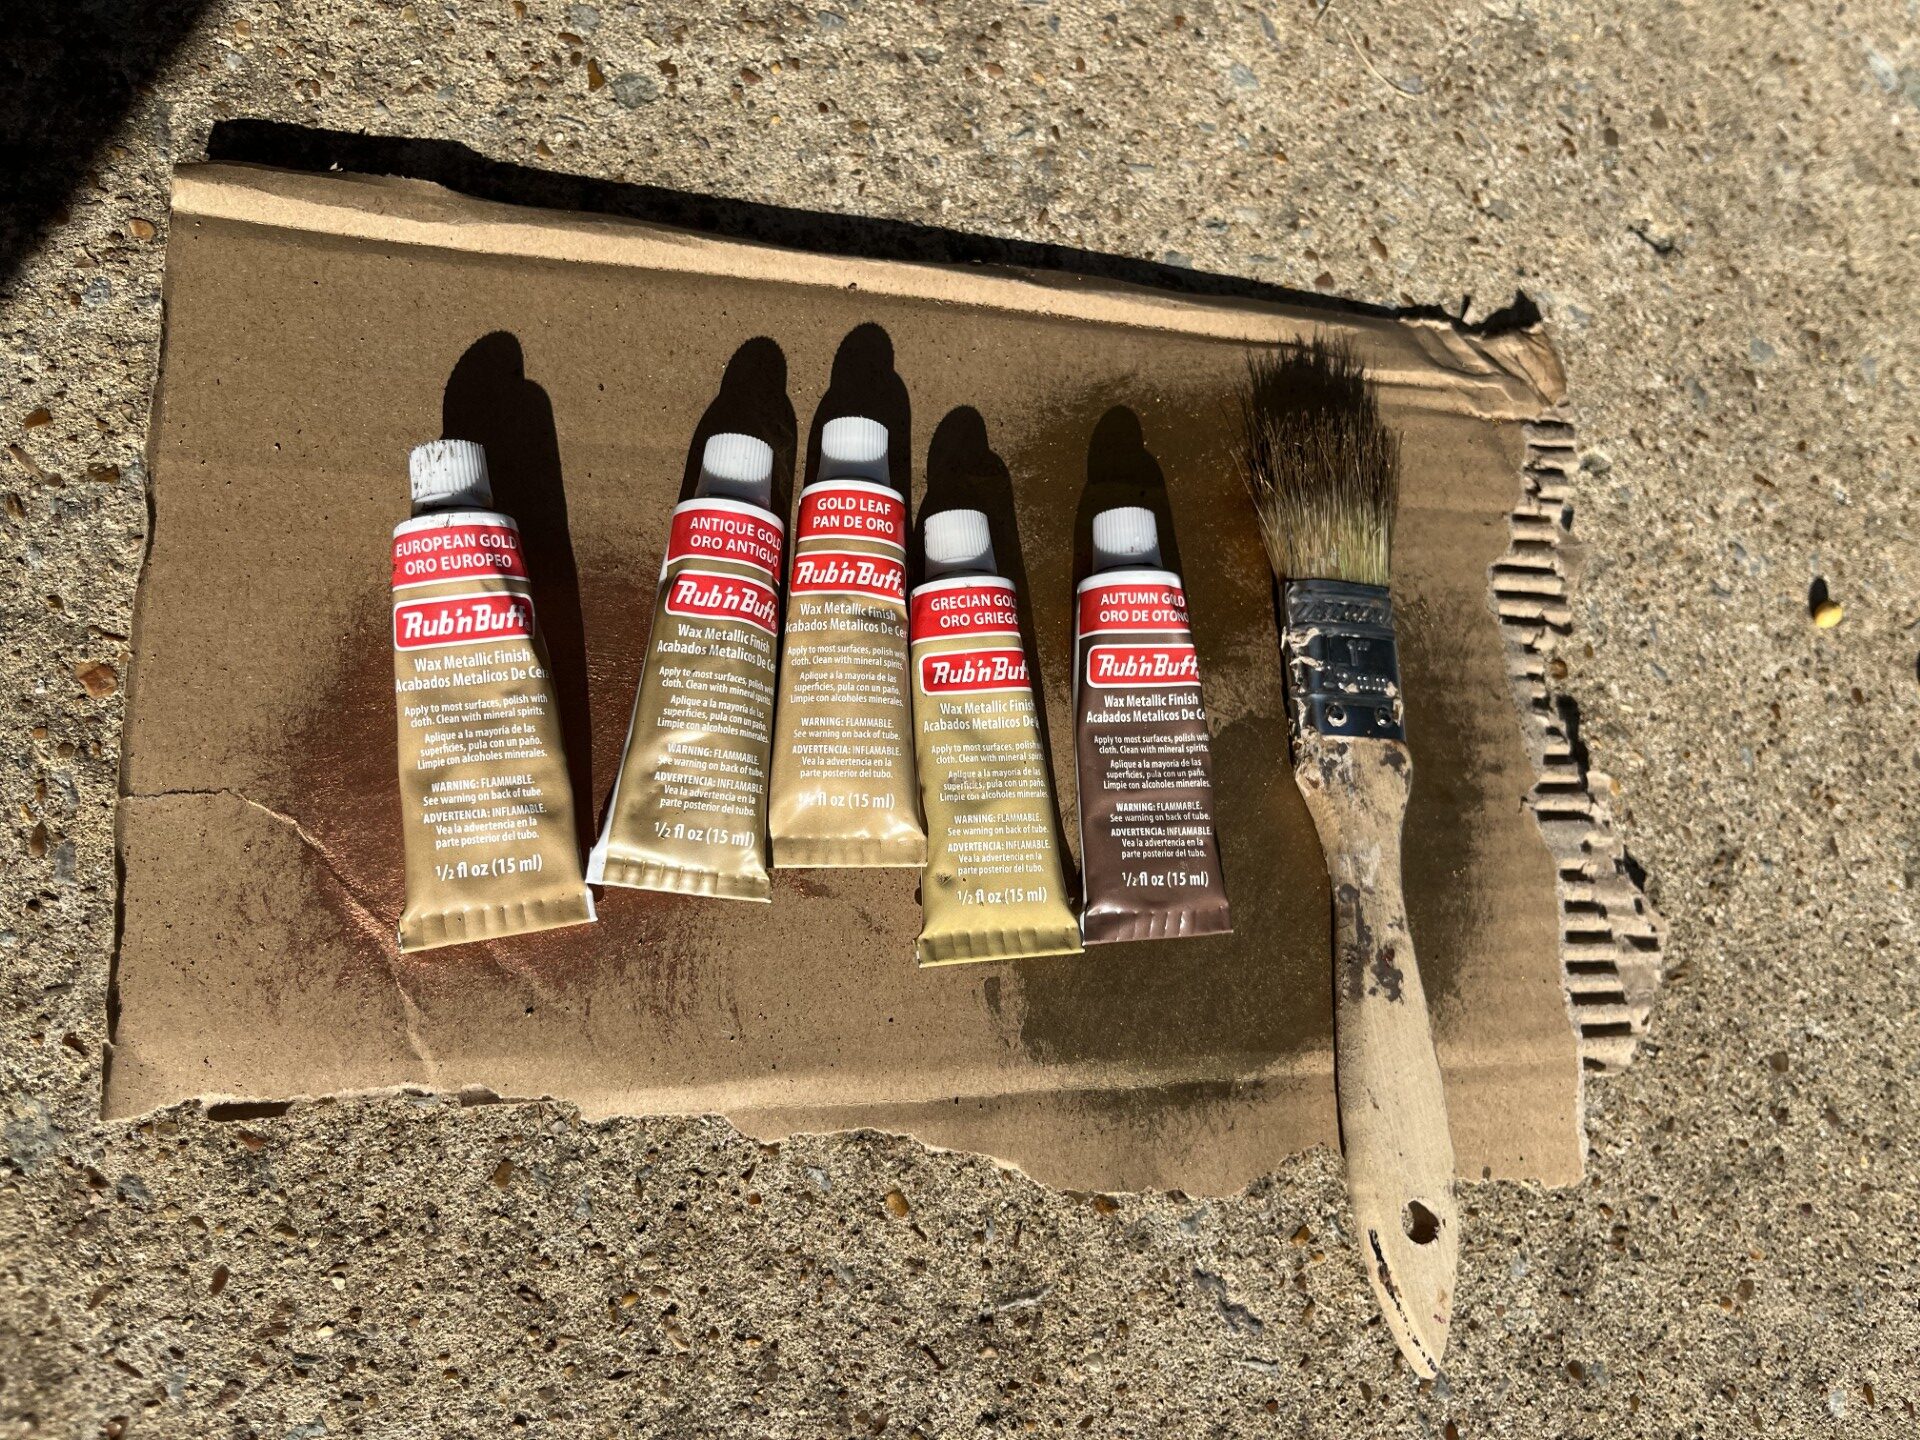
- Rough Paint Brush
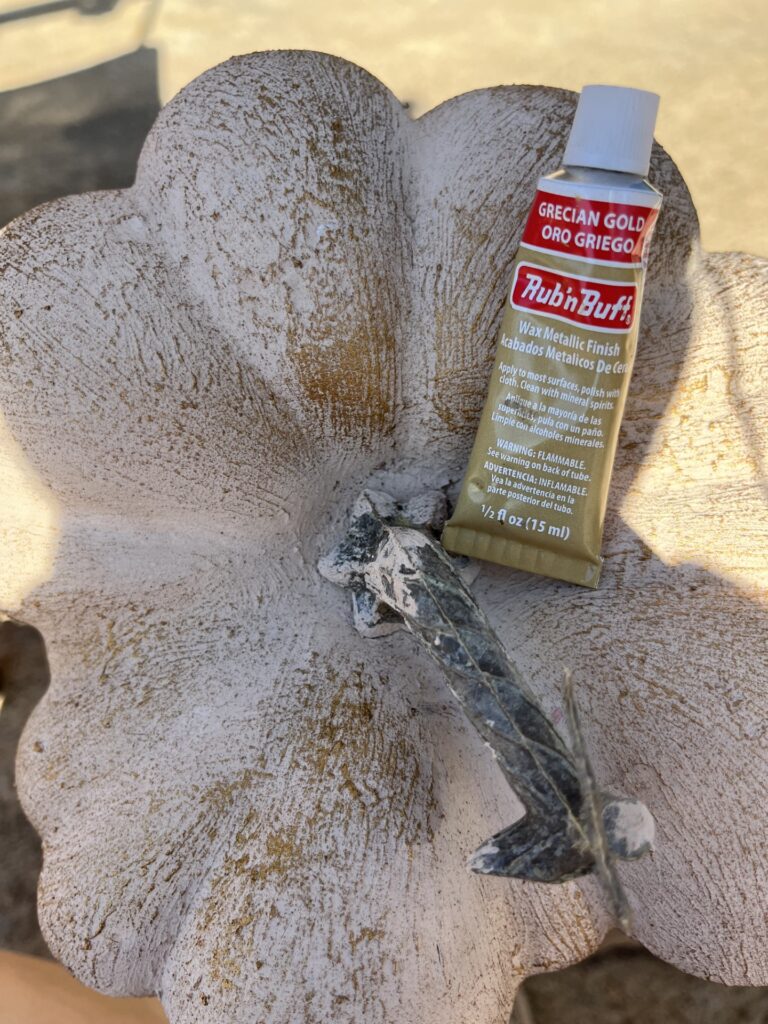
- Rub N Buff
Step 1: Prepare DIY Moody Pumpkins for Paint
Like I said, the pumpkins I used were in very rough shape. They had been out in a barn for probably 10 years. They were covered in dirt and mildew, so they needed a thorough cleaning. I scrubbed them down with hot water and dawn, and then wiped them with bleach. There is a good chance your pumpkins will only need to be wiped down to remove the dust.

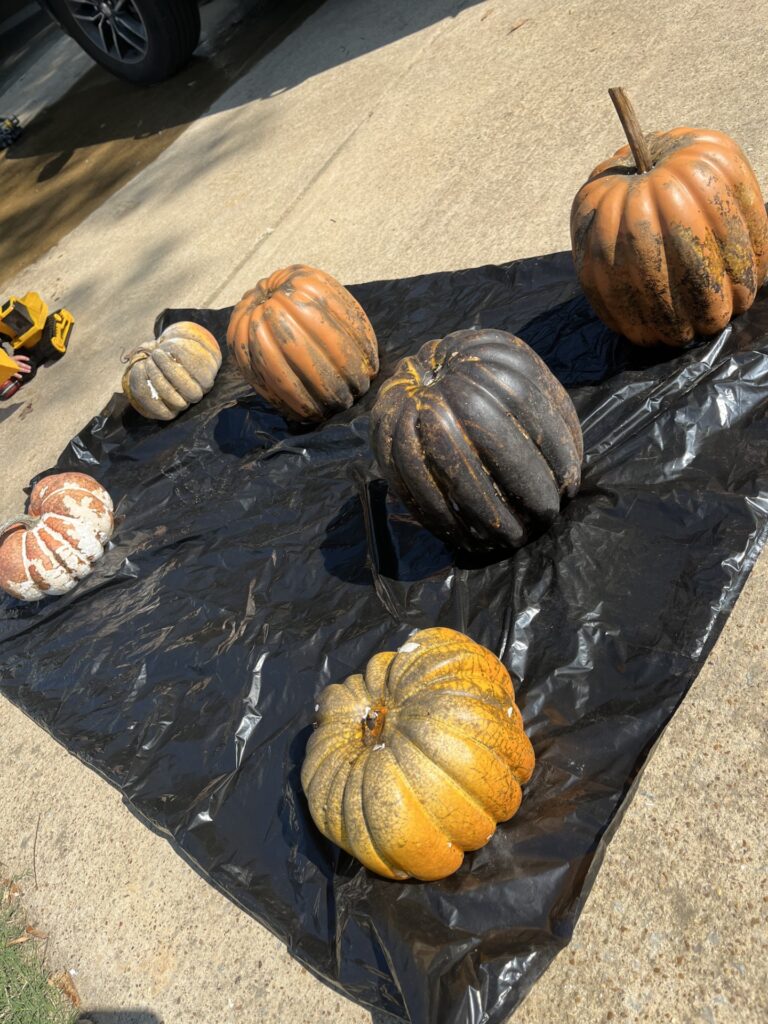
After washing the pumpkins, I set them out to dry.
Step 2: Paint your DIY Moody Pumpkins
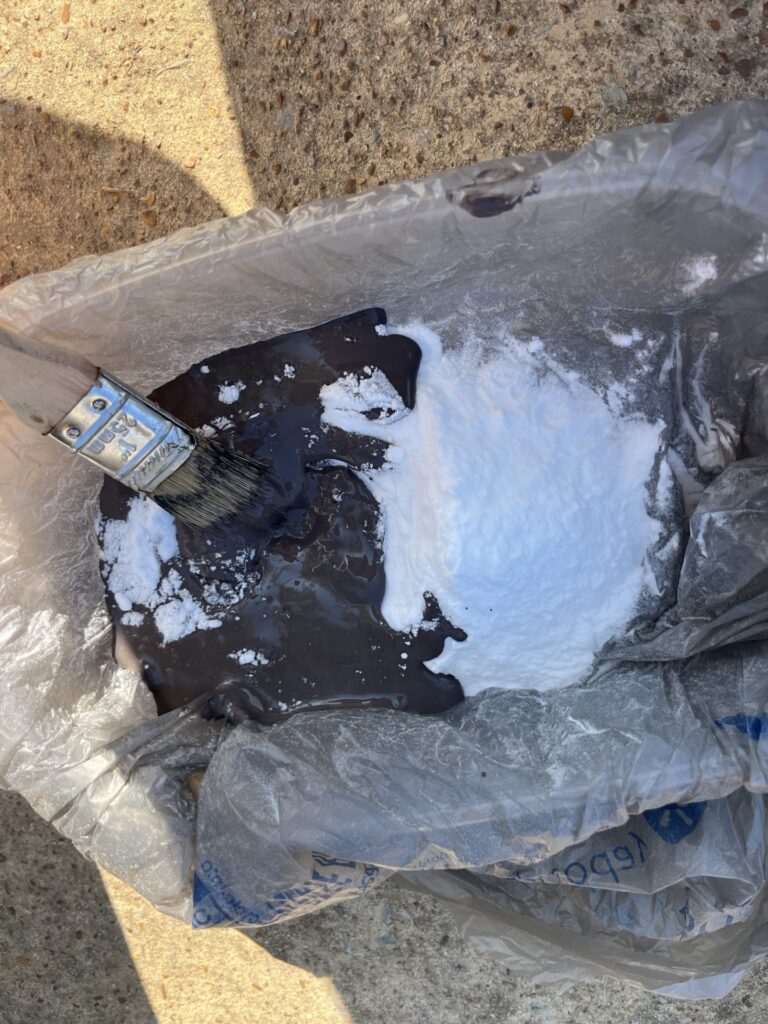
Now for the fun part! To add texture to your paint, mix it with baking soda at a 1:1 ratio. This will thicken the paint and make it really globby. It will almost look like concrete after it dries. To get a good even finish, I had to apply two coats. If the first coat is not completely dry when you apply the second coat it is okay – that will actually help to add more texture.

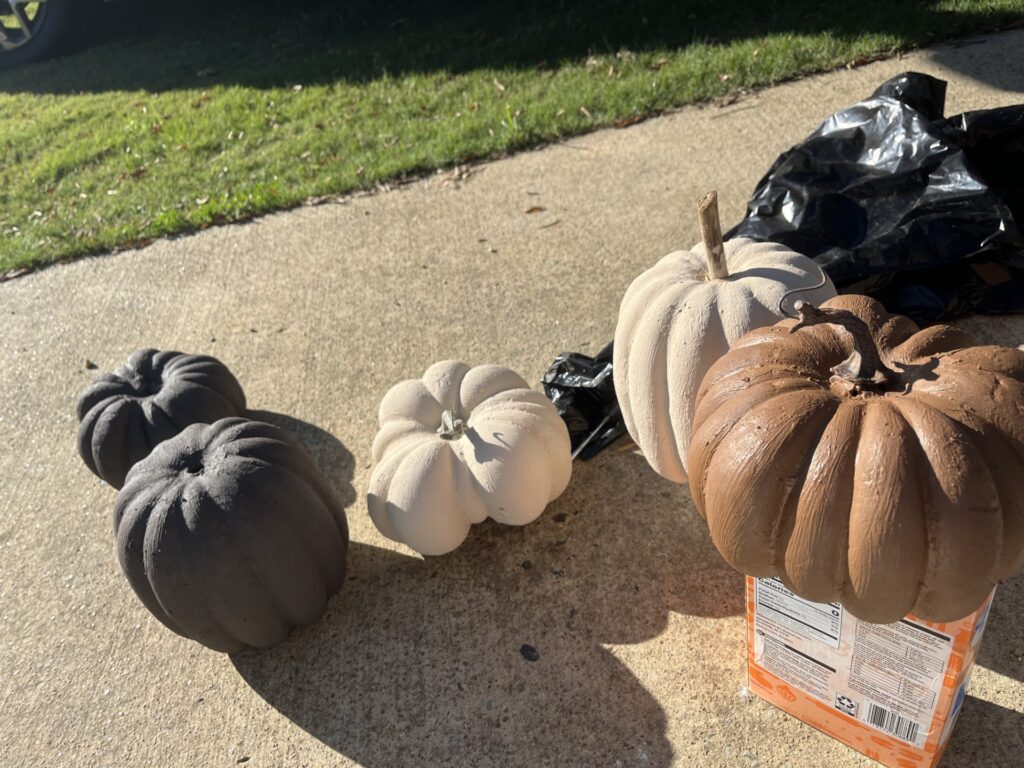
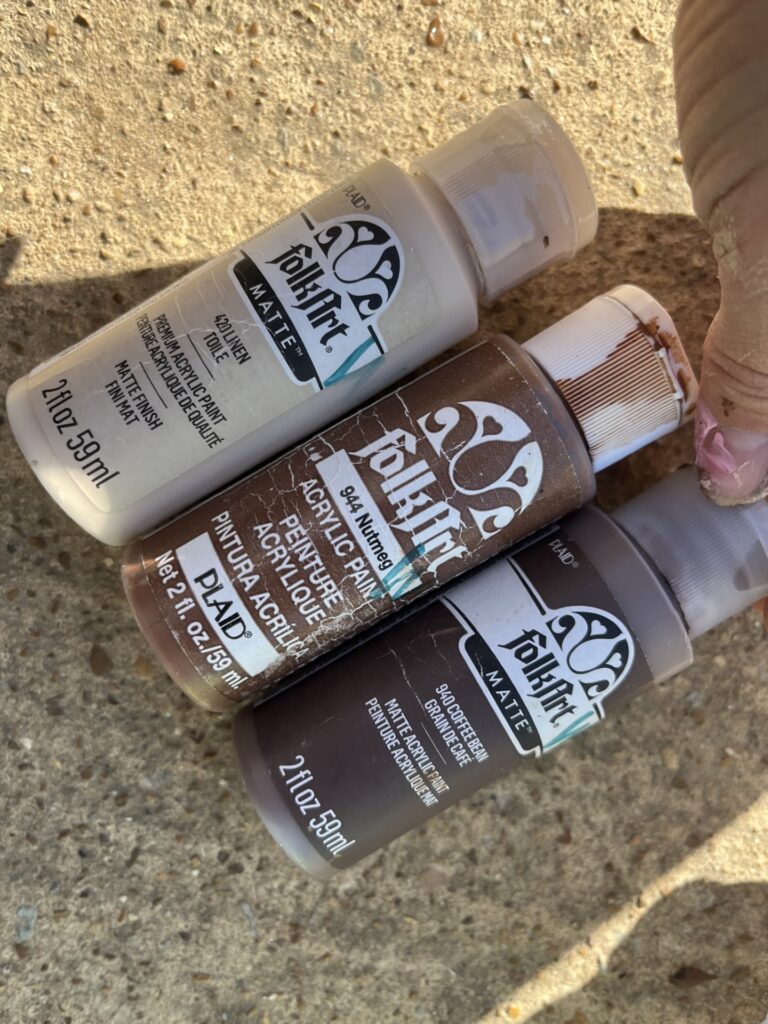
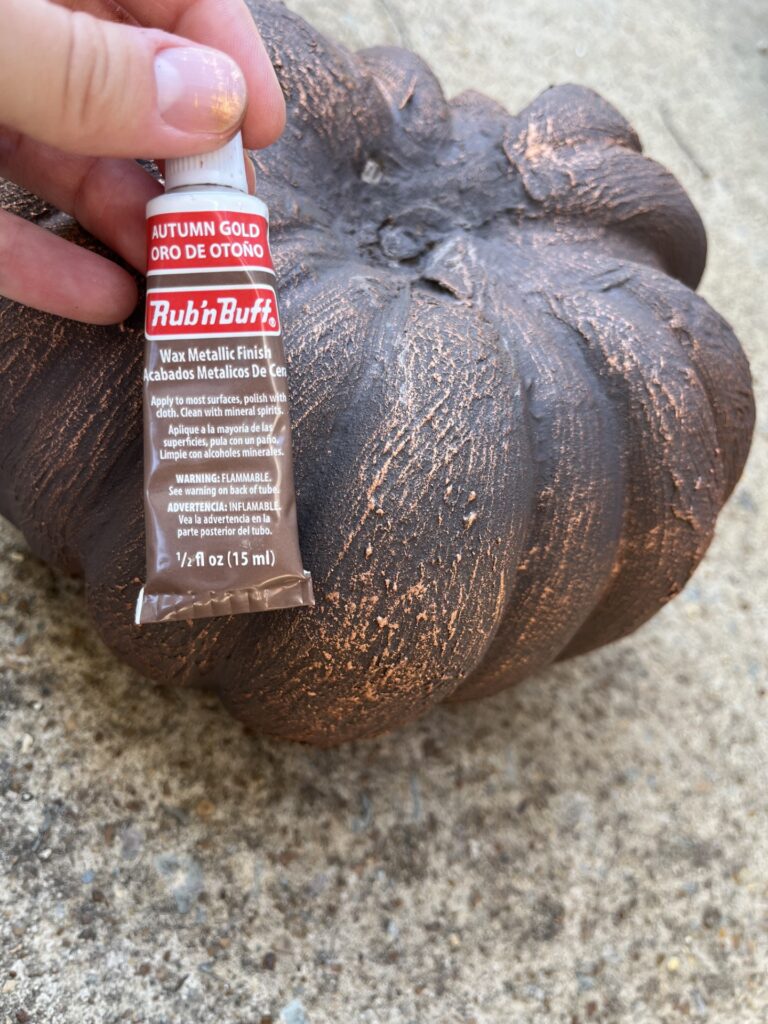
The darkest pumpkin color you see is from a Benjamin Moore paint sample I had gotten in the color Cordovan Brown. The medium brown color you see is a mixture of Folkart Coffee Bean and Folkart Nutmeg. The lightest color is Folkart Linen.
Step 3: Add Dimension to Your DIY Moody Pumpkins
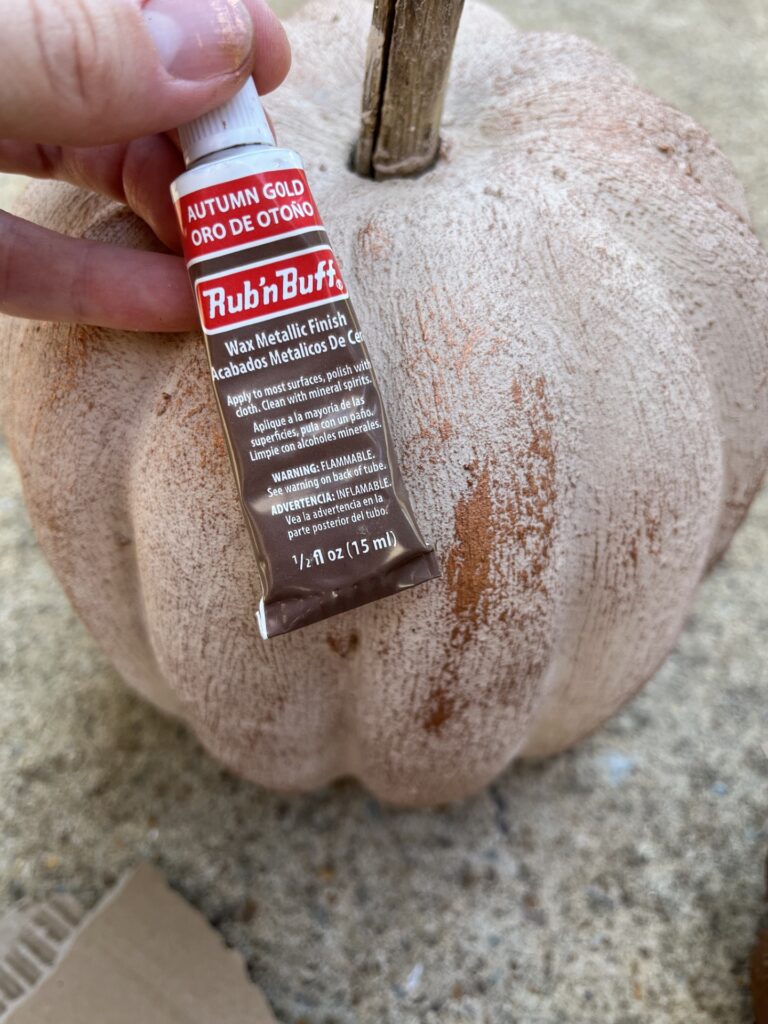
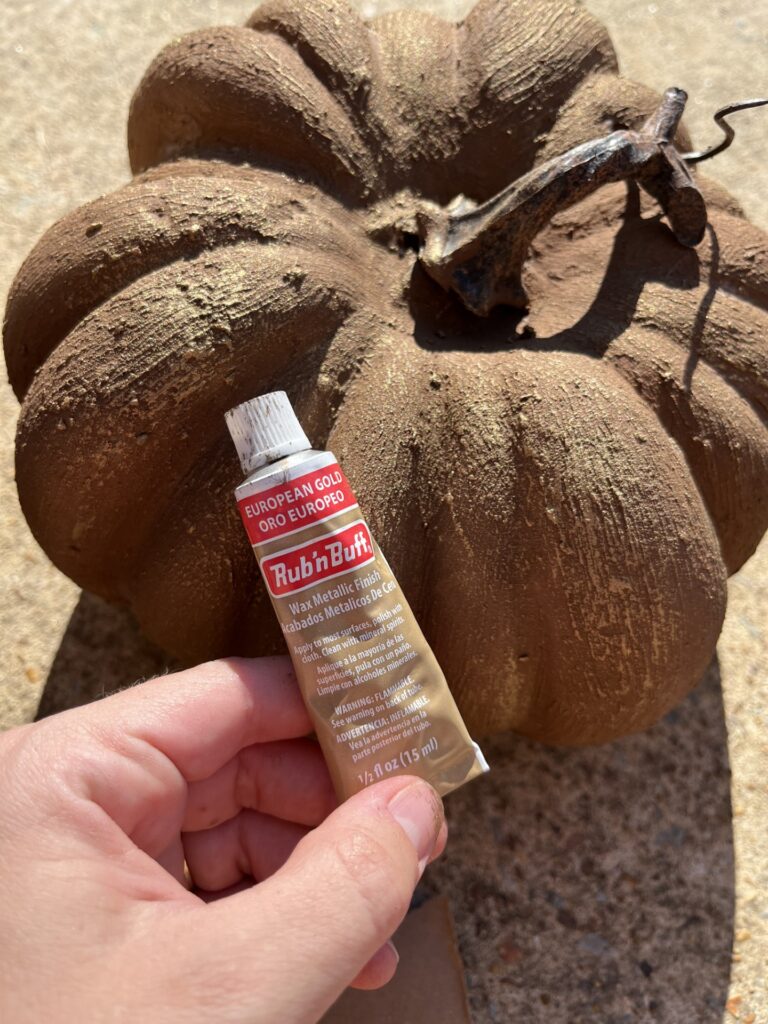
This step is a total gamechanger. Rub N Buff Metallic Wax adds so much dimension and luxury style. I decided to buy a variety pack of Rub N Buff because I was not sure which color I would like the best, but I decided I love them all so much! Simply use the same rough paintbrush that you used to apply paint to dab the wax all over the pumpkin.
Step 4: Style and Enjoy!
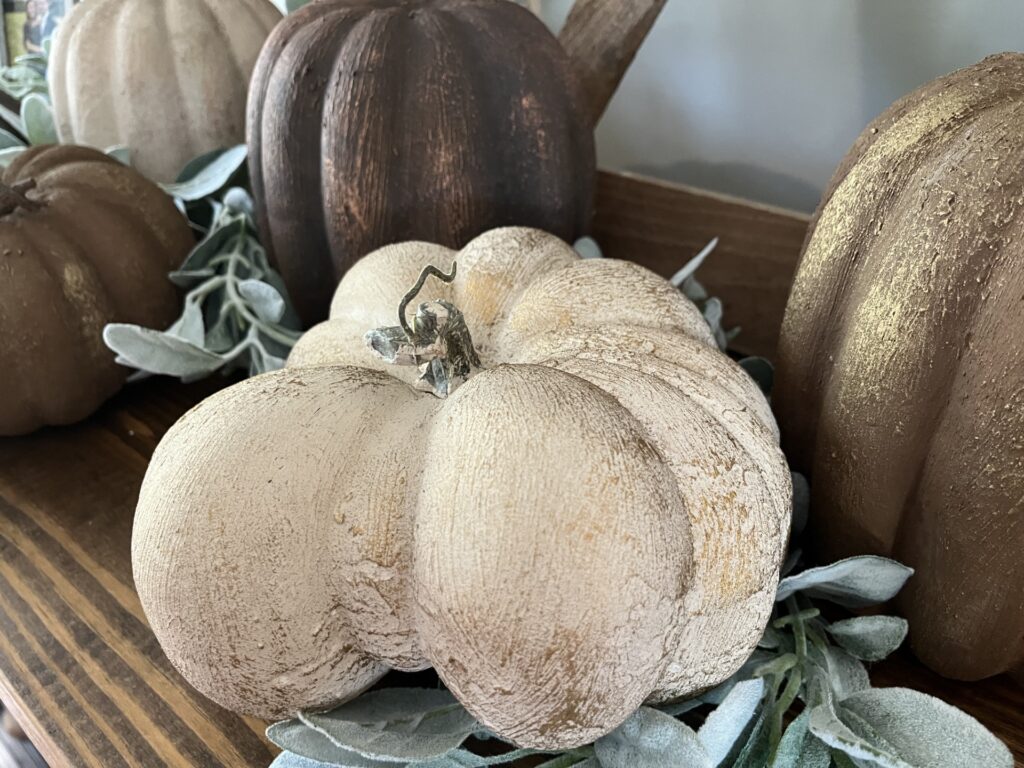
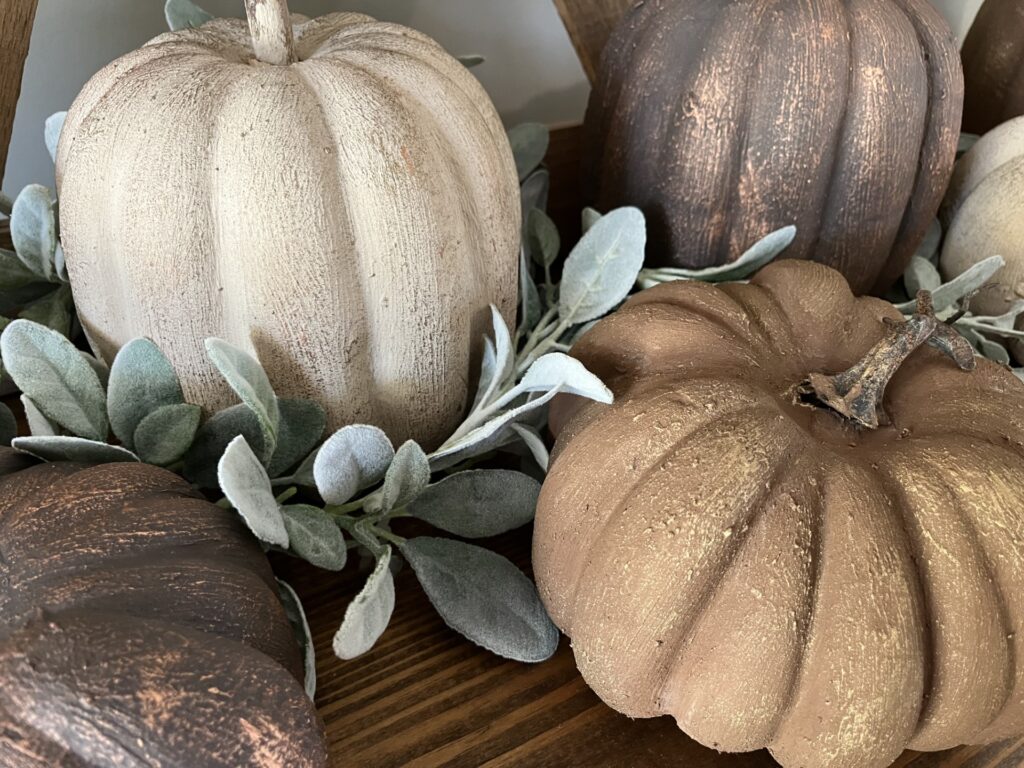
I grouped my DIY moody pumpkins together on top of a buffet table in my entryway and paired them with a lamb’s ear garland which you can find here! I hope you are able to try this simple DIY project out! Happy DIYing!