A DIY master closet makeover may sound overwhelming, but it doesn’t have to be! In fact, I did all of this by myself at 32 weeks pregnant – If I can do it, I know you can, too! Closets are best for storing clothes or rarely used items as long as they are efficiently laid out! An inefficiently laid out closet can be a huge waste of space; however, DIYing an impressive closet system doesn’t have to be difficult or expensive. Here I will show you exactly what tools I used to make the process quick and easy!
(This post contains affiliate links and as an Amazon Associate, I may earn a commission on the purchase of qualifying products at no cost to you.)
Don’t have an Amazon Prime Account? Try it FREE for 30 days here!

Supplies Needed
- 3 – 4×8 sheets 3/4 inch sanded plywood, such as birch
- 1.25 inch wooden dowels
- 3/4 inch edge banding
- 1.25 inch screws
- 2.5 inch screws
- L-Shaped shelf brackets
- 1-1/4 inch drill bit
- Baskets for Shelf Storage
- Small Level
- Stud Finder
- Liquid Nails
- Paint
Recommended Tools
- Kreg Rip-Cut guide
- Battery Powered Circular Saw
- Cordless Drill Set
- Battery Powered Jig Saw
- 90 Deg. Corner Clamp
- Kreg Pocket Hole
Step 1: Planning Your DIY Master Closet Makeover
This step will be unique to each person, and that is the beauty of DIY! Measure your closet and make a list of your preferences. Do you want more shelf space or more hanging space? Is the closet for an adult or a child? Is the closet for a woman with long dresses?
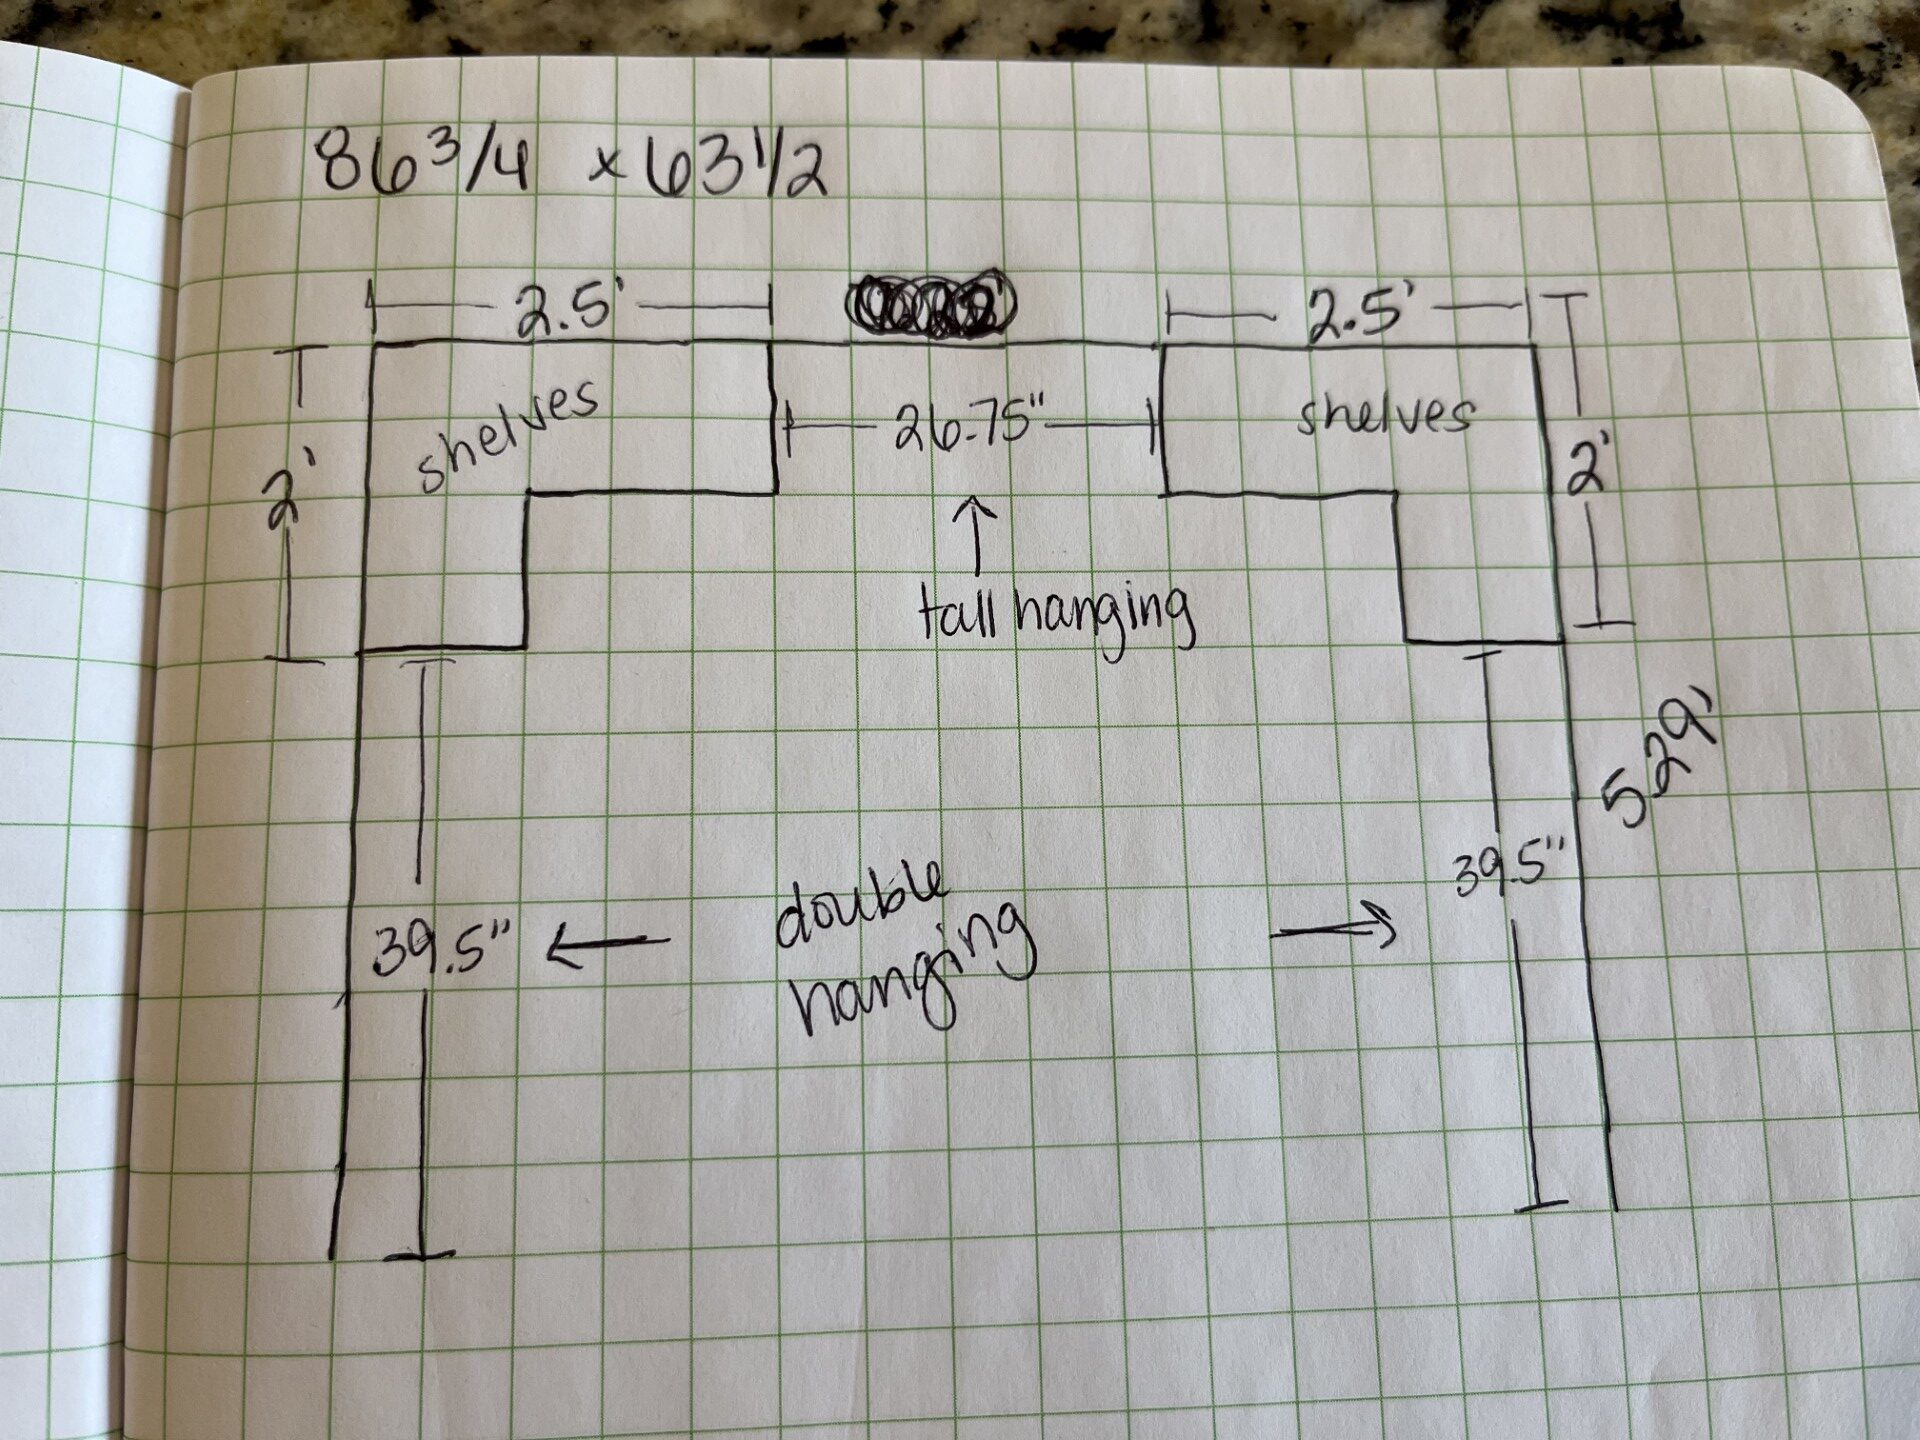
My closet measured 86 3/4 inches wide by 63 1/2 inches deep and 8 feet tall. I needed to be able to hang long dresses and shirts as well as shelves for jeans, sweaters, etc.. The best way to maximize my space was to make shelves for the corners. I also decided to add shelves on top of the lower hanging sections and all the way around the top for extra storage.
After deciding the best layout for your closets and finalizing the measurements, use a sheet of paper to draw the cuts out on a 4×8 sheet of plywood. This step will help you maximize the space of a sheet of plywood and save you money. After deciding on paper, mark it out on the actual sheet of plywood.
Step 2: Hanger Location
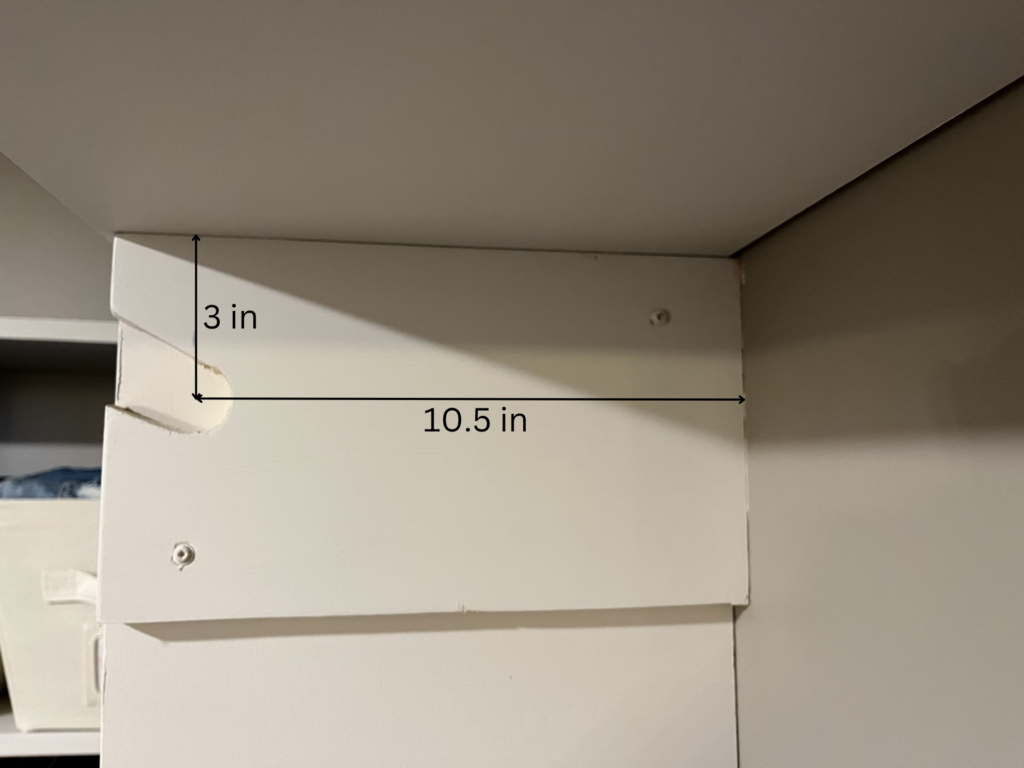
Depending on whether or not your closet is for a kid’s sized hanger or an adult’s sized hanger, these measurements may vary. Since my closet is for adult size hangers, I decided to make the center of the hole down 3 inches from the top and 10.5 inches from the back wall. For information on kids’ sized hanger placement, reference my blog post about redoing my kid’s closet.
Step 3: Cutting the Closet Organization System
I highly recommend the Kreg Rip-Cut Guide for this step! It makes cutting a giant, heavy sheet of plywood by yourself a breeze. I simply laid the sheet of plywood on top of some scrap pieces of wood on the ground and used the Krep Rip-Cut Guide to rip it up. Be sure you have the blade depth of your circular saw set to where it just cuts through the plywood.
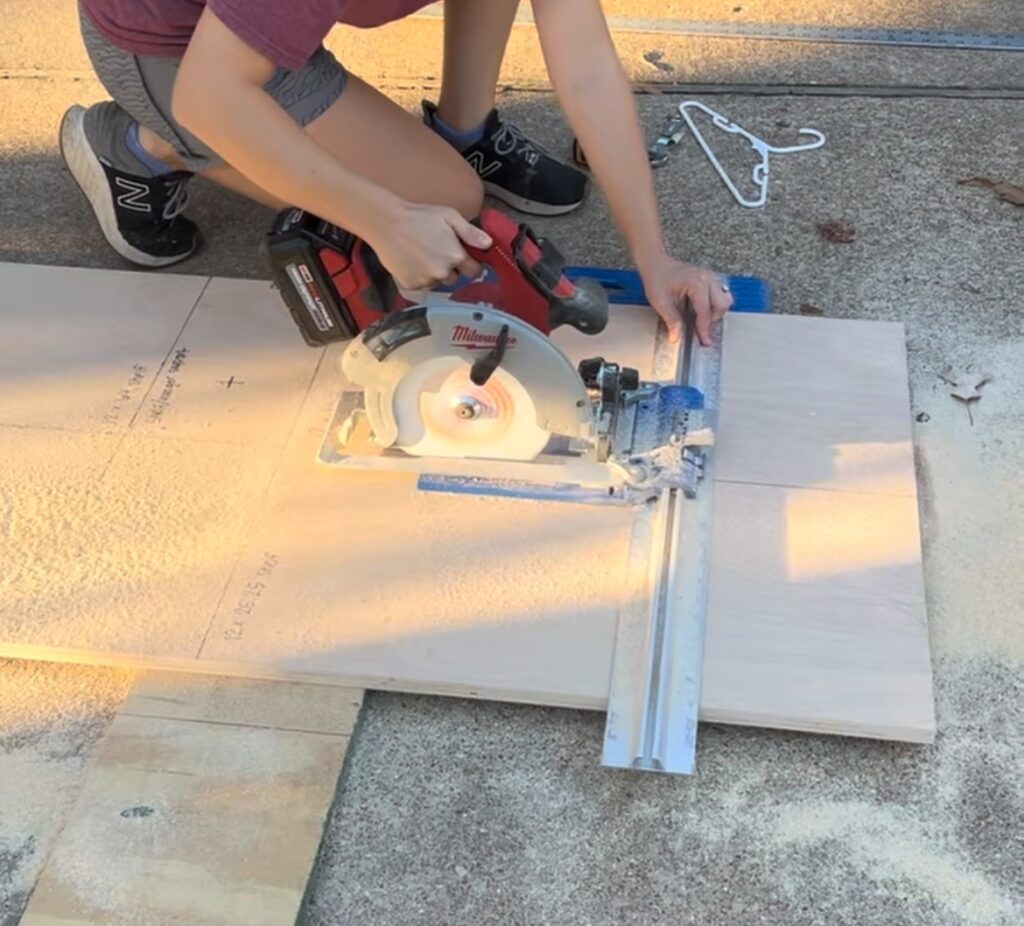
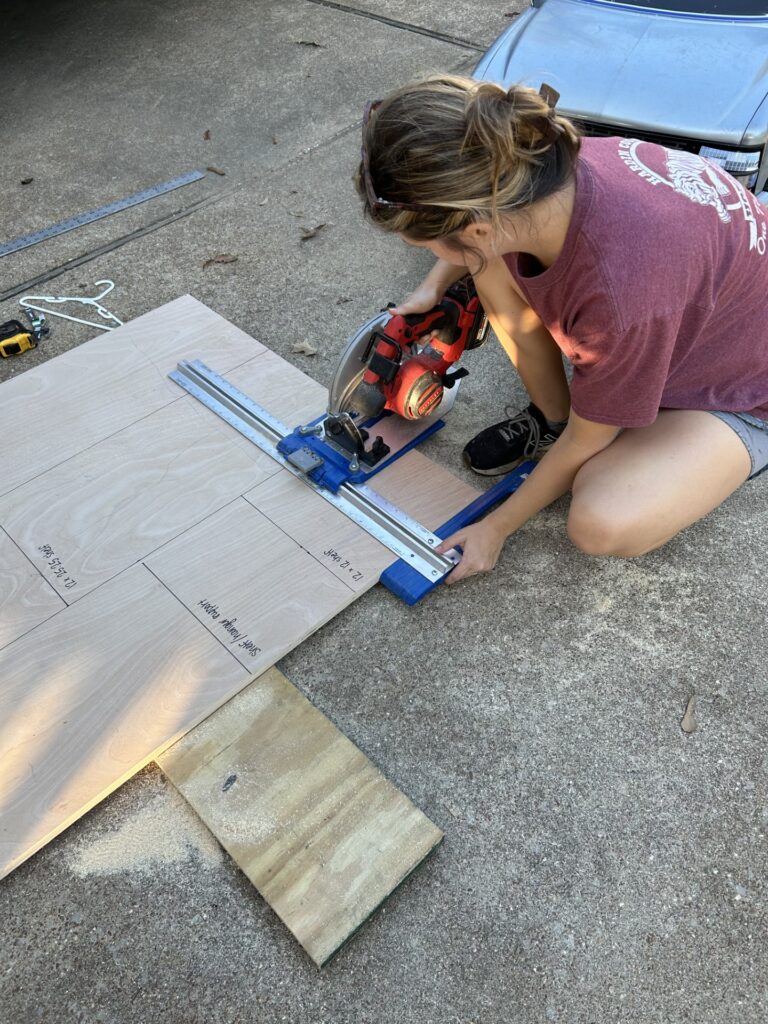
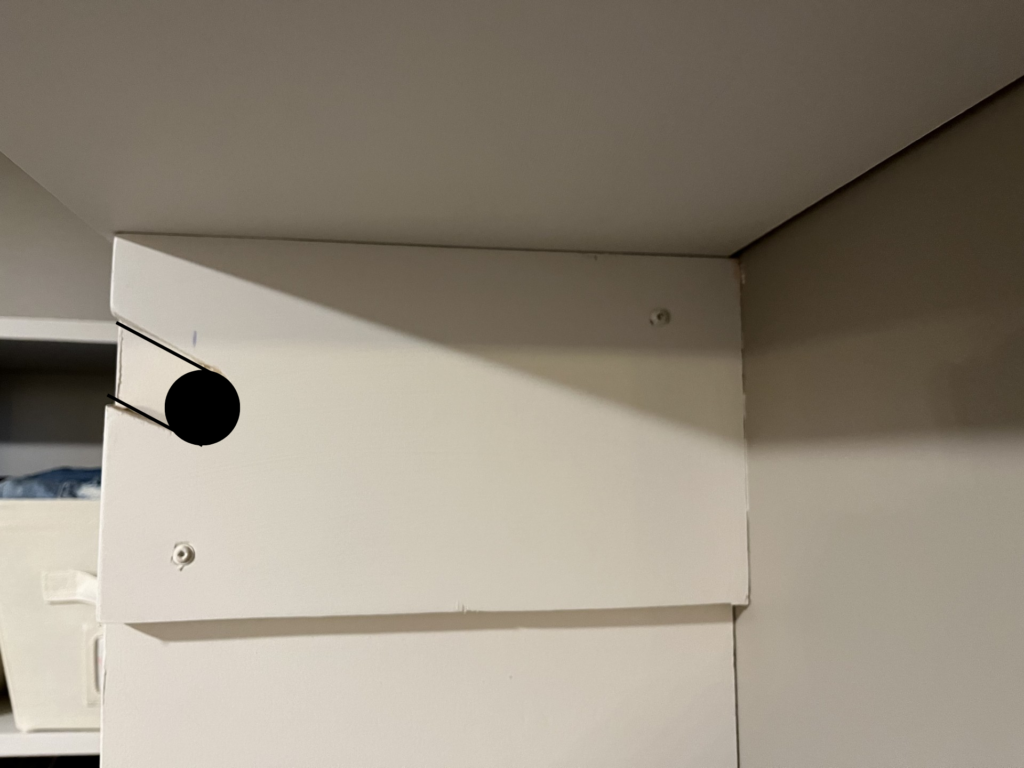
I used my circular saw to cut all the straight cuts, and then switched to the 1-1/4inch paddle bit to cut all the holes for the hanging rod. Using my jig saw, I decided to make straight cuts at an angle from the front so that the hanging rod could be removed if need be. These cuts are shown in black in the image below:
Step 4: Apply Edge Banding and Paint
I decided to use iron on edge banding for this project. It makes plywood look like a solid piece of wood and makes the project look so much more finished. Iron on edge banding is really easy to apply. All you need is a hot iron, some scissors, and a box blade. It does require a little bit of sanding, but I recommend sanding your project regardless.
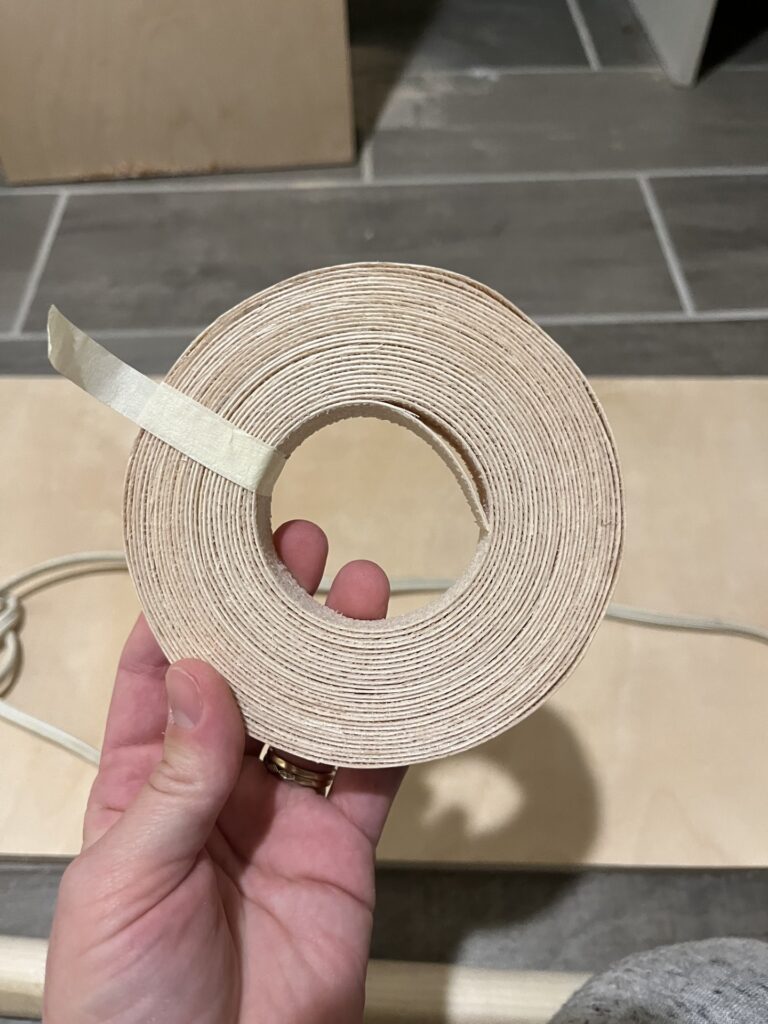
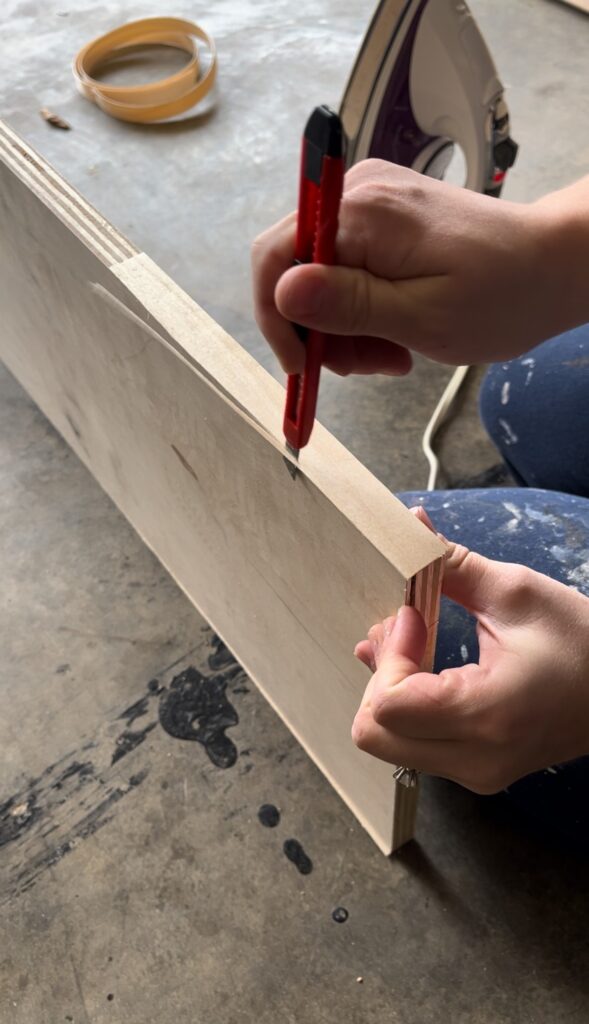
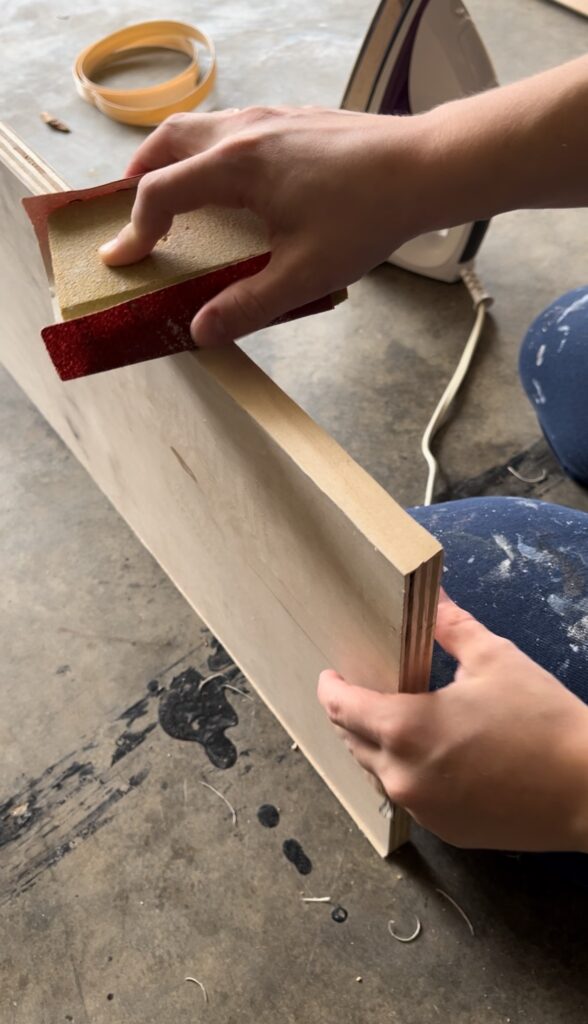
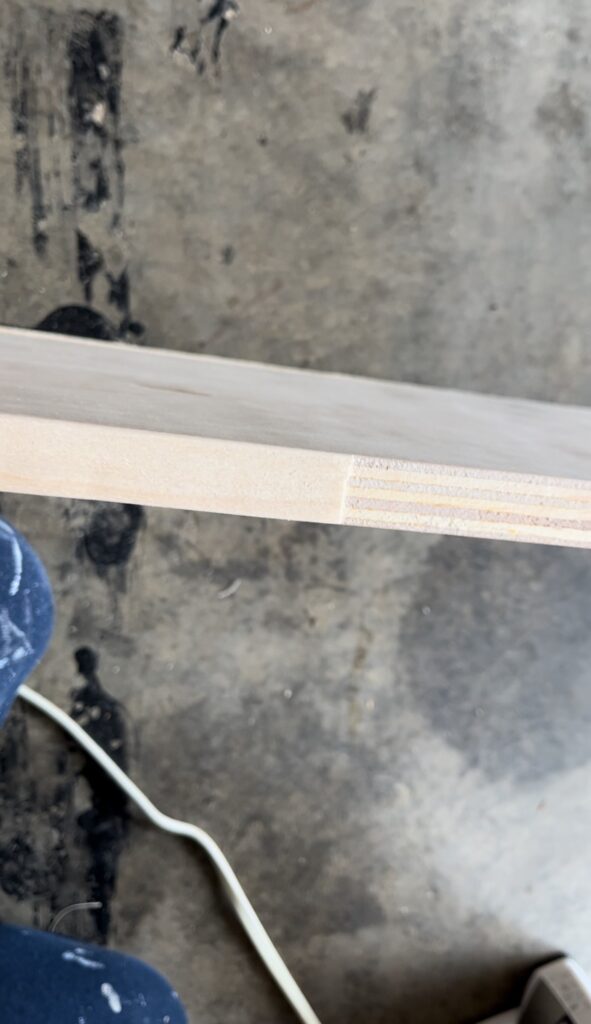
See what a difference the edge banding makes! It smooths the edges and makes cheap plywood look like a solid piece of wood. After the wood is painted or stained, it would be hard to tell it was originally plywood.
Step 5: Assembling Your DIY Master Closet Makeover
Shelf Spacing
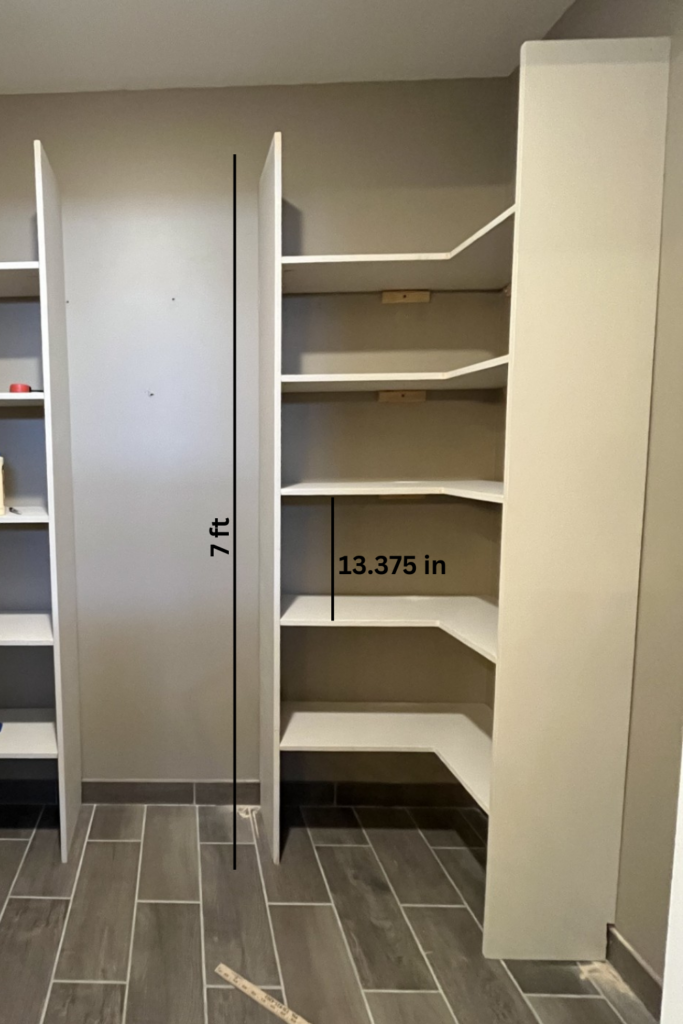
I started out by figuring out how much space needed to be between the corner shelves. I had 5 shelves for each corner and the sides were 7 feet tall, so I decided to space the shelves 13.375 (13 3/8) inches apart. If you want to space your shelves evenly, simply use this equation below:
- (height of side in feet x 12) – (thickness of material x # of shelves) / # of shelf spaces = equal spacing
- to plug my numbers in >>> (7 x 12) – (.75 x 5) / 6 = 13.375
This is the second closet I have remodeled, and I have discovered that shelf spacing should be around 12 inches in order to maximize space. It would be hard to find baskets for anything smaller than that, and anything much larger than 12 inches creates a lot of dead space.
Shelf Assembly
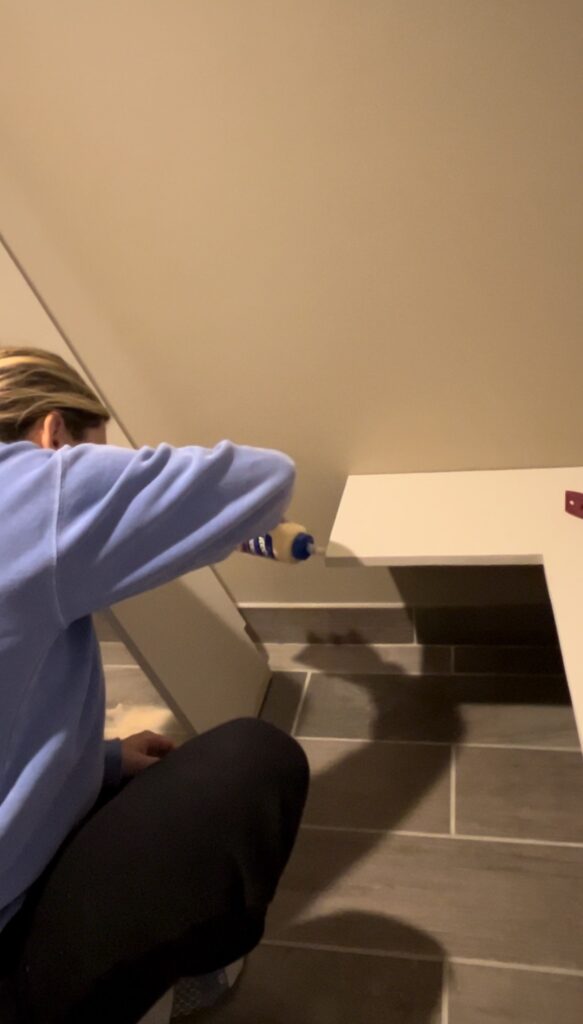
I started by drilling pocket holes in the bottom of each shelf piece. A combination of wood glue and pocket hole screws create a strong bond, and Kreg makes it super easy to use. You will need 1.25 inch pocket hole screws since the material thickness is .75 inches. Next, I cut a scrap board 13.375 inches to help me easily space the shelves.
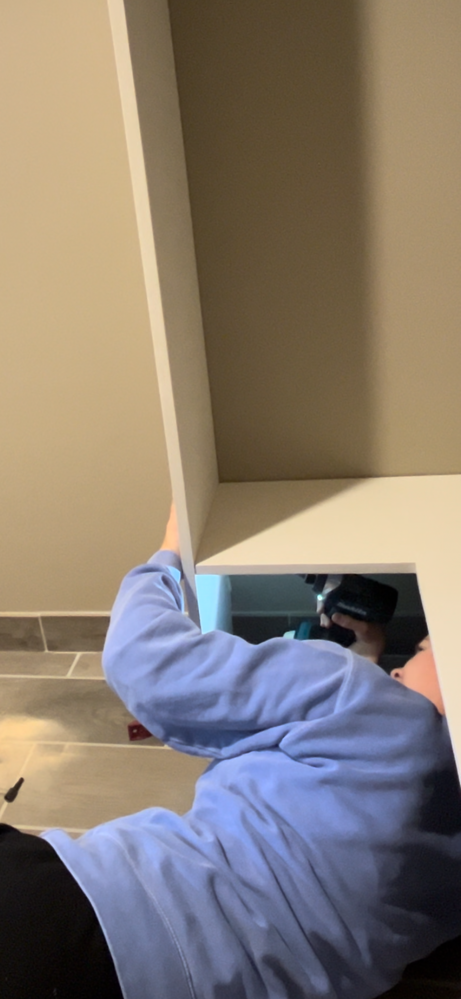
Since I assembled this by myself, I needed extra help holding it together, so I screwed little support pieces to the wall every 13.375 inches. These supports were also necessary to support the back of the shelves. I used a stud finder to locate a stud, and 2.5 inch screws to drill through the shelf support and drywall into the stud.
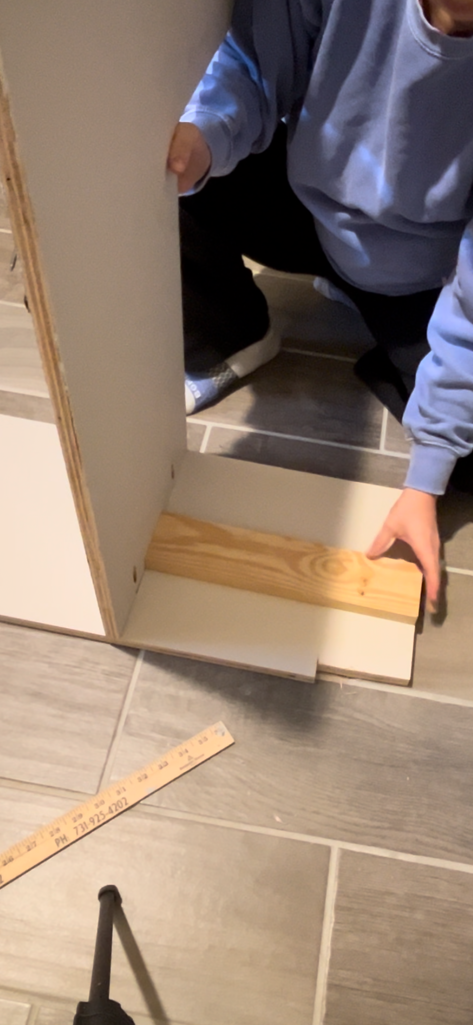
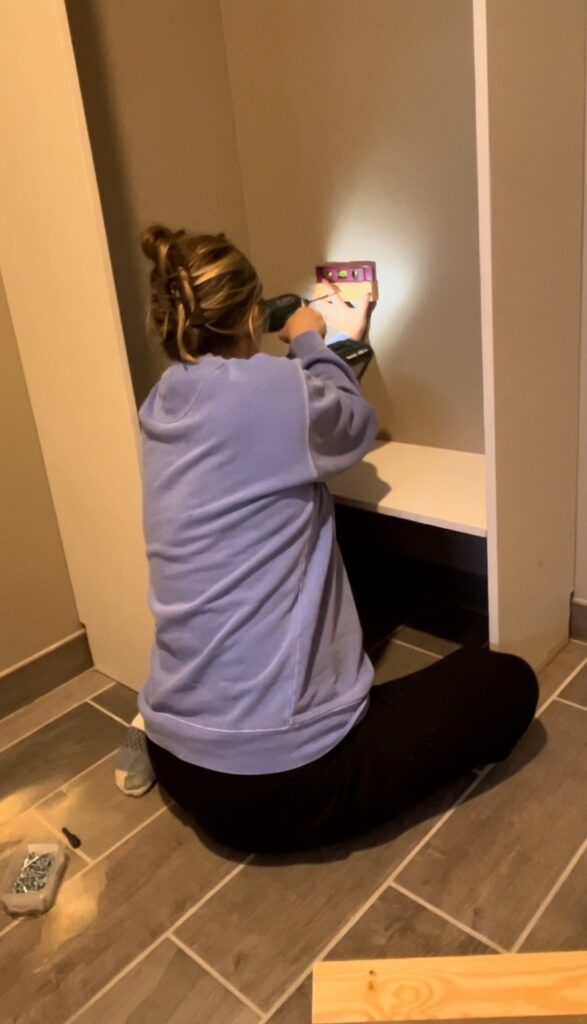
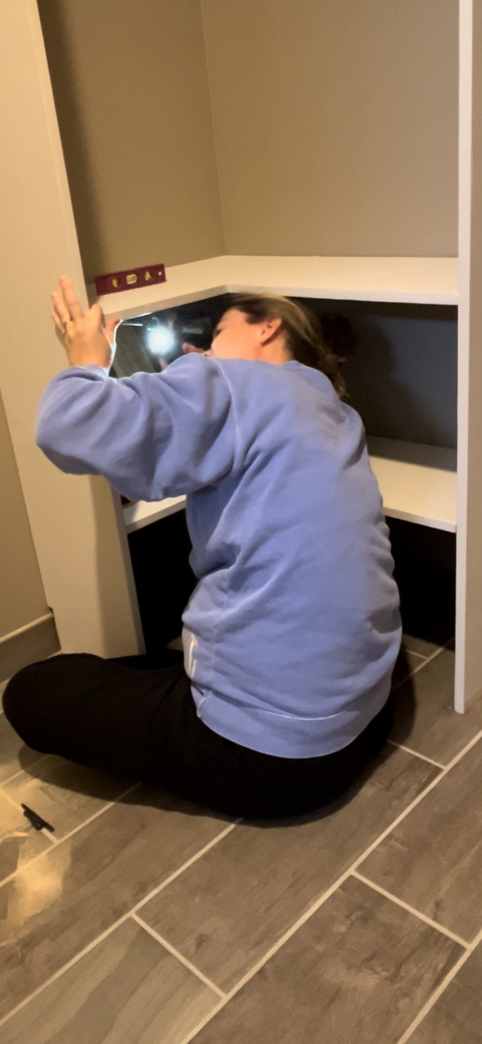
I continued this process using my 13.375 inch spacer board, support pieces and 1.25 inch pocket hole screws.
Hanger Spacing and Assembly
Next, I installed the hanging areas. The double hanging sections are spaced about 41 inches apart, and the tall hanging section is 70.5 inches with a 13.375 inch shelf on top. This measurement is made from the floor to the top of the rod holder/shelf support. From the top of the hanging rod to the floor, the tall hanging section is about 68 inches.
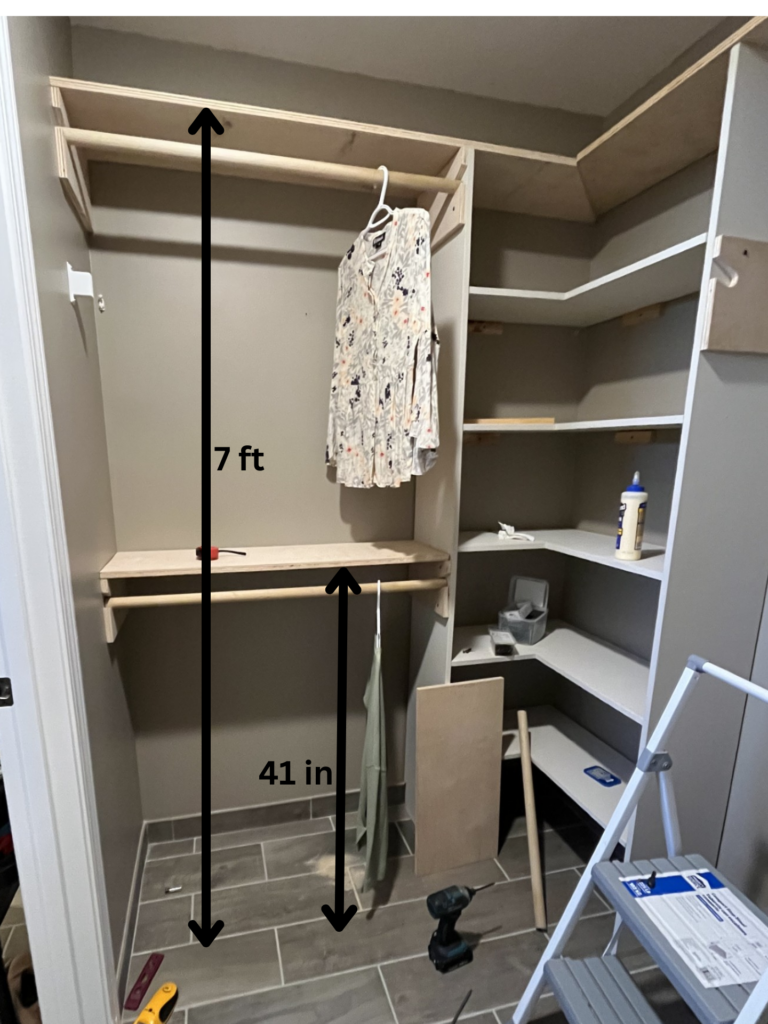
First, I marked where the rod holder/shelf support piece went. Then, I predrilled my screws. I used 1.25 inch screws to screw into the plywood, and 2.5 inch screws to screw into the drywall. You will have to locate your studs with a stud finder before drilling into the drywall. If you cannot find two studs to drill into, you can use a combination of screws and liquid nails.
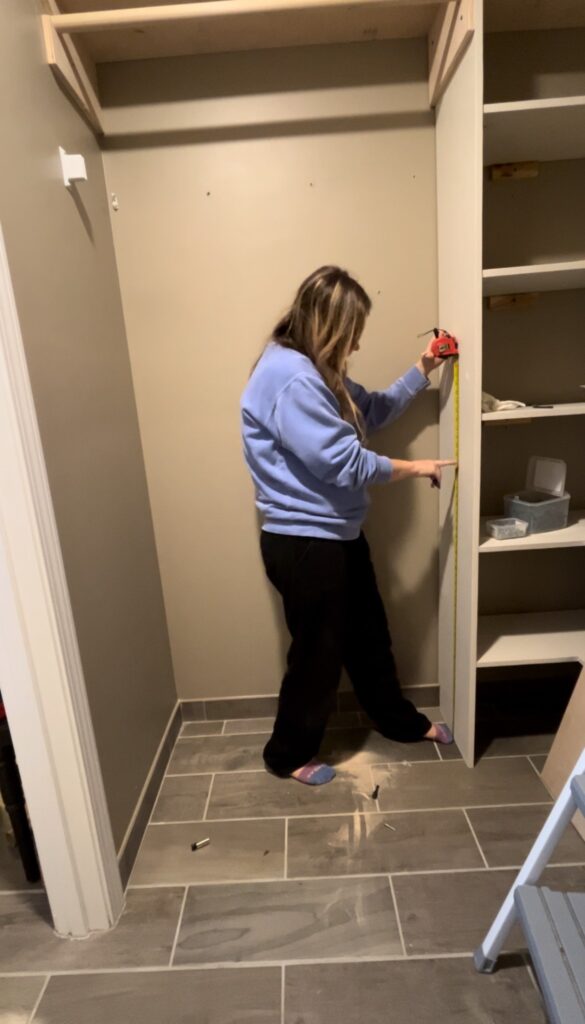
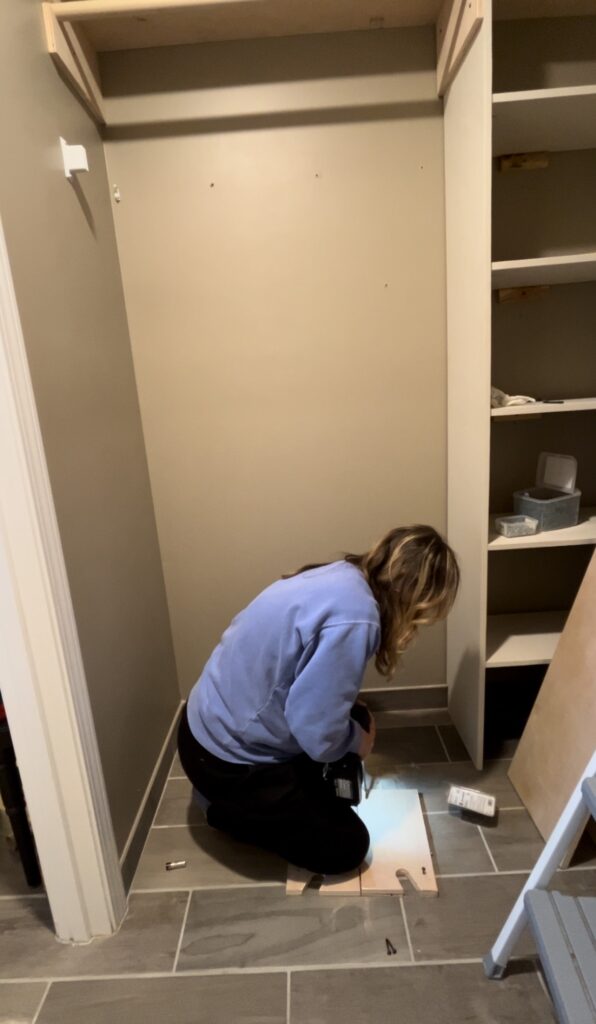

Predrilling screws is key to holding everything still, especially if you are working alone.
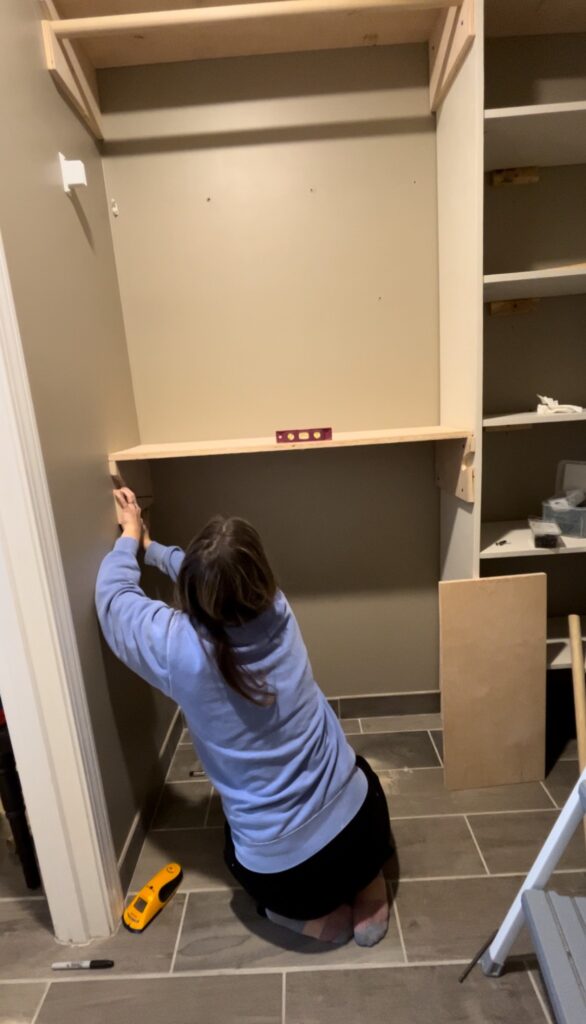
Next, I laid the top shelf on the supports and used a level to line up the rod holder/shelf support on the other side.
Step 6: Admire Your DIY Master Closet Makeover
Now it is time to put everything back in your closet. You will be amazing by how much more storage space you have. Take a look at how my closet started out:
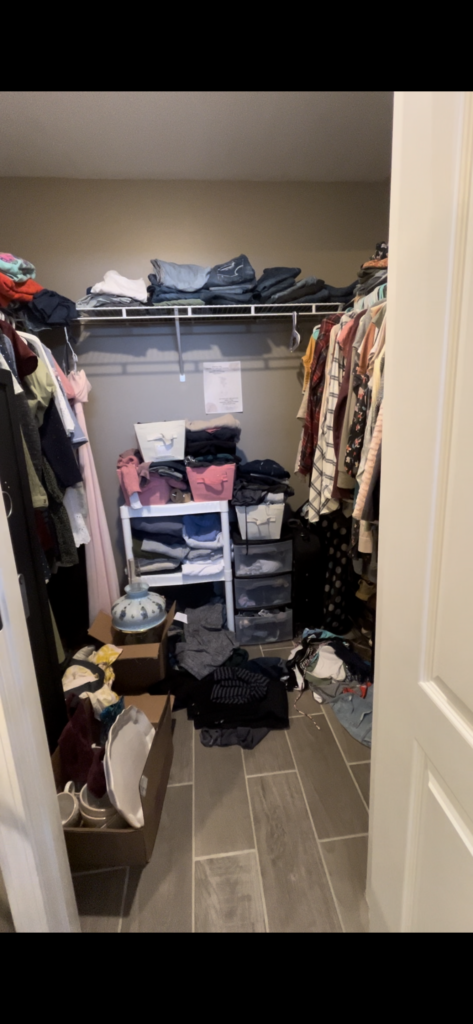
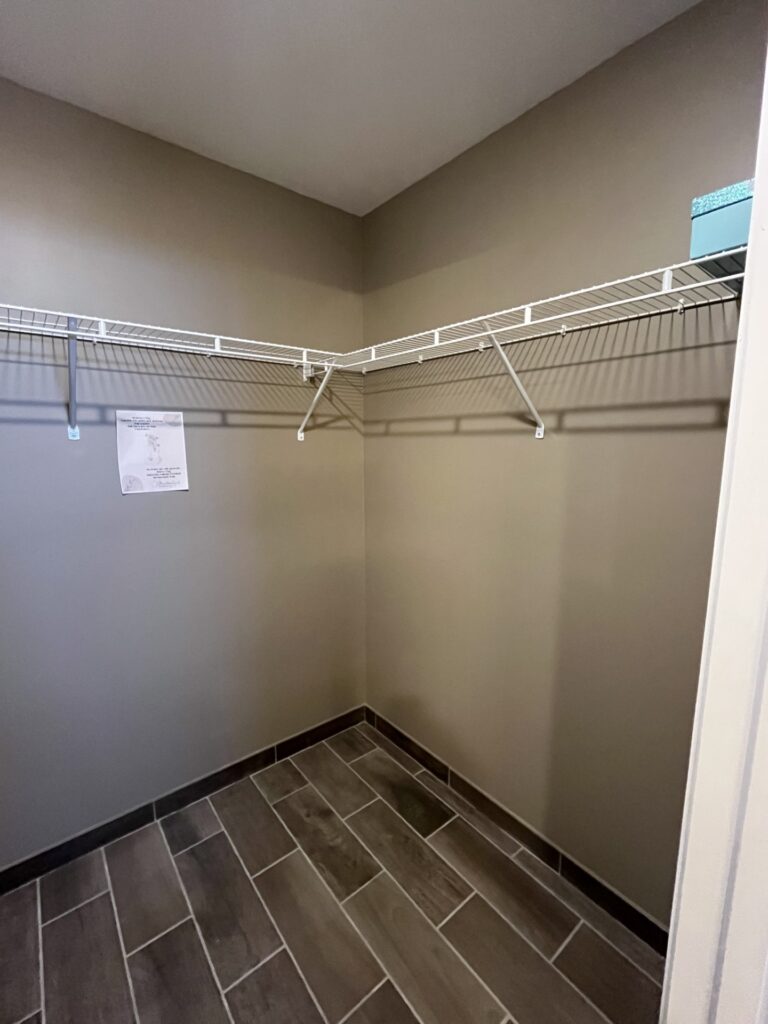
It had one line of metal racks that were not very useful, and I couldn’t stand how restricted the hanger gliding spaces were. Now, take a look at how much more room I have.
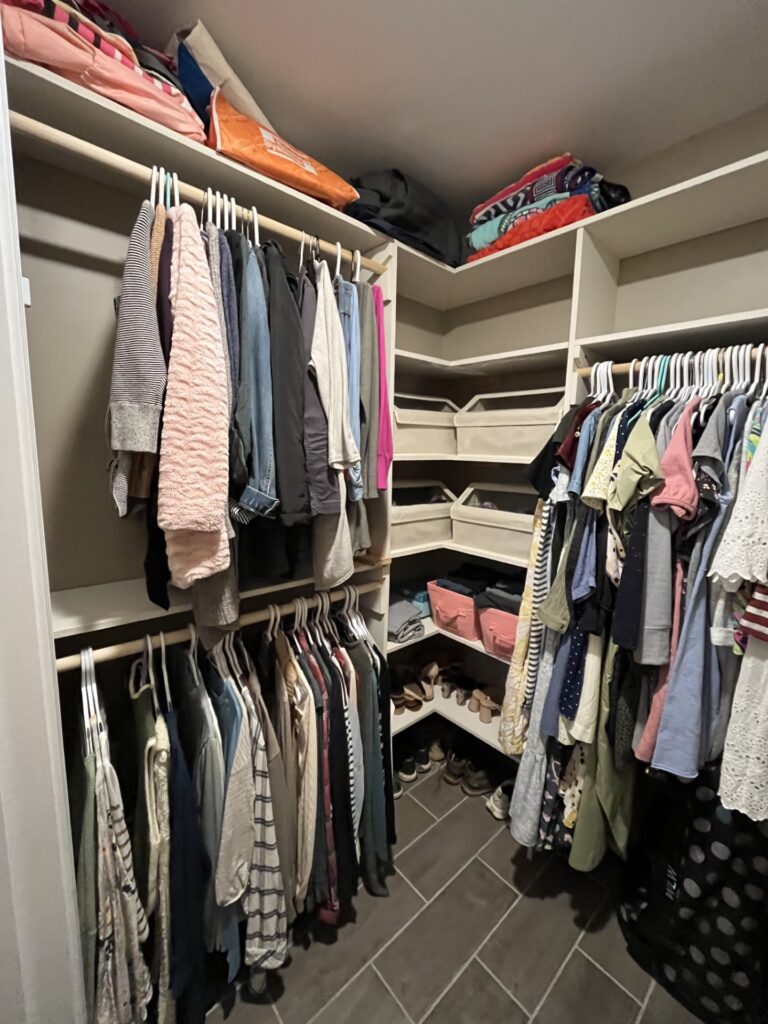
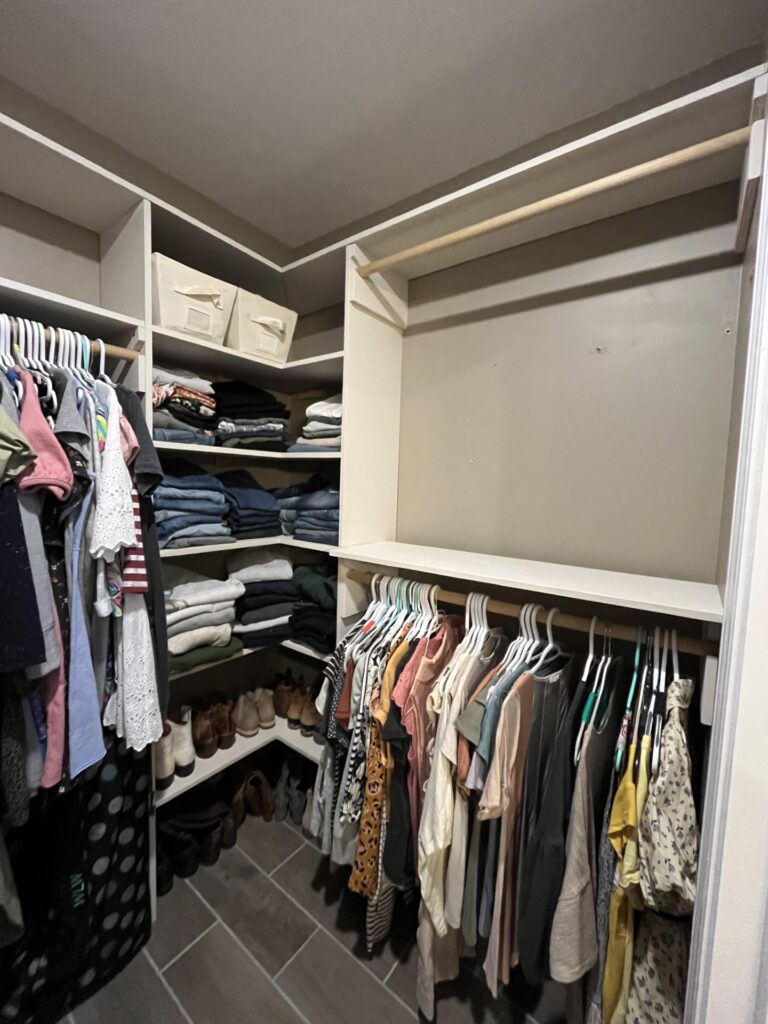
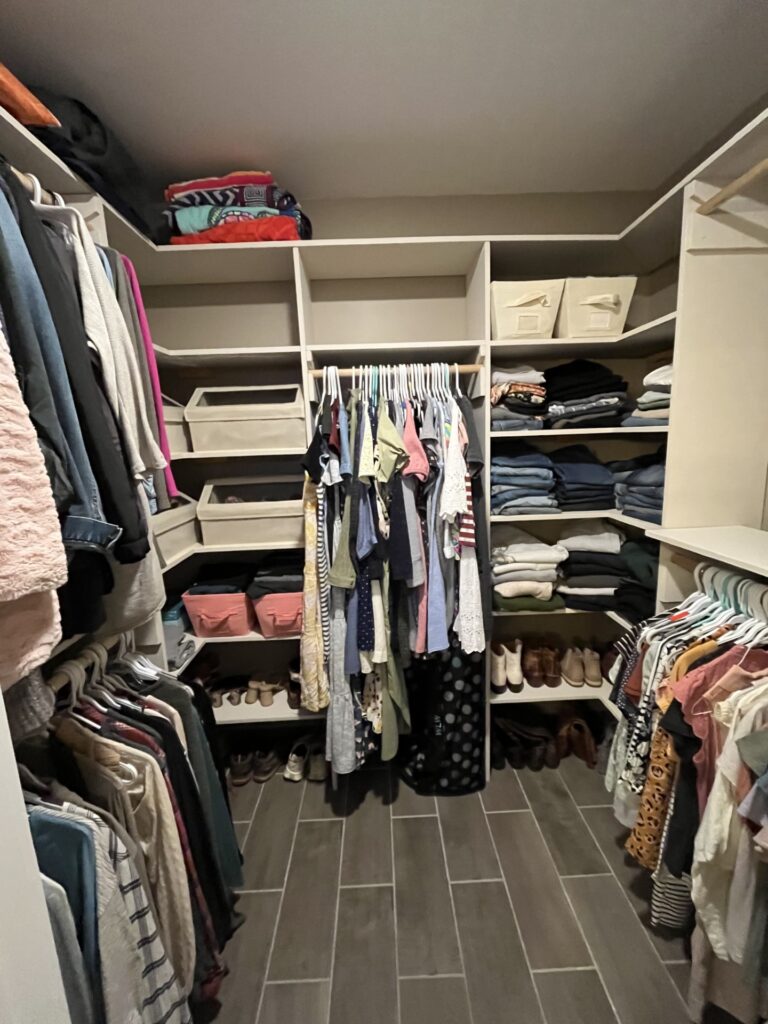
There is so much more space for folded clothes, and a whole extra hanging rack left over. I also got these baskets with clear flaps for socks, underwear, swimsuits, etc., and added a shelf with mitered corners all the way around the top to store rarely used/seasonal items.
I am obsessed with the organization of my closet and so glad I got it done before baby #2. It will make my life so much easier and reduce clutter having a designated space for items to go. Also, check out my post on redoing my kid’s small closet as well! I hope this inspires you to tackle a home organization project such as this one! Happy DIYing!
