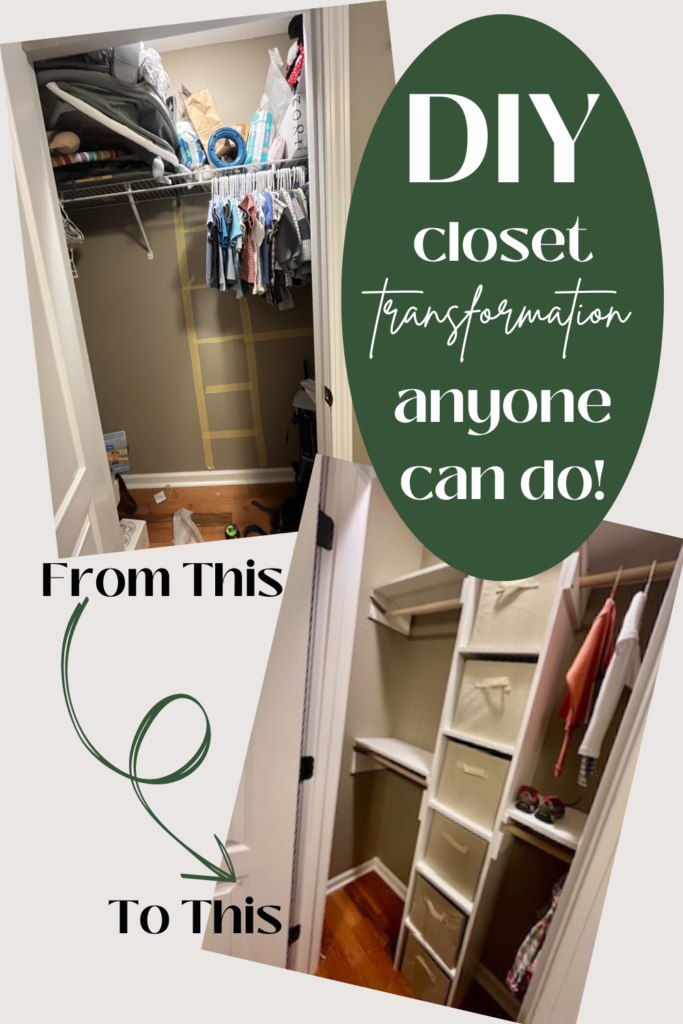
A DIY closet organization system may sound overwhelming, but it doesn’t have to be! Closets are best for storing clothes or rarely used items as long as they are efficiently laid out! An inefficiently laid out closet can be a huge waste of space; however, DIYing an impressive closet system doesn’t have to be difficult or expensive. Here I will show you exactly what tools I used to make the process quick and easy!
(This post contains affiliate links and as an Amazon Associate, I may earn a commission on the purchase of qualifying products at no cost to you.)
Don’t have an Amazon Prime Account? Try it FREE for 30 days here!
Supplies Needed
- 1 – 4×8 sheet of 3/4 inch sanded plywood ($65.65 at Lowes)
- 4 – 1.125 in wooden dowels ($5.71/4ft at Lowes – $22.81 total)
- 1.25 inch screws
- 2.5 inch screws
- L-Shaped shelf brackets
- 1-1/4 inch drill bit
- Baskets for Shelf Storage
- Small Level
- Stud Finder
- Paint
Recommended Tools
- Kreg Rip-Cut guide
- Battery Powered Circular Saw
- Cordless Drill Set
- Battery Powered Jig Saw
- 90 Deg. Corner Clamp
Step 1: Planning Your DIY Closet Organization System
This step will be unique to each person, and that is the beauty of DIY! Measure your closet and make a list of your preferences. Do you want more shelf space or more hanging space? Is the closet for an adult or a child? Is the closet for a woman with long dresses?
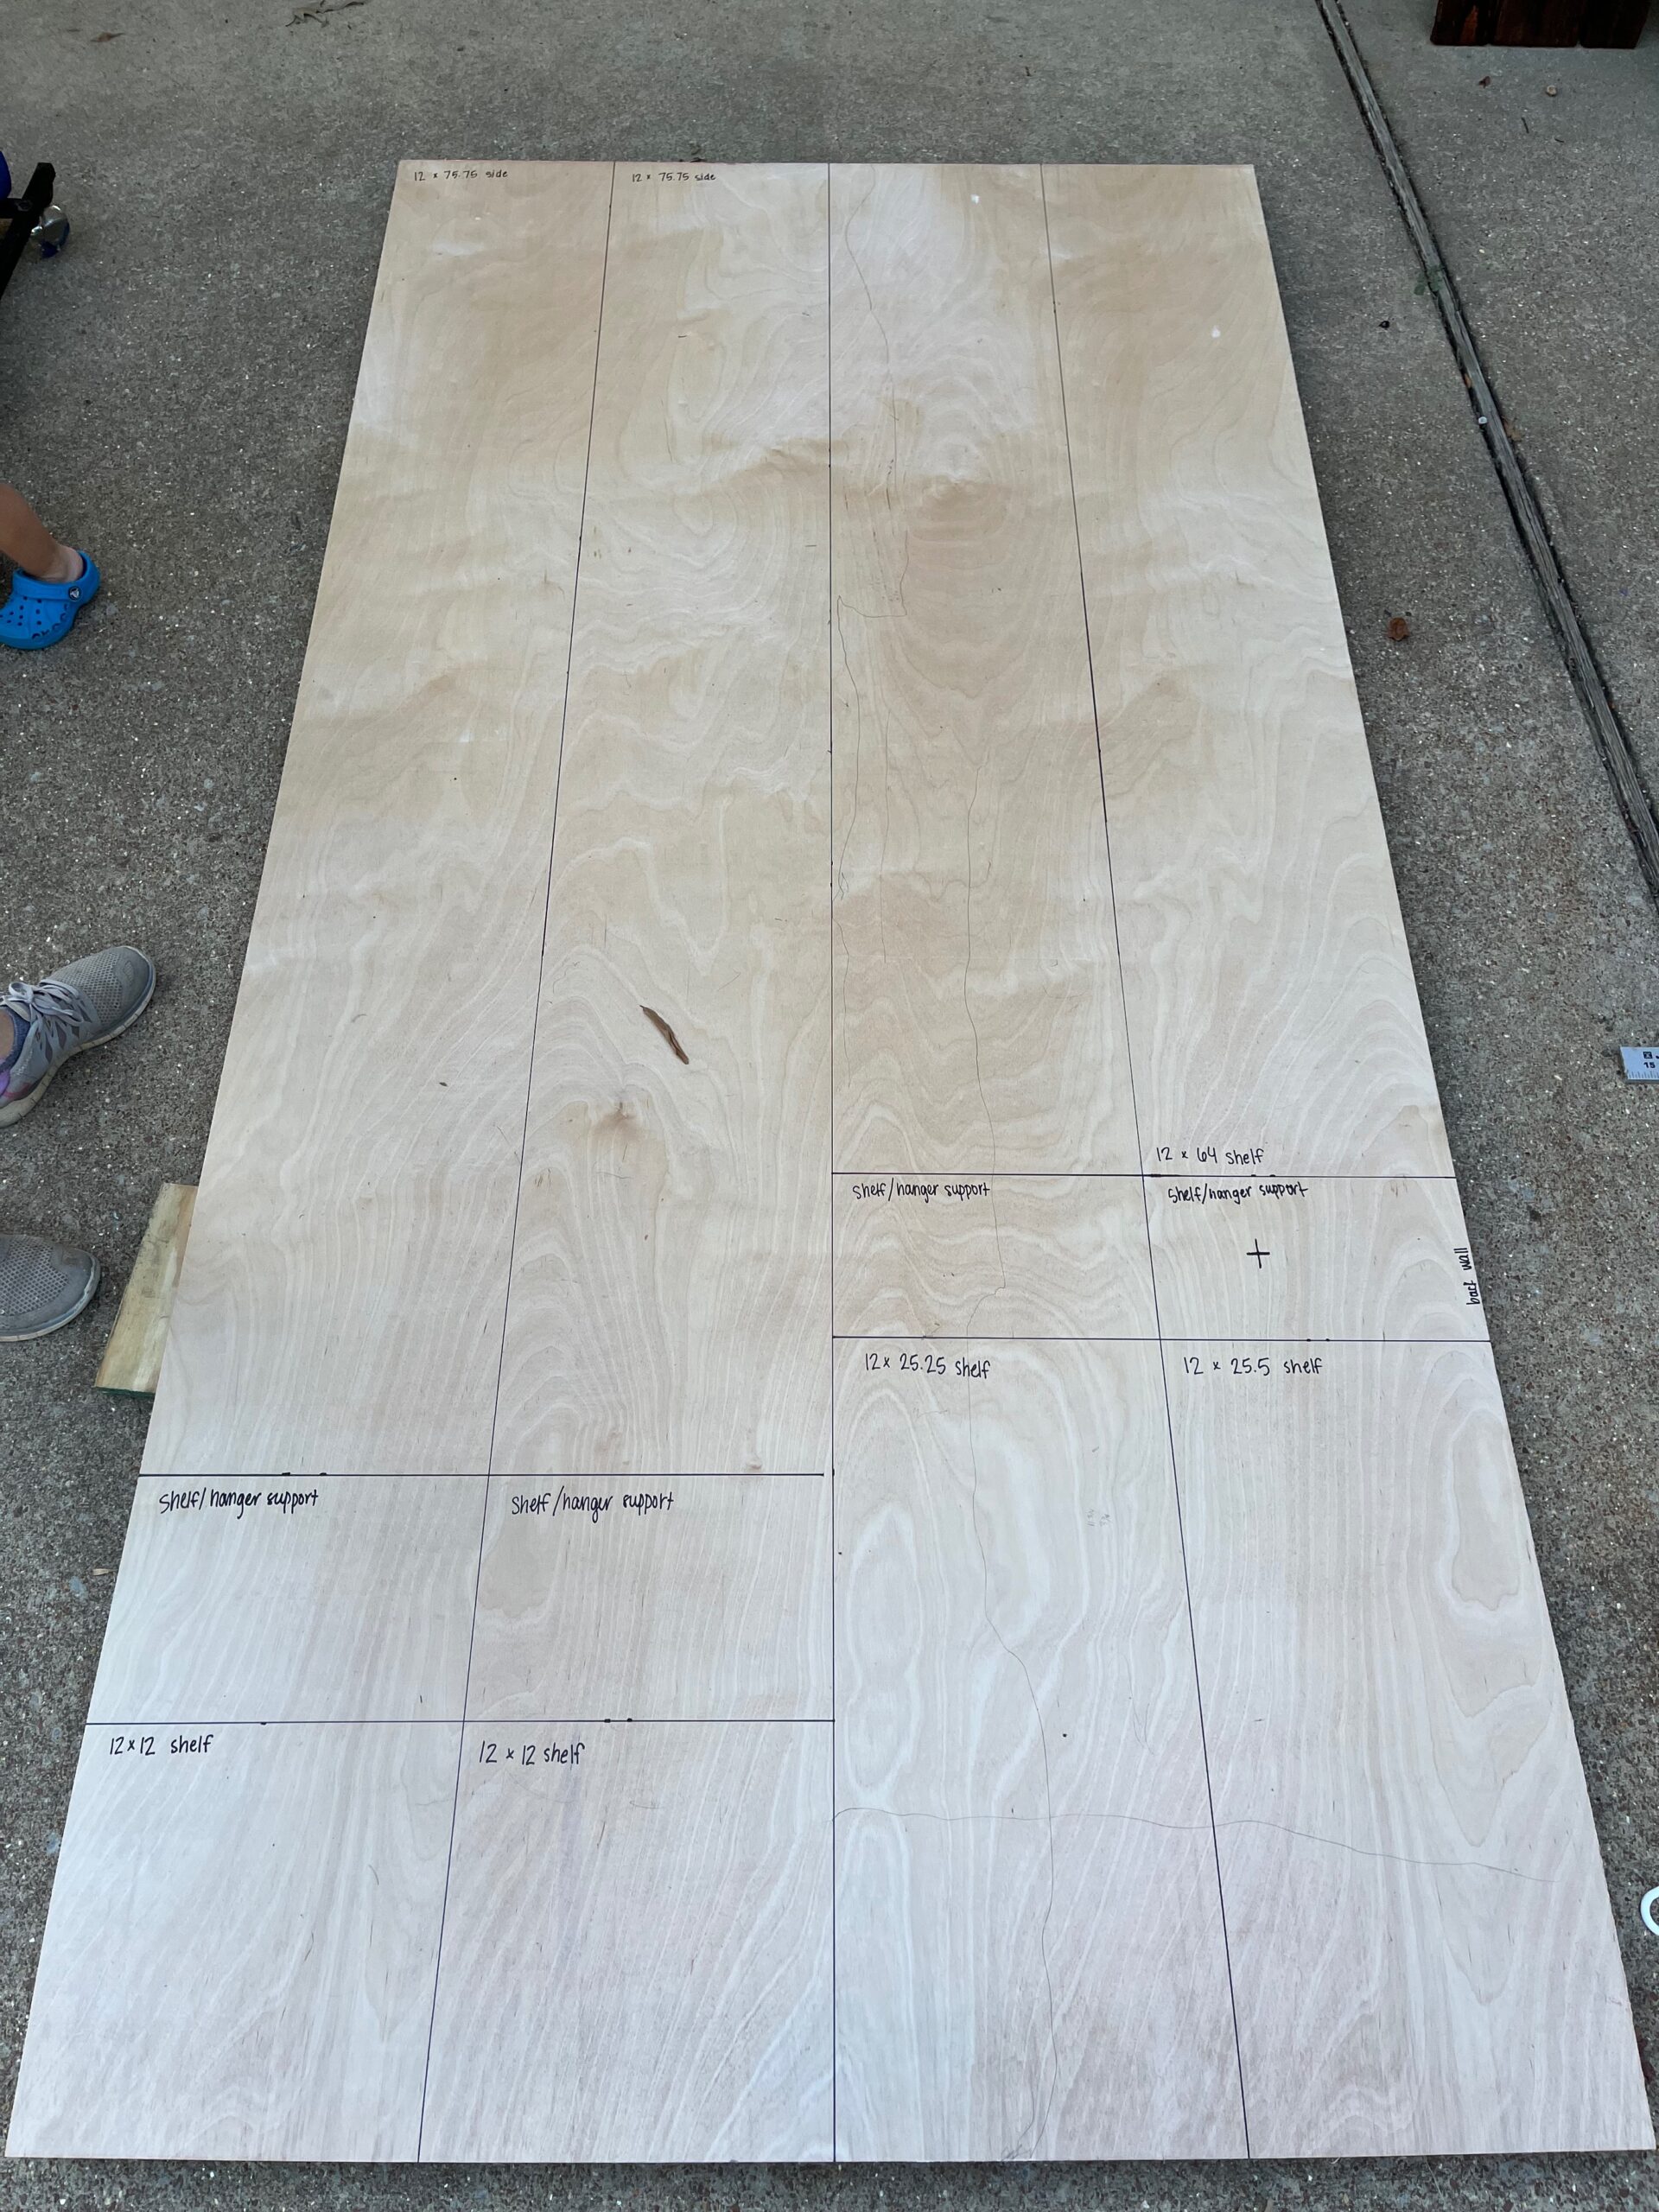
My closet measured 64 inches wide by 22 inches deep and 8 feet tall, and I needed it to be functional for two little kids. I decided on a 12in x 12in tower in the middle with two sets of hanging on each side. The tower was made specifically to fit these 6 baskets. This way there would be a long shelf on top to store larger, rarely used items and three baskets for each child. I also decided to add shelves on top of the lower hanging sections for shoes, etc.
After deciding the best layout for your closets and finalizing the measurements, use a sheet of paper to draw the cuts out on a 4×8 sheet of plywood. This step will help you maximize the space of a sheet of plywood and save you money. After deciding on paper, mark it out on the actual sheet of plywood.
Step 2: Hanger Location
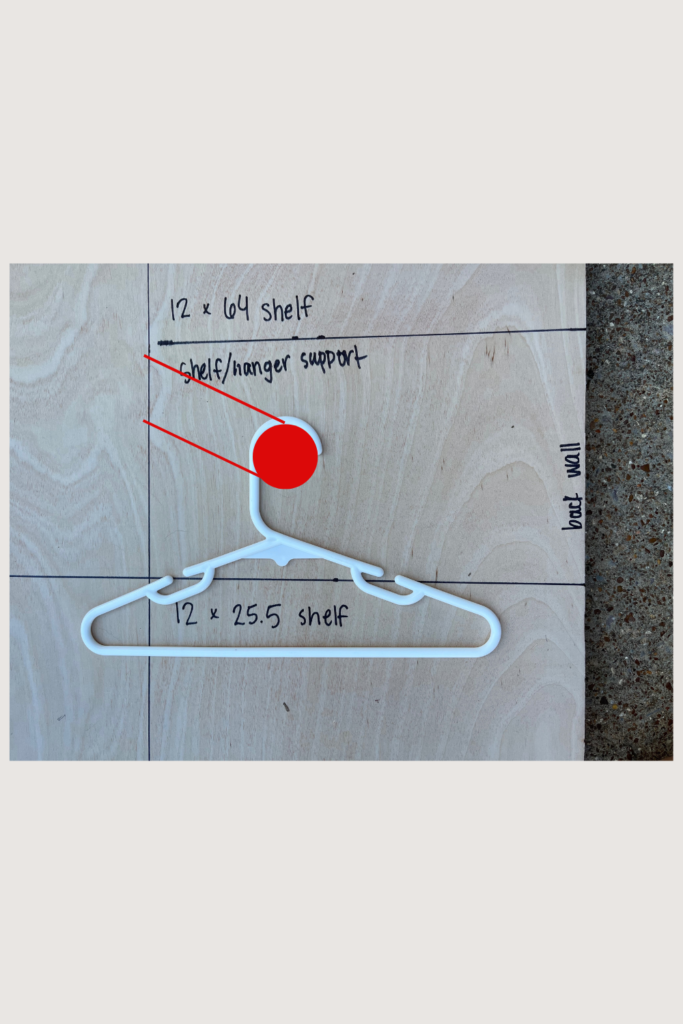
Depending on whether or not your closet is for a kid’s sized hanger or an adult’s sized hanger, these measurements may vary. Since my closet is for small children, I decided to make the center of the hole down 3-1/4 inches from the top and 8 inches from the back wall.
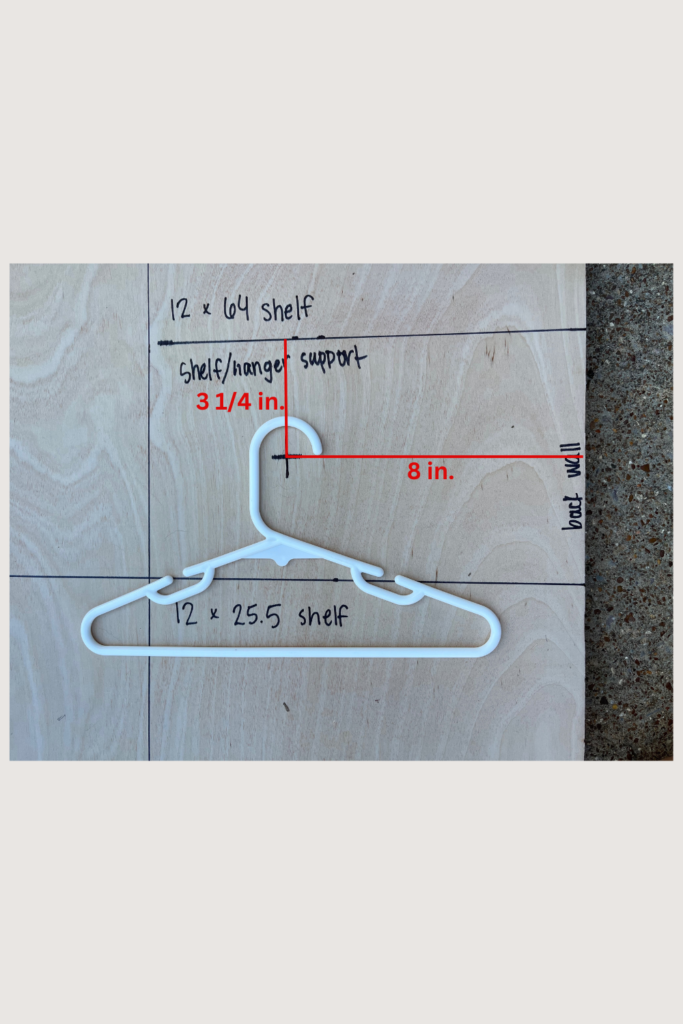
These measurements could easily be altered to fit an adult sized hanger by simply scooting the hanging rod farther away from the back wall. I recommend using a hanger to visualize before cutting like I did.
Step 3: Cutting the Closet Organization System
I highly recommend the Kreg Rip-Cut Guide for this step! It makes cutting a giant, heavy sheet of plywood by yourself a breeze. I simply laid the sheet of plywood on top of some scrap pieces of wood on the ground and used the Krep Rip-Cut Guide to rip it up. Be sure you have the blade depth of your circular saw set to where it just cuts through the plywood.
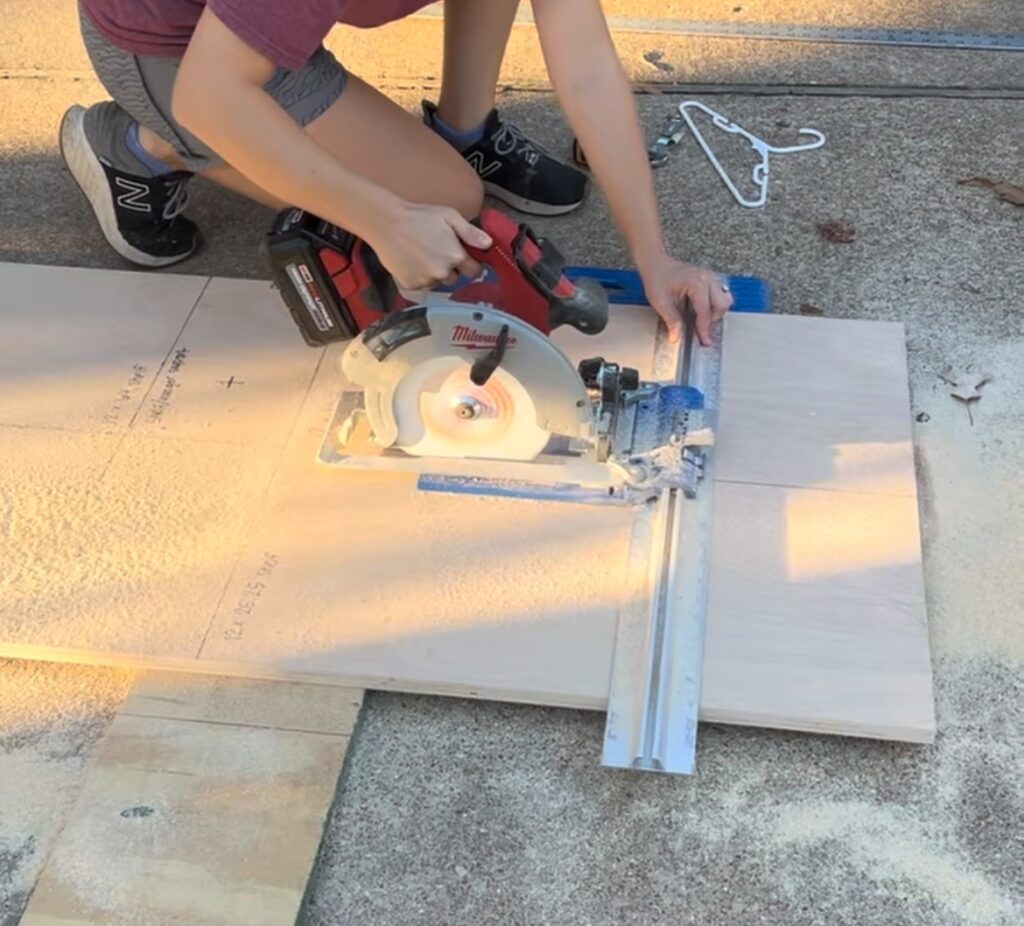
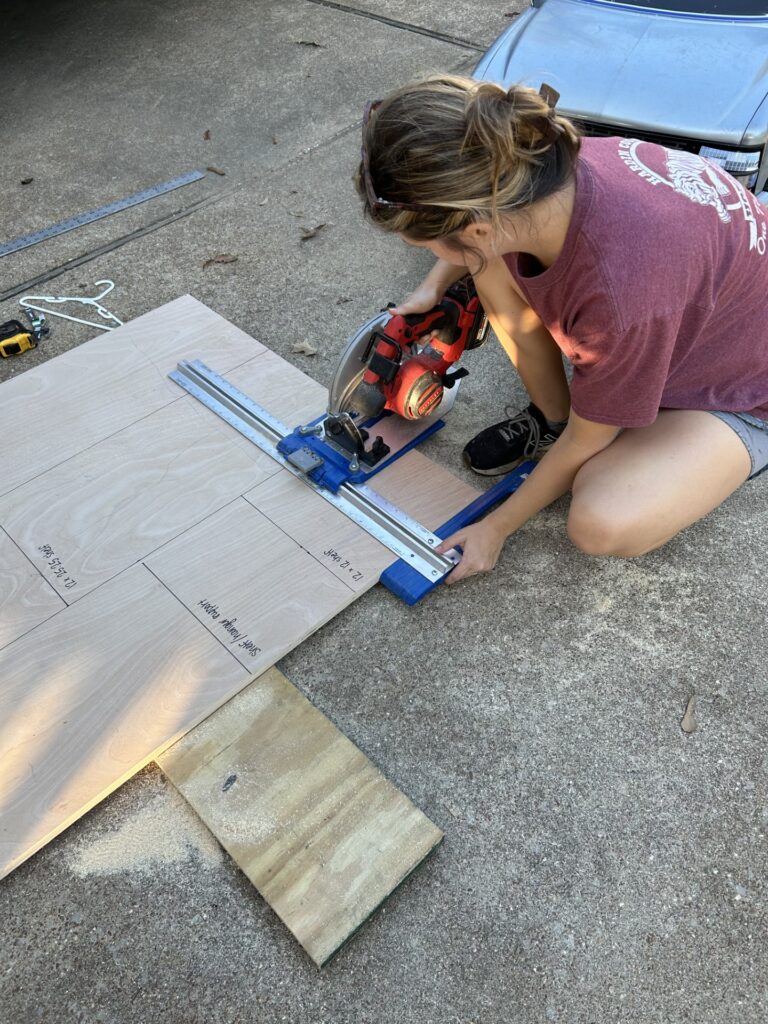
I used my circular saw to cut all the straight cuts, and then switched to the 1-1/4inch paddle bit to cut all the holes for the hanging rod. Using my jig saw, I decided to make straight cuts at an angle from the front so that the hanging rod could be removed if need be. These cuts are shown in red in the image below:
Step 4: Assembly and Paint
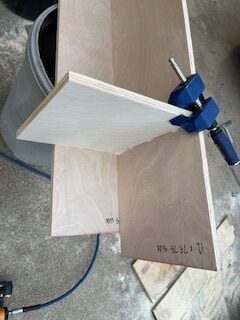
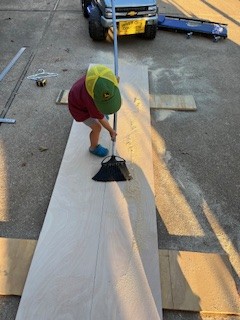
I assembled the tower section outside of the closet using wood glue, a pneumatic nail gun, and corner clamps. Then I painted all the closet pieces. I used Benjamin Moore Command Acrylic paint for this project because I was in a hurry and this paint dries exceptionally fast.
Step 5: DIY Closet Organization System Assembly
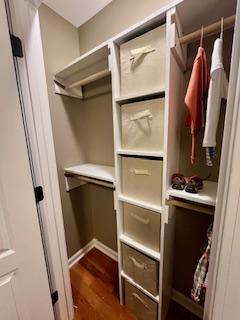
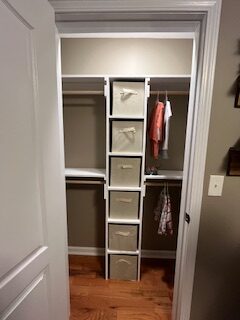
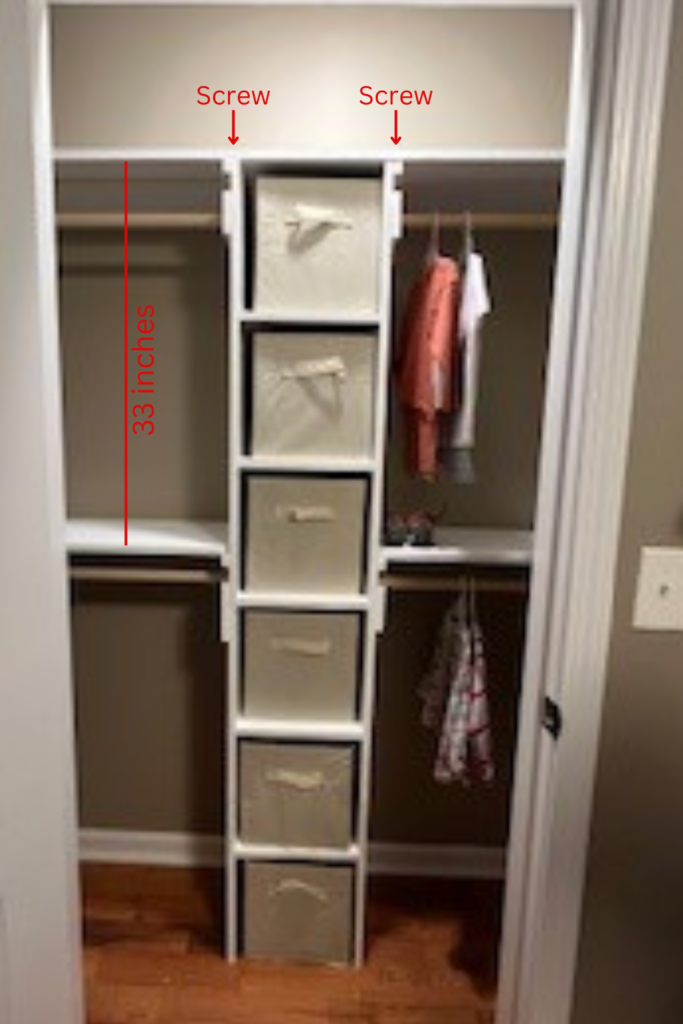
This is by far the most fun step of the whole process!! I started by placing the tower in the center of the closet, then I placed the top shelf on top. Next, I used 1.25 inch screws to attach the rod holders to the top of the tower. Using the longer screws and a stud finder, I attached the top set of rod holders to the wall. I placed a level on the top shelf in order to make sure everything was staying level.
Next, I dropped down 33 inches and repeated the process with the lower section of shelves and hanging rods.
Lastly, I used the shorter screws to drill down through the top shelf and attach it to the tower. I then used the L-shaped shelf brackets to attach the top shelf to the wall. This step was just to attach the closet system to the wall in case my kids decided to climb on it.
I hope this encourages you to tackle your own closet! It is so much easier to put away laundry when everything has a home!
