These DIY butterfly bookends turned out so cute and were the perfect addition to my daughter’s nursery! A lot of times I get an idea of what I want something to look like, but then I either can’t find if for sale anywhere or I don’t want to pay the price for it. This is where the magic of DIY comes in! Because I DIYed this project, I was also able to match the colors to the decoration in the rest of the room. If you want to know how to build these super simple butterfly book ends, keep reading for a FREE PDF pattern download!
(This post contains affiliate links, and as an Amazon Associate, I may earn a commission on the sale of products at no cost to you.)

Tools/Supplies Needed:
- Scrap pieces of wood – I used 1×4’s, 1×6’s, and 1/4 inch Luan
- Pattern – which you can download for free HERE
- Scroll Saw
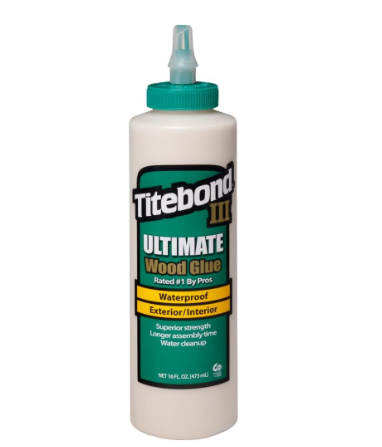
- Wood Glue
- Nails
- Corner Clamp
- Paint
- Wire
- Antique Gold Rub N Buff
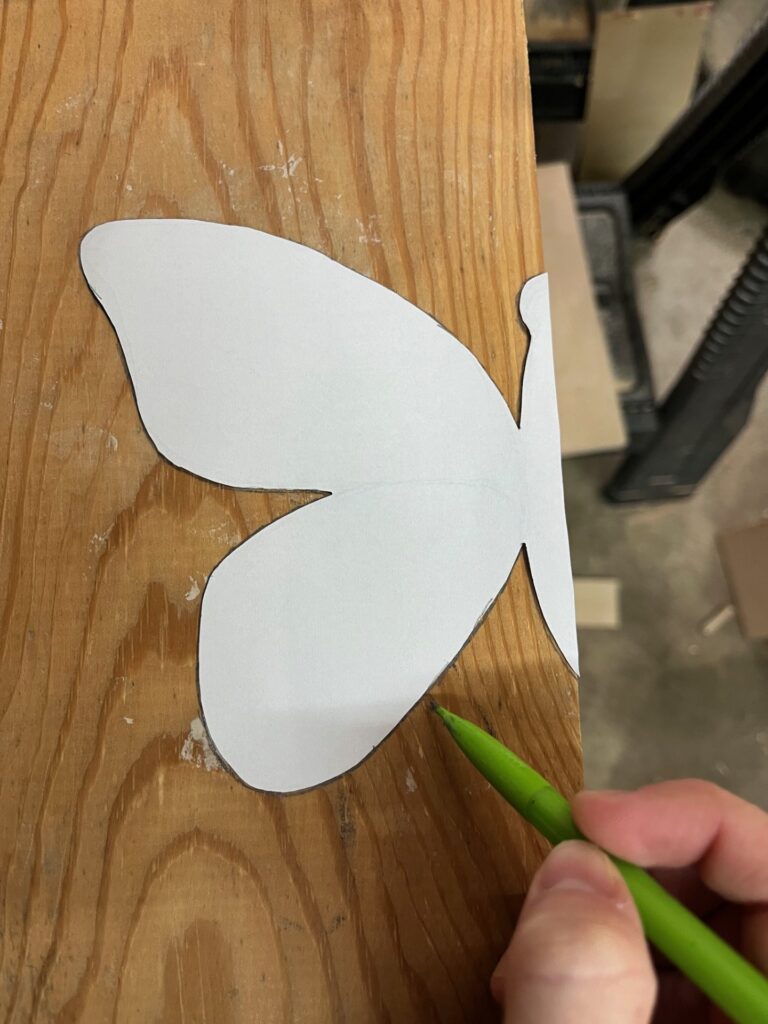
Step 1: Trace Out the Free DIY Butterfly Bookends Pattern
If you haven’t already, download your DIY Butterfly Bookend Pattern HERE! Once you have it printed and cut out, trace it onto a piece of wood. For the large background of the butterfly, I used a 1×6. For the smaller detail pieces, I used a scrap piece of 1/4 inch Luan. I wanted the detail pieces to simply add dimension but not add a lot of weight, so a piece of 1/4 inch thick wood was perfect for this.

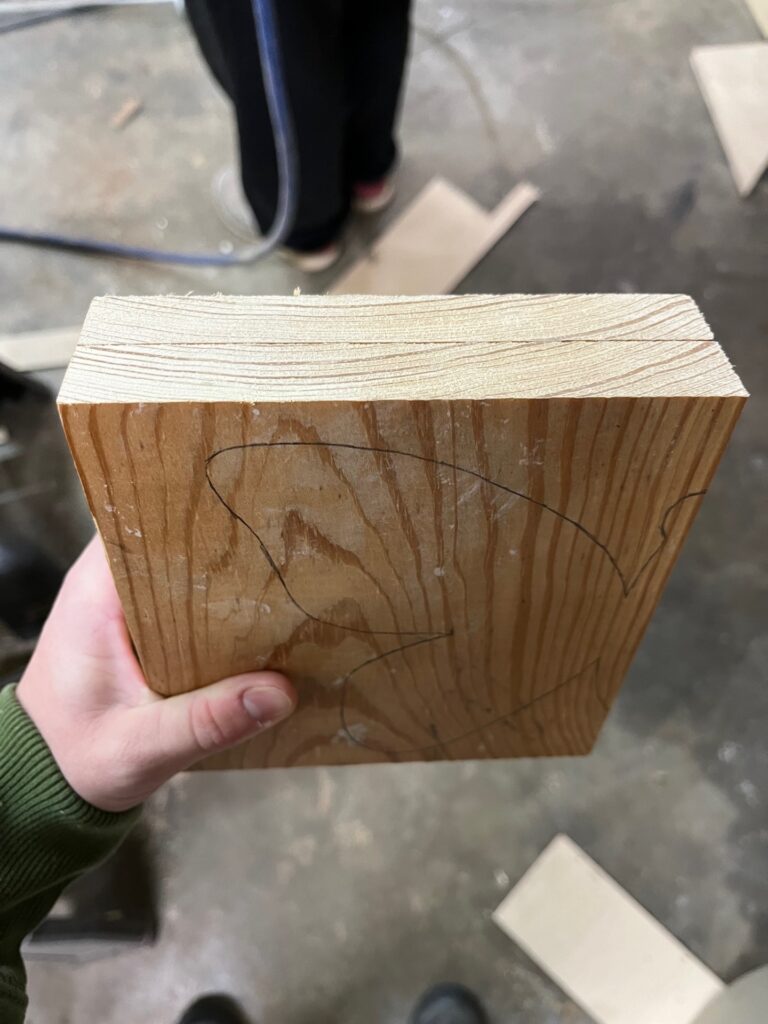
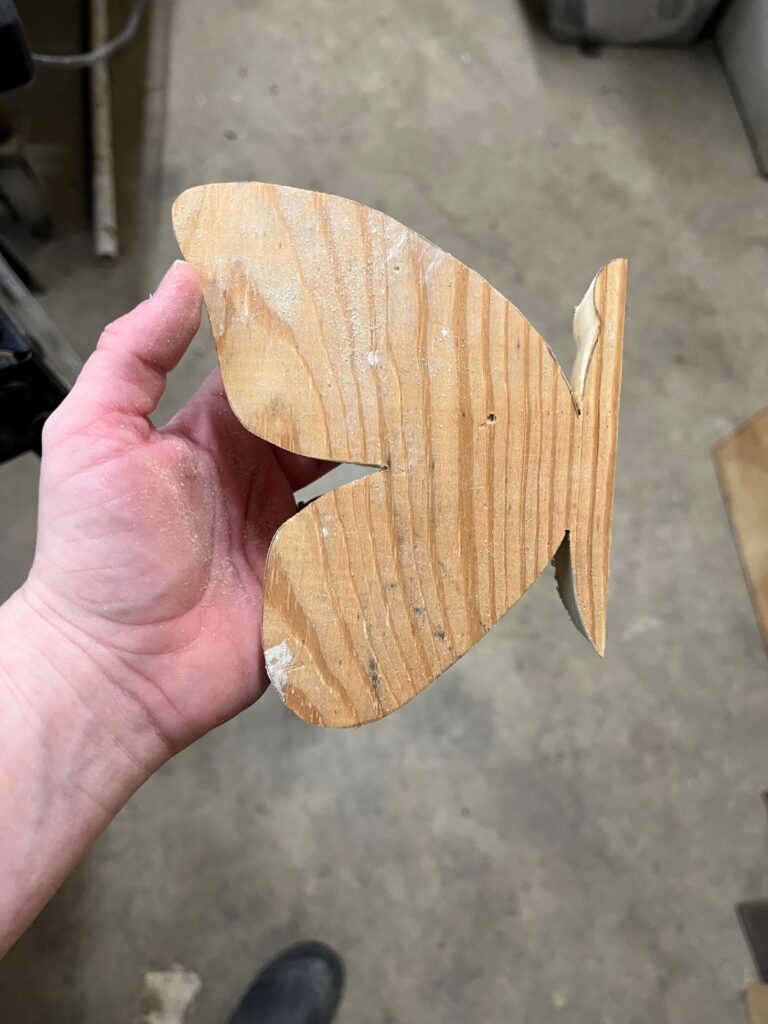
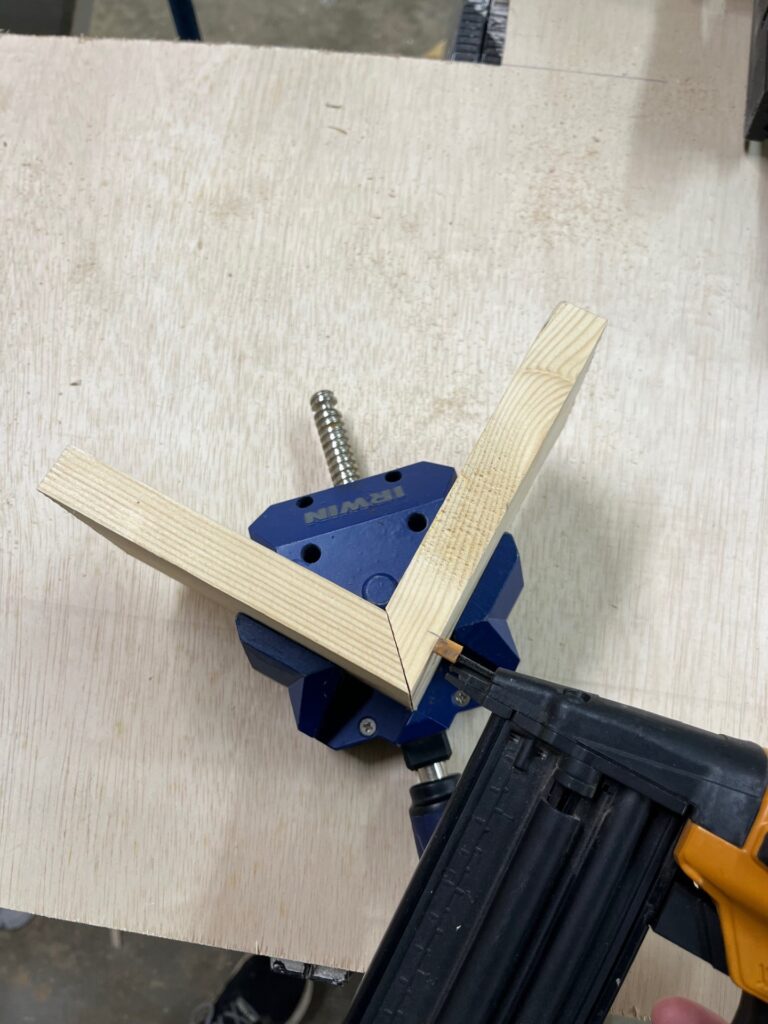
Step 2: Cut Out Butterfly Bookend Pieces
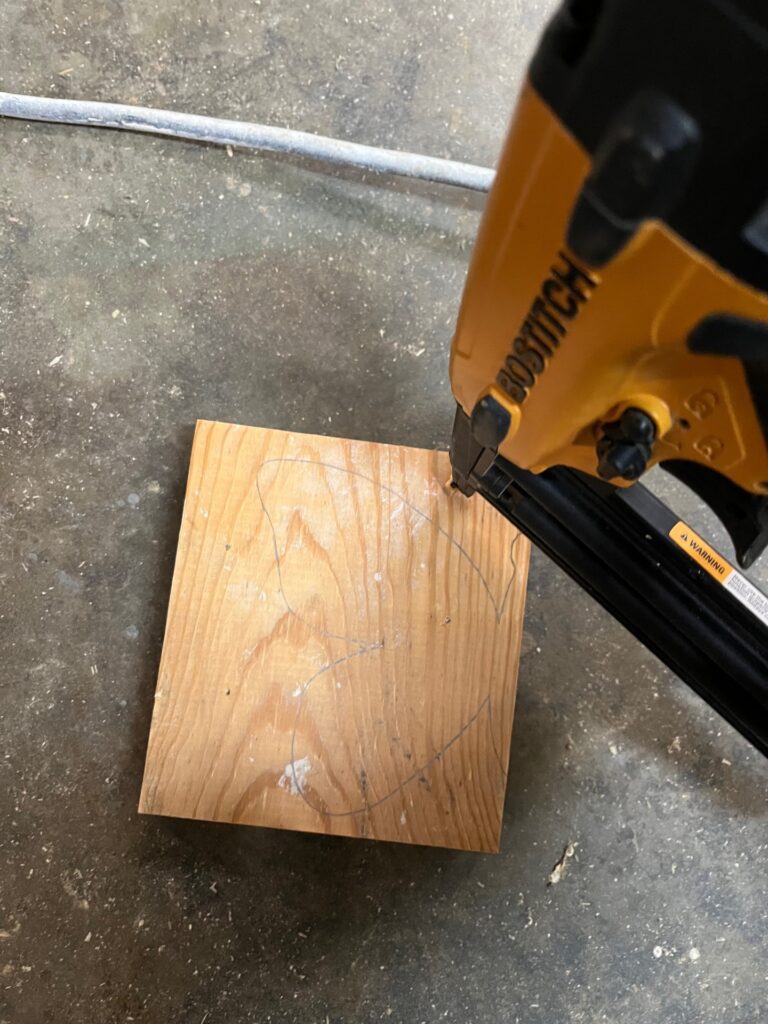
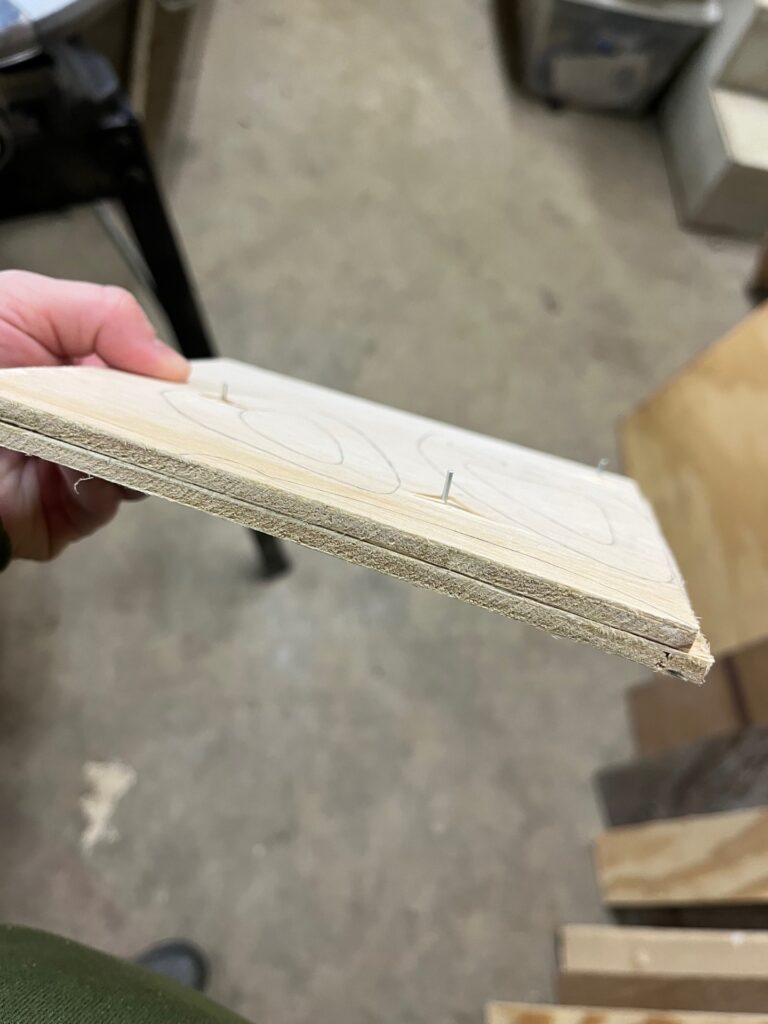
To make the cutting process faster, I used my air brad nail to tack two 1×6’x together. This will keep you from having to cut out two butterflies separately. As long as most of the nails are in the areas that will be cut away, it will be easy to take back apart. The large background piece is the simplest one to cut out because you just cut around the perimeter.

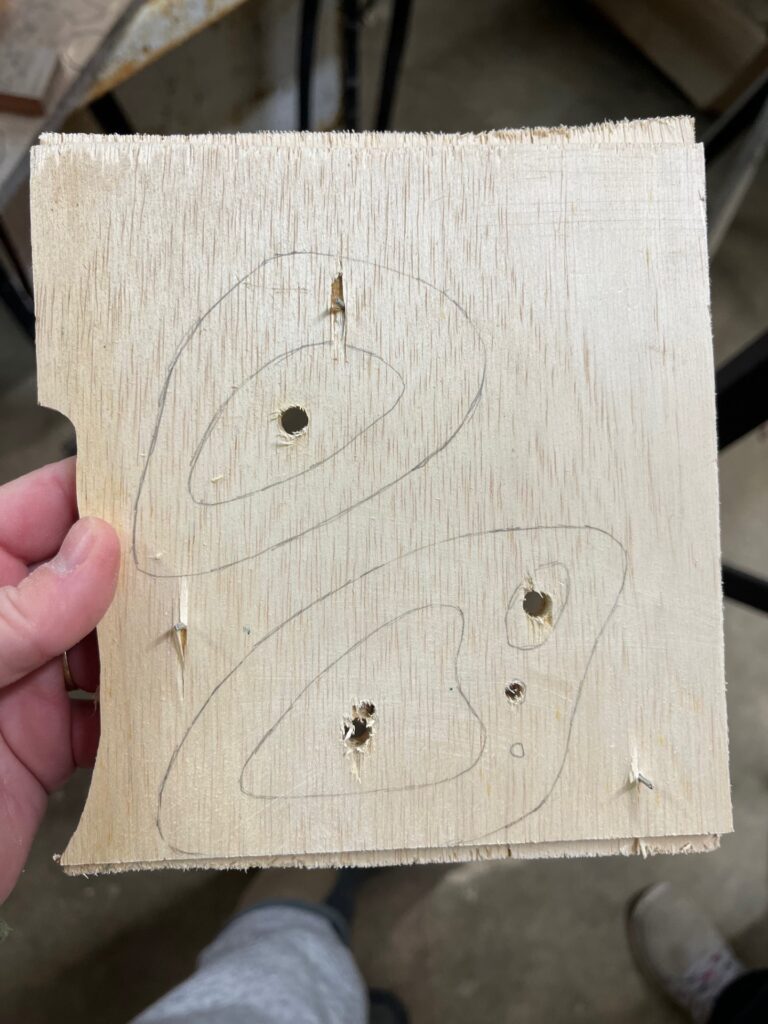
Using the same technique of nailing two pieces of wood together to make the cutting process go faster, I cut out the detail pieces. In order to cut circles out of the middle, I used a drill to make a hole in the center. Then, I detached my scroll saw blade, threaded it through the circle I just drilled, then reattached the blade to the saw. I had to do this for the largest circle and the medium sized on at the top of the wing. The other two circles were made by simply drilling holes using different size drill bits.
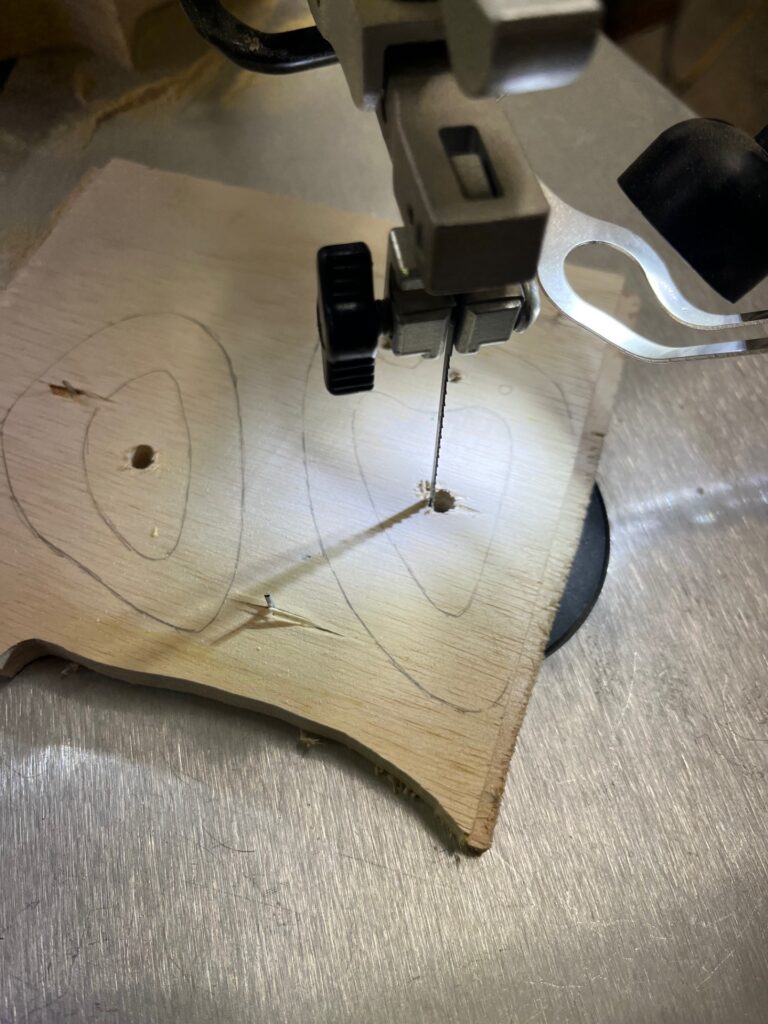
If you are don’t have a scroll saw, you could use a jig saw to cut these pieces out.
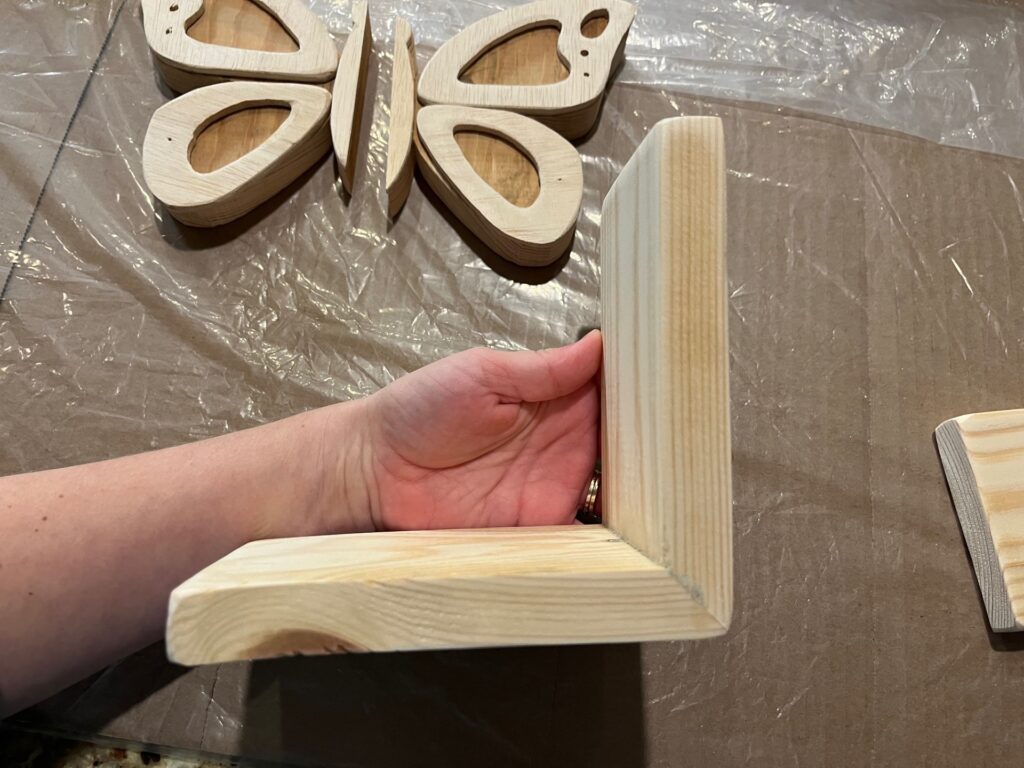
For the base of the book ends, I used a scrap 1×4 cut to about 5.5 inches. I did miter the corner because I like the way that looks, but you definitely don’t have to.
Step 3: Paint DIY Butterfly Bookend Pieces
I debated on painting the butterflies or leaving them unfinished because I loved the varying wood tones. I ended up painting them with paint colors I had matched with her bedding. I highly recommend painting everything separately first before attaching the pieces together.
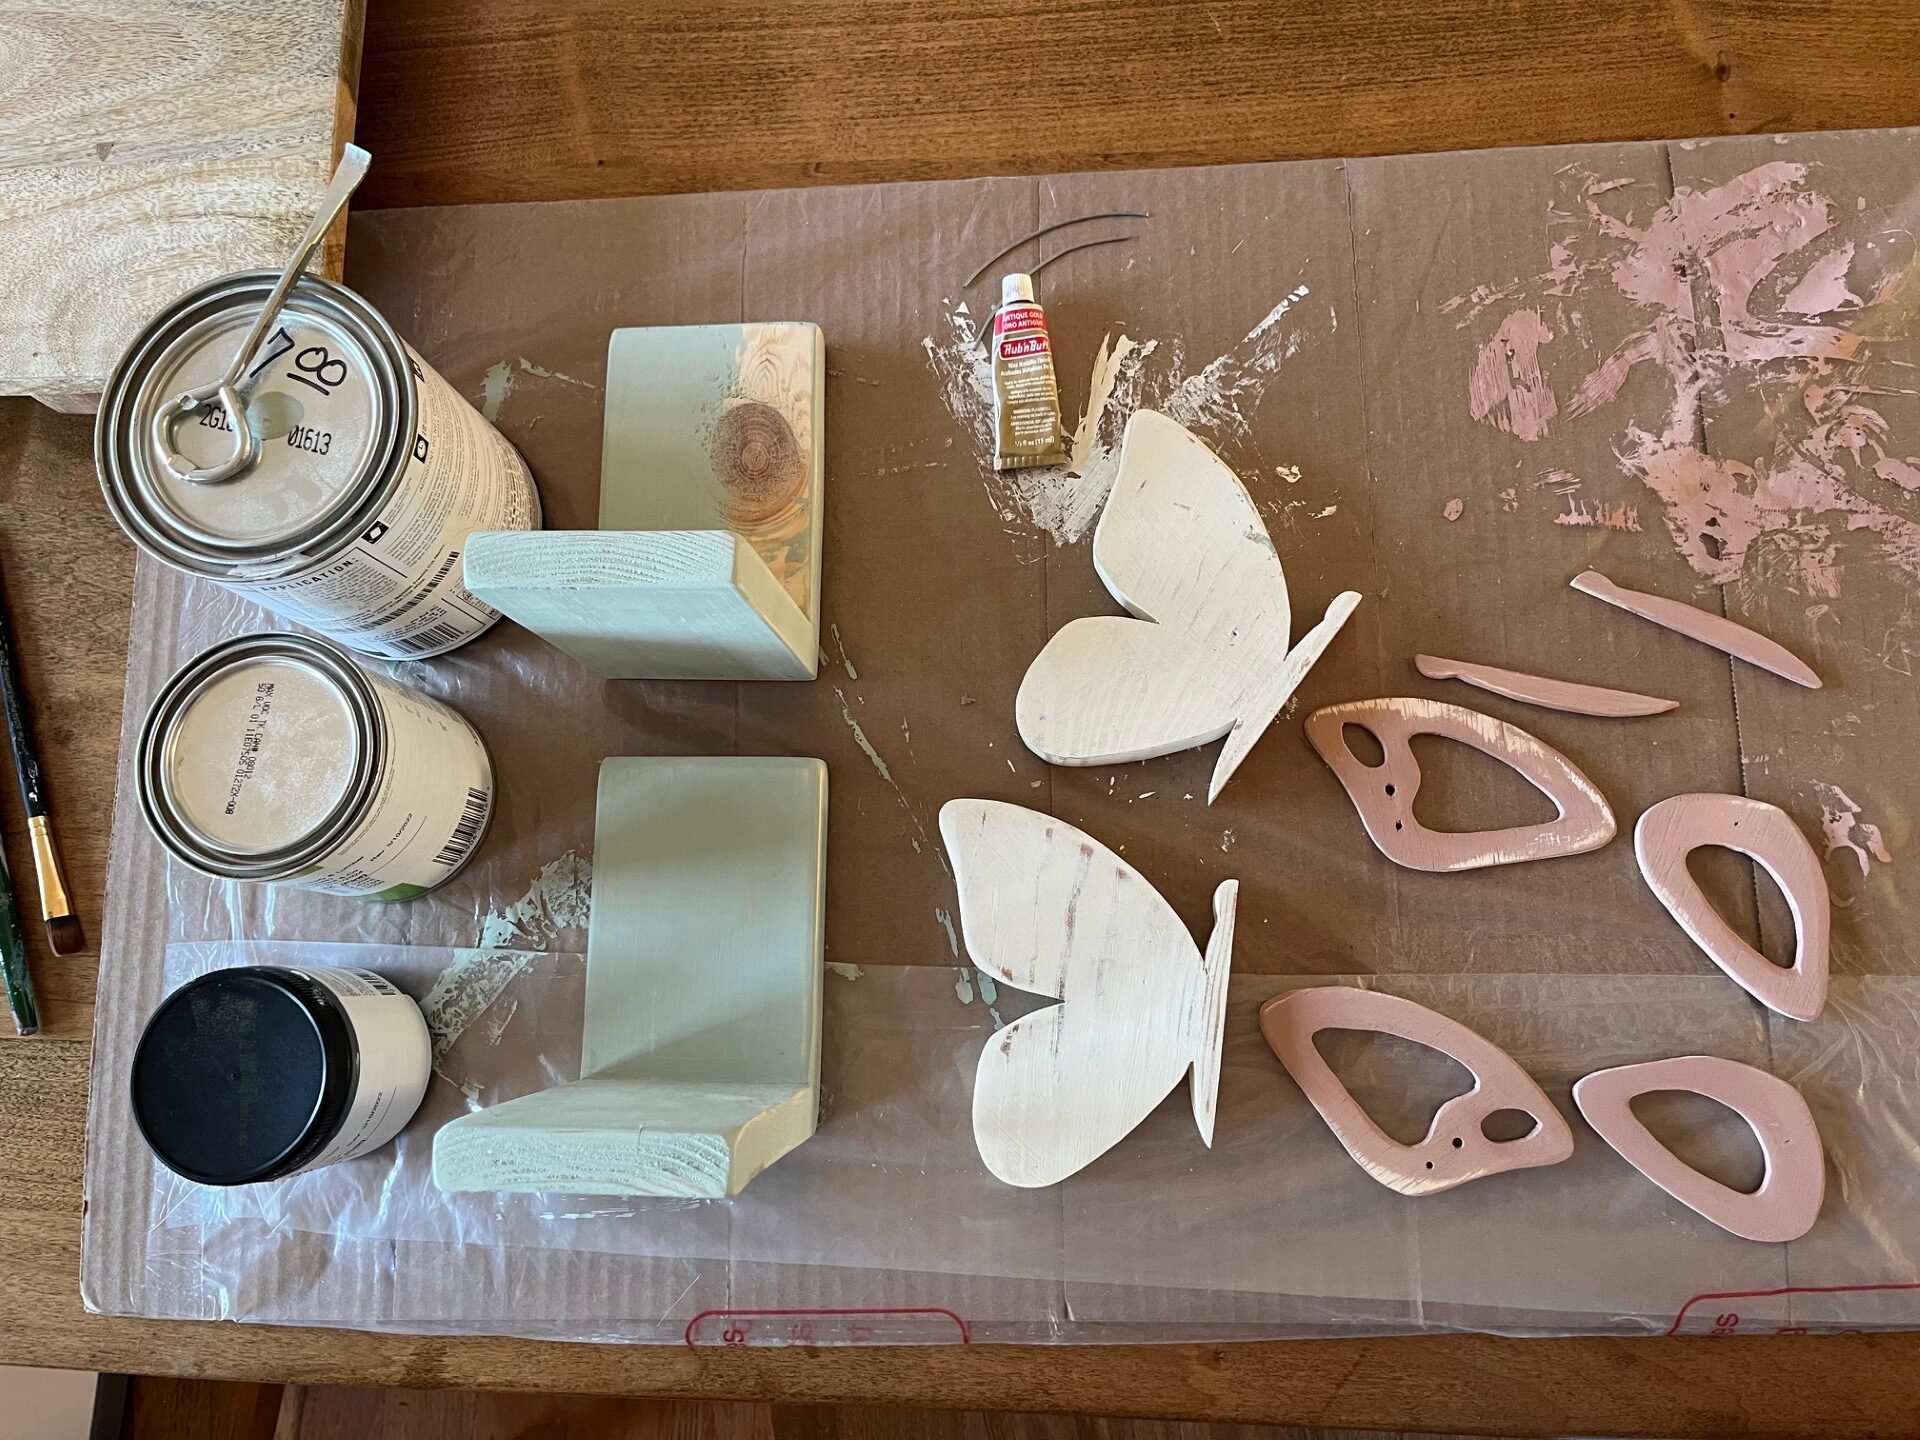
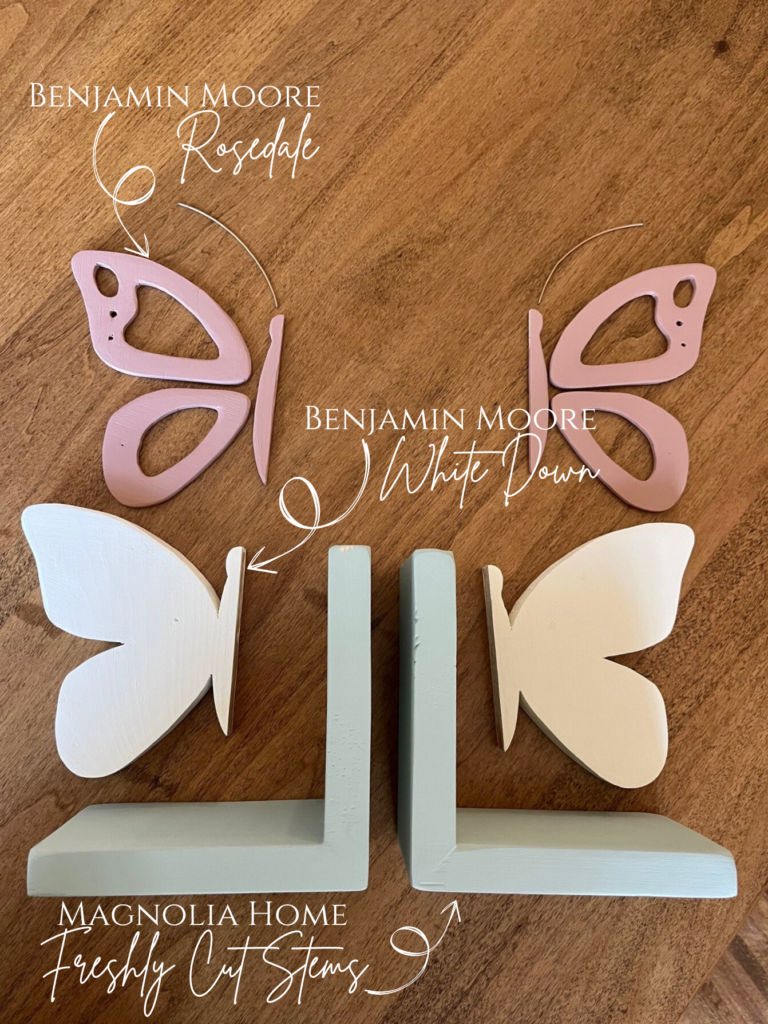
It ended up taking 2-3 coats of paint with sanding in between each coat in order to get a smooth finish. For the base of the butterfly, I used Benjamin Moore “White Down.” For the dimensional accents, I used Benjamin Moore “Rosedale.” On the corner base I used a can of Magnolia Homes “Freshly Cut Stems” that I caught on sale at Lowes, and it happened to match perfectly.
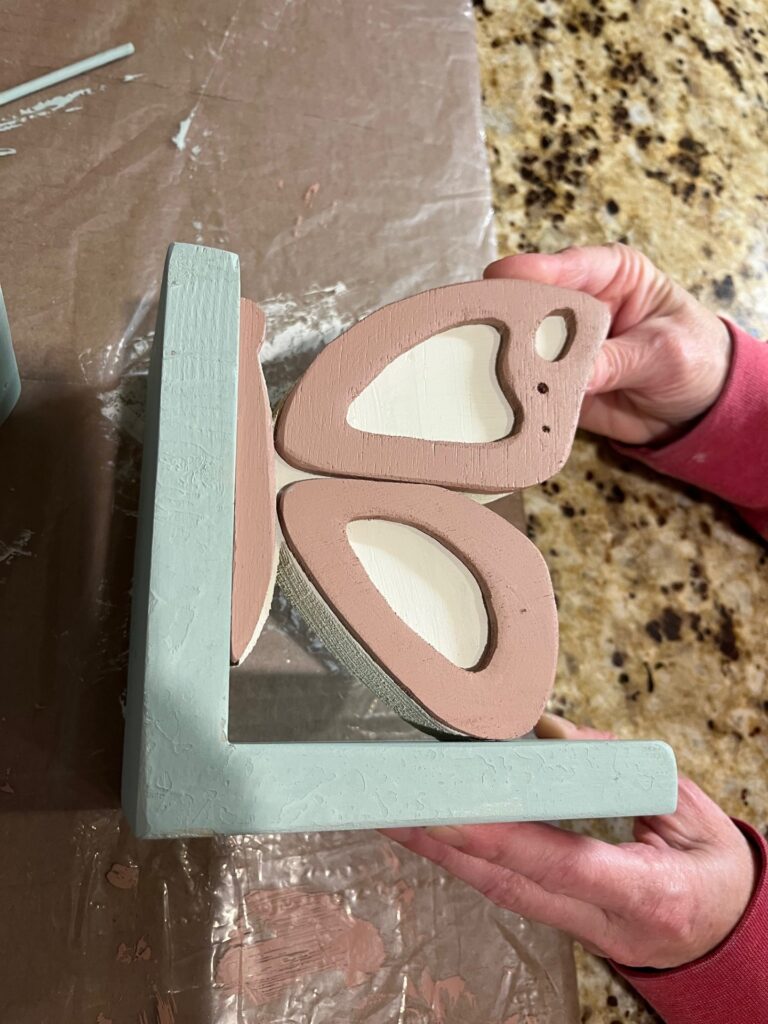
Step 4: Attach Everything Together
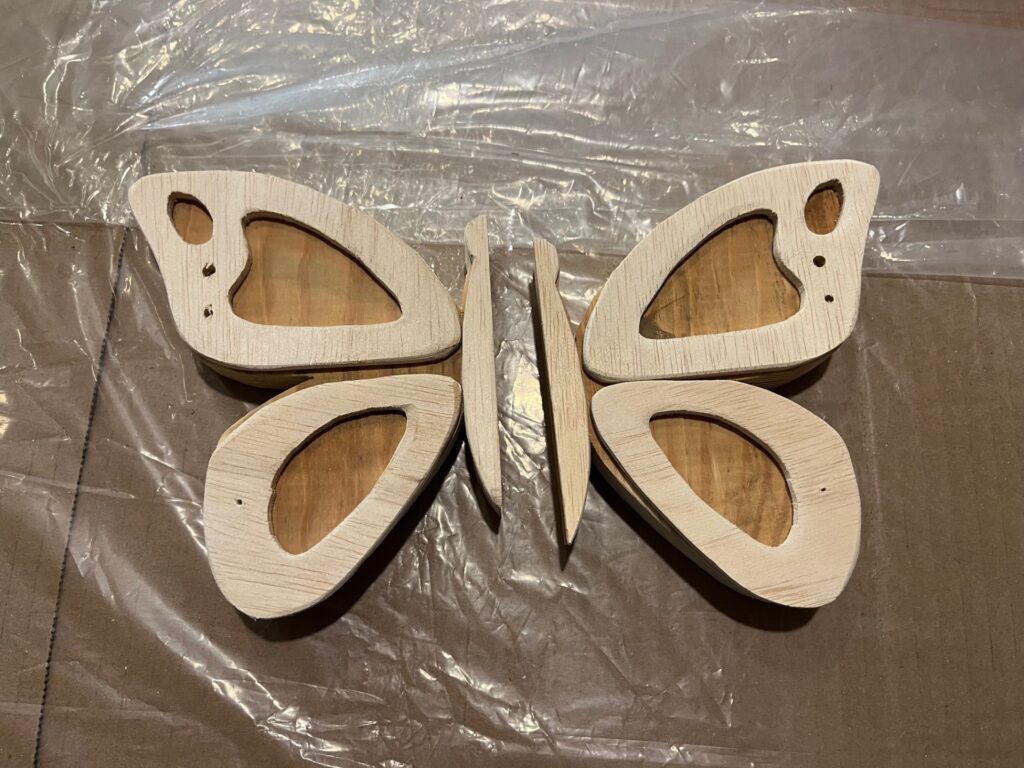
To attach everything together, I simply used wood glue. First, I glued the pink pieces into the white butterfly base. I laid a heavy book on top and let the glue dry for about a day. Then, I glued the butterfly onto the corner base.
Lastly, I cut a small piece of wire, about 4 inches long for the antenna. I drilled a tiny hole in the top of the butterfly and poked the wire down unto the hole with some glue. I used some old 14 gauge electric fence wire for the antenna, but any craft wire will do.
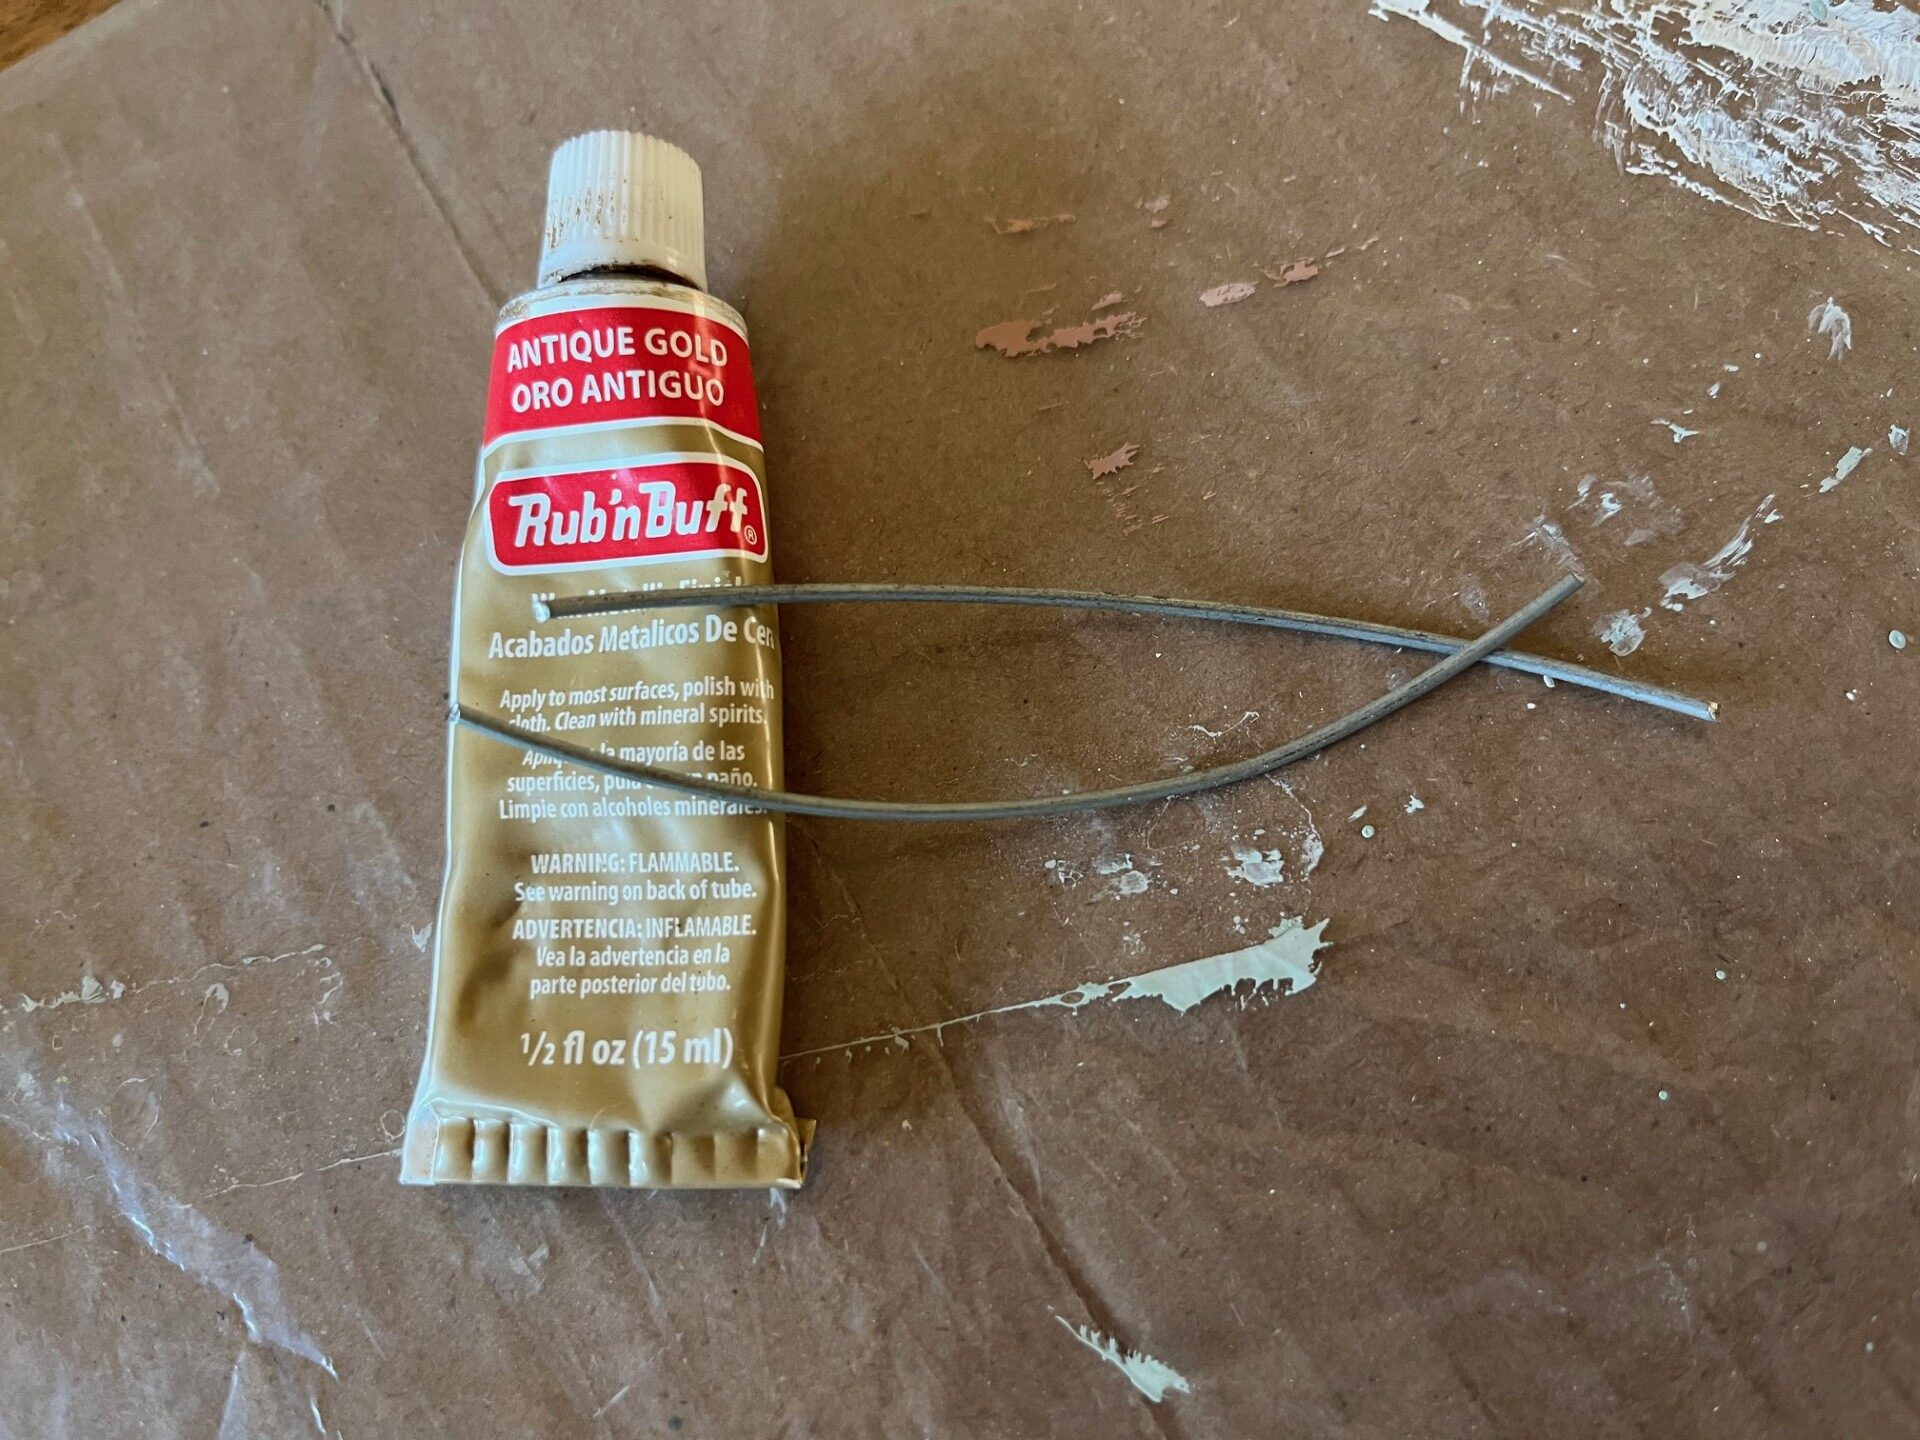
I used “Antique Gold” Rub N Buff to turn the wire from silver to gold. You can do thus by putting a little dap of rub n buff in a Ziplock bag with the wire and rubbing it around until it is fully coated.
Step 5: Style DIY Butterfly Bookends and Enjoy!
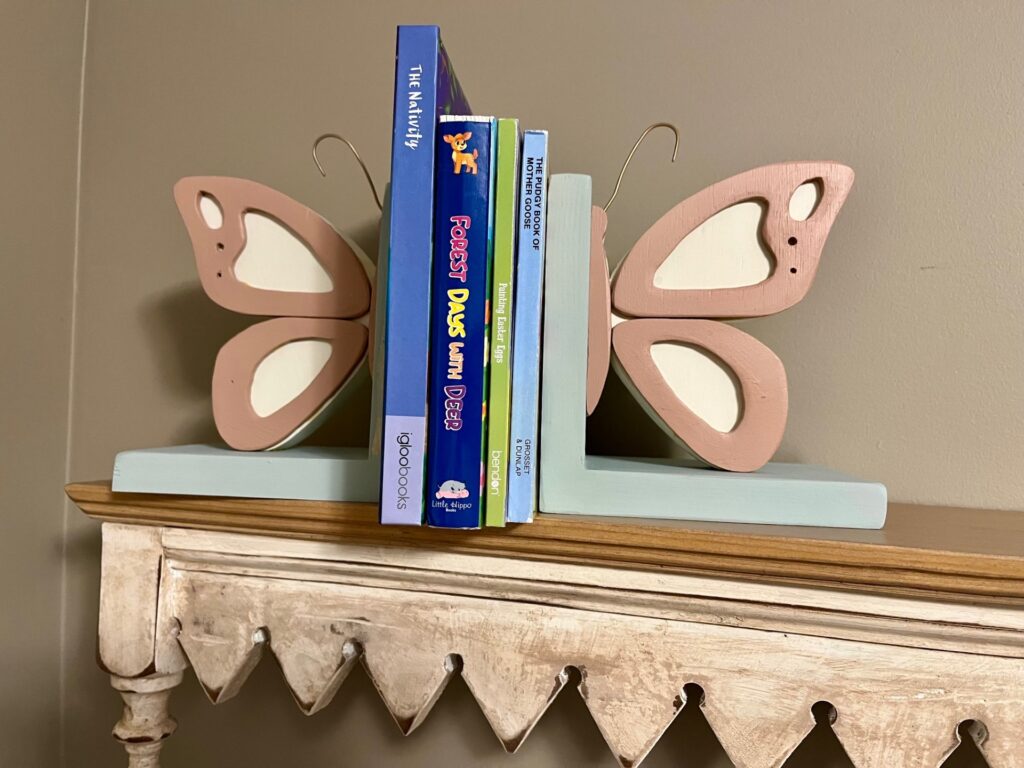

I hope this post inspires you to create something beautiful of your own! Happy DIYing!