This DIY behind the door bookshelf was easy and inexpensive to build and such a space saver! My kids have so many books and finding a good place to store them had burdened me for a while. Without a lot of space to work with, I have had to get more and more creative on how to keep things organized. If you are like me and can’t stand clutter but don’t have a lot of storage space, then you are going to want to stick around! Read more for all the details on this innovative behind the door bookshelf.
(This post contains affiliate links, and as an Amazon Associate, I may earn a commission on the sale of qualifying products at no cost to you.)

Supplies Needed:
- 5 1×4’s 8ft long
- 2 8ft pieces of Screen Molding
- Wood Glue – this is my favorite brand
- Pnuematic Brad Nail Gun
- 2 inch Screws
- Drill
- Stud Finder
- Tape Measure
Step 1: Measure Your Space
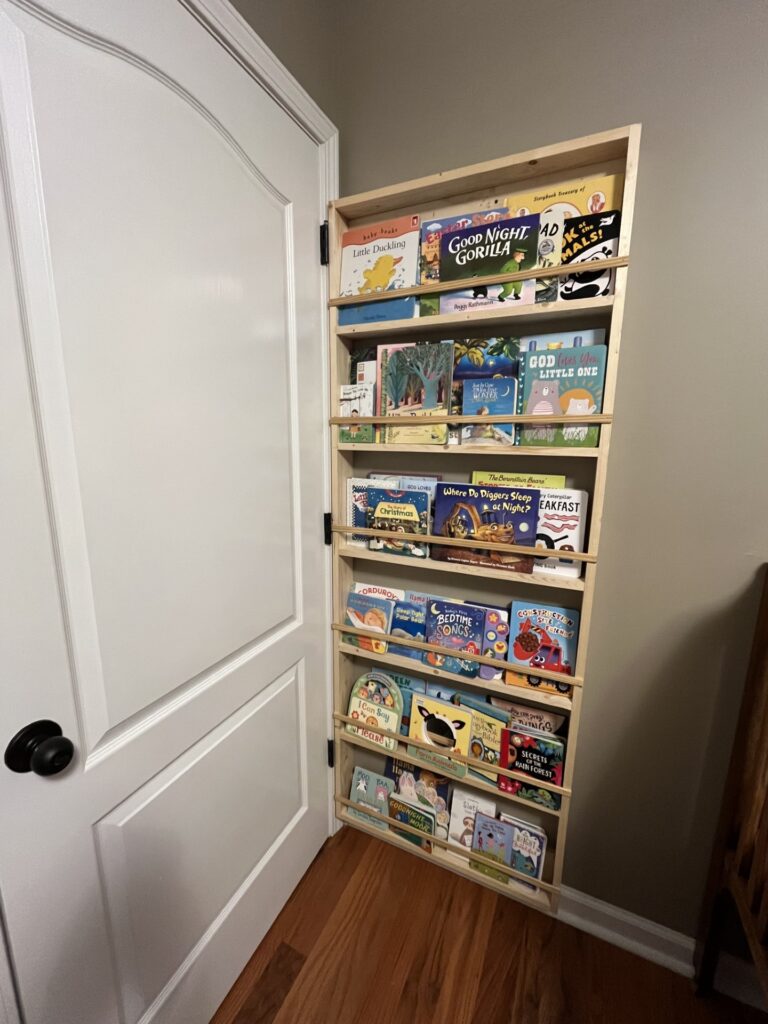
This shelf went behind a — inch wide x — inch tall door. I would say this is a pretty standard door size, but it never hurts to measure! I made my shelf go all the way against the door frame behind the door, and it is sitting on top of the baseboards at the bottom. In order to keep the doorknob from interfering with the shelf, I ended the shelf just before the knob. The total dimensions of this behind the door bookshelf ended up being 27 inches wide and 6 feet tall.
Also, now is the time to decide on shelf distance. I chose to make 6 shelves equidistance apart. Most of the books I had were 10 inches or shorter, and this about of shelves left 11.125 (11-1/8) inches between the shelves.
Step 2: Cut Boards to Size
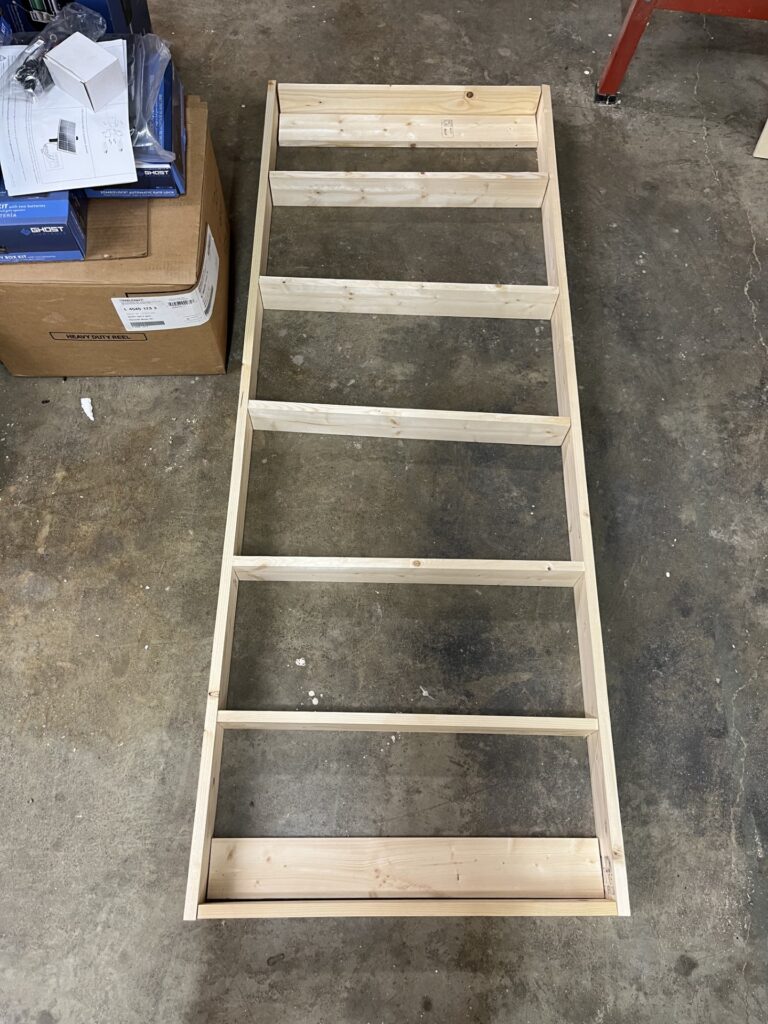
Next you will need to cut your boards to size. If you plan on making a 27inx6ft shelf using 1×4’s then follow the measurements below:
- 2 1×4’s cut 6ft long
- 9 1×4’s cut 25.5in long
- 6 pieces of Screen Molding cut 27in long
- 2 11-1/8 inch long pieces of scrap wood as spacers for the shelves
Step 3: Glue and Nail DIY Behind the Door Bookshelf Together
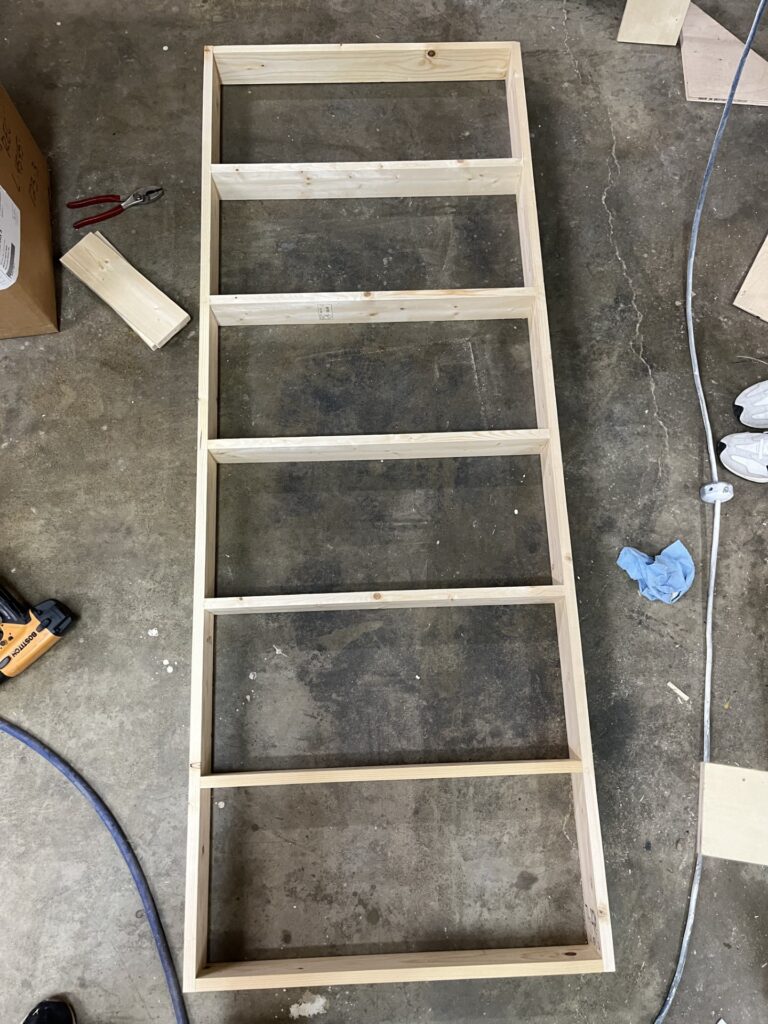
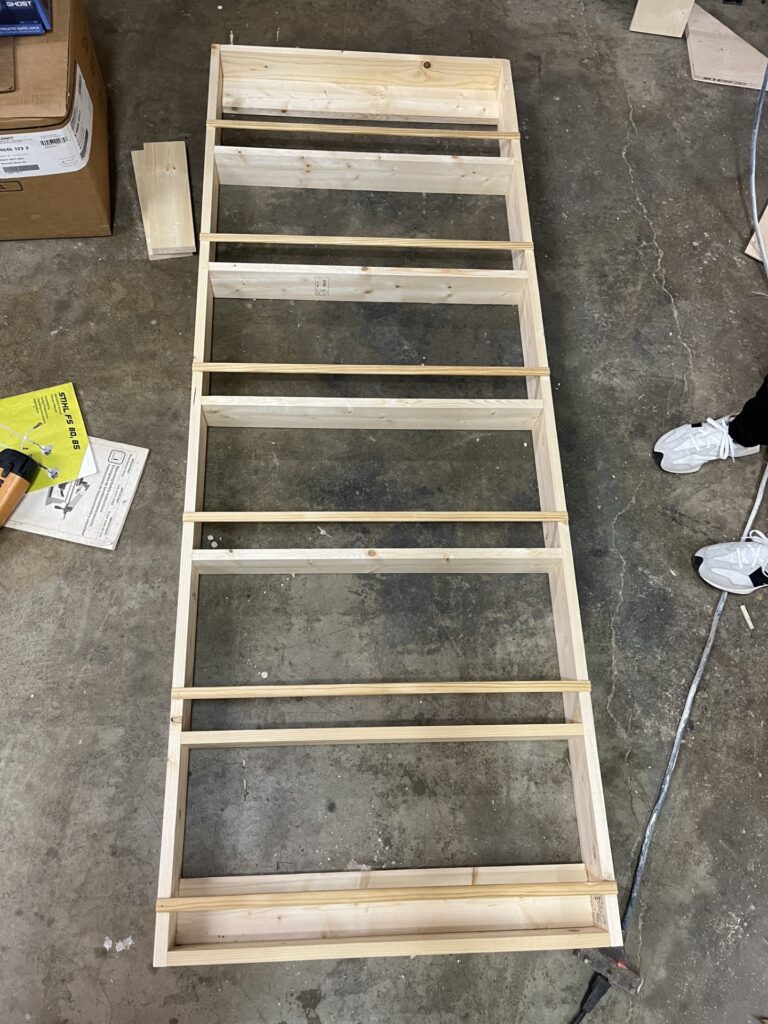
After cutting all the pieces to size, simply lay it out and attach everything together! I started by nailing the four outer corners together. Then, using the spacer boards for efficiency, I nailed in all the horizontal shelf pieces. Using an air nail gun and wood glue was the fastest way for me to secure everything.
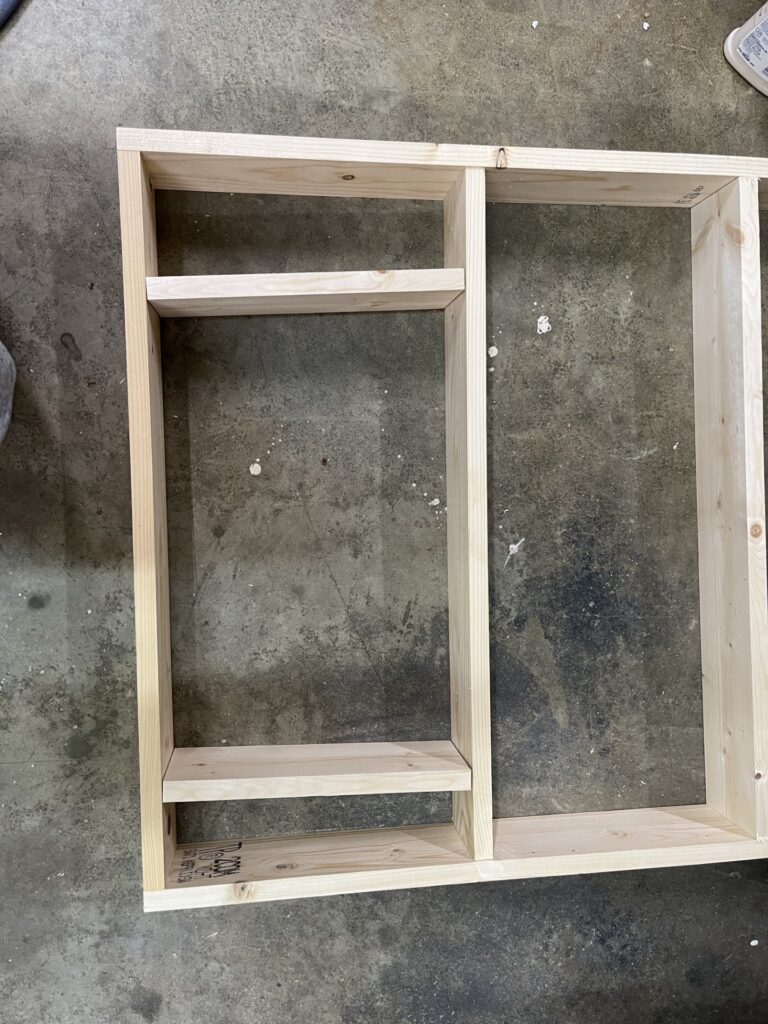
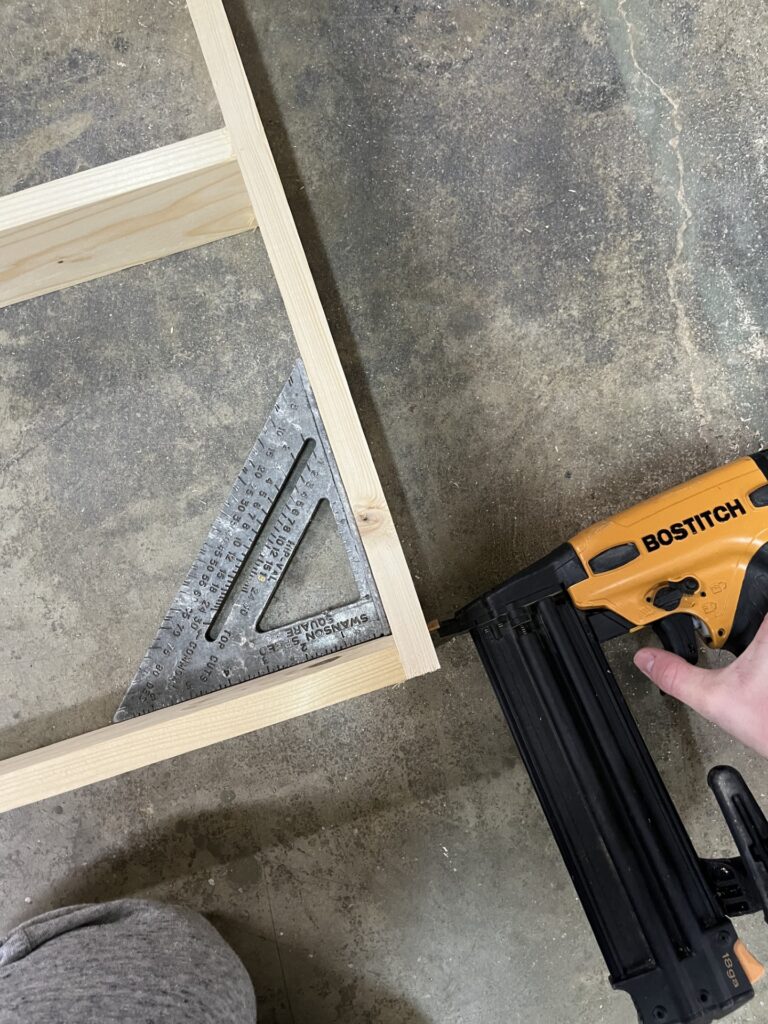
If you do not have access to a finish nail gun and air compressor, you could also screw through the outside into the horizontal shelves or use pocket hole screws. If you had enough clamps and patience, you could probably just glue it all together as well.
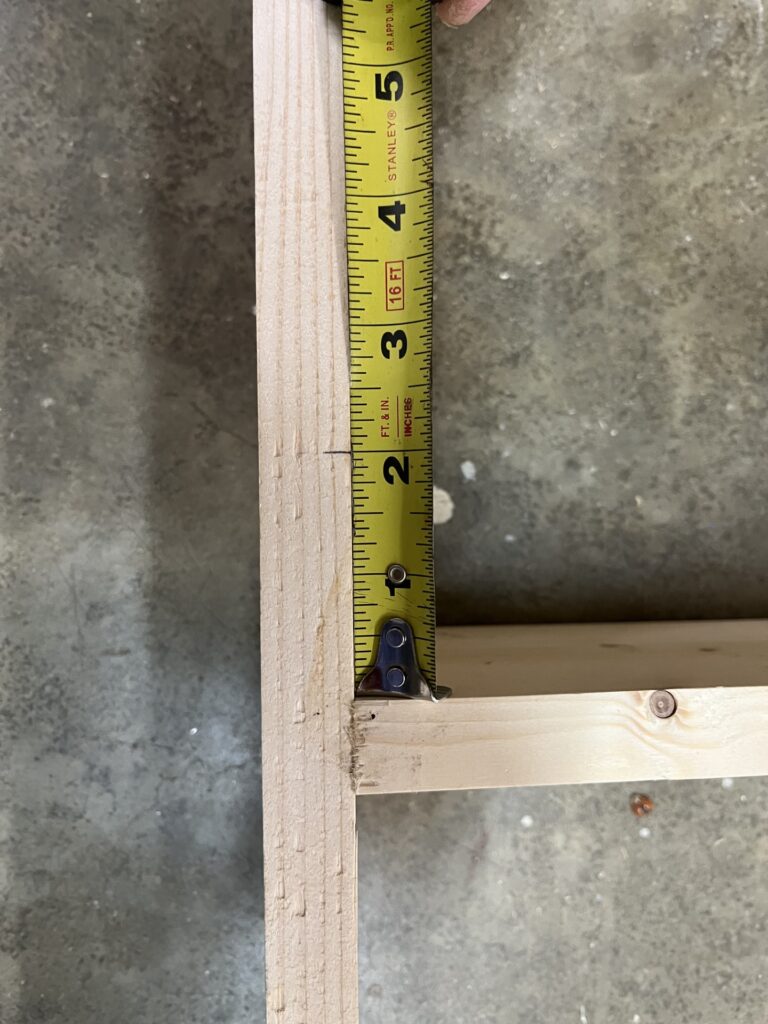
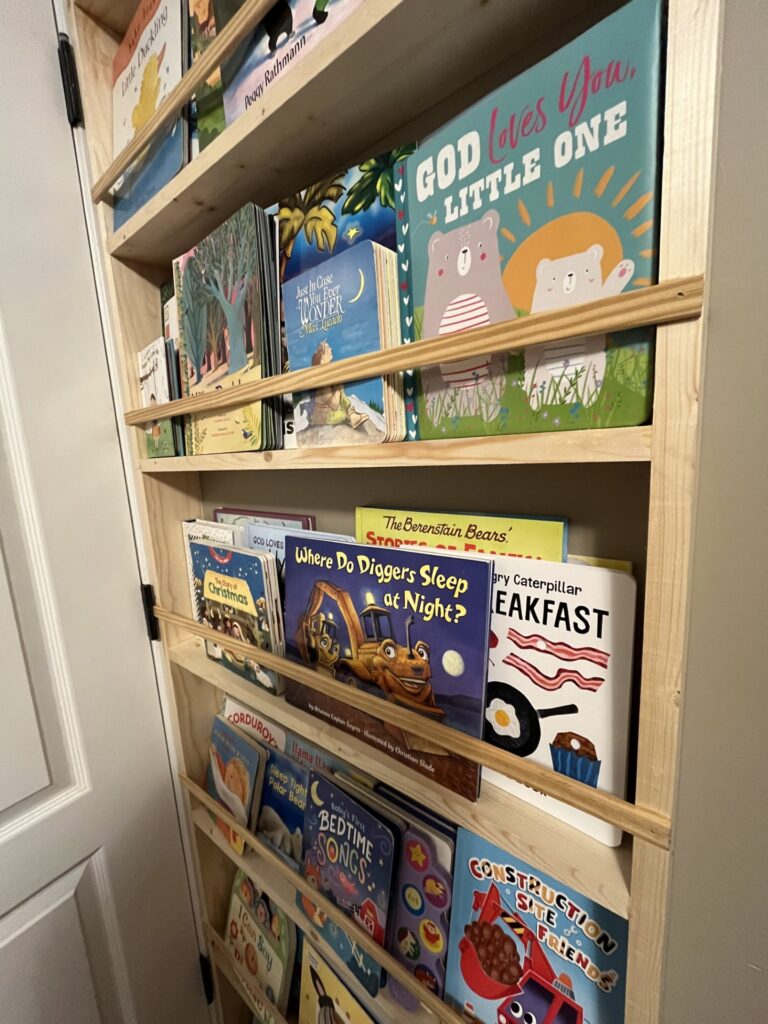
Lastly, I measured up 2 inches from the bottom of each horizontal shelf to attach the piece across the front.
Step 4: Attach DIY Behind the Door Bookshelf to The Wall
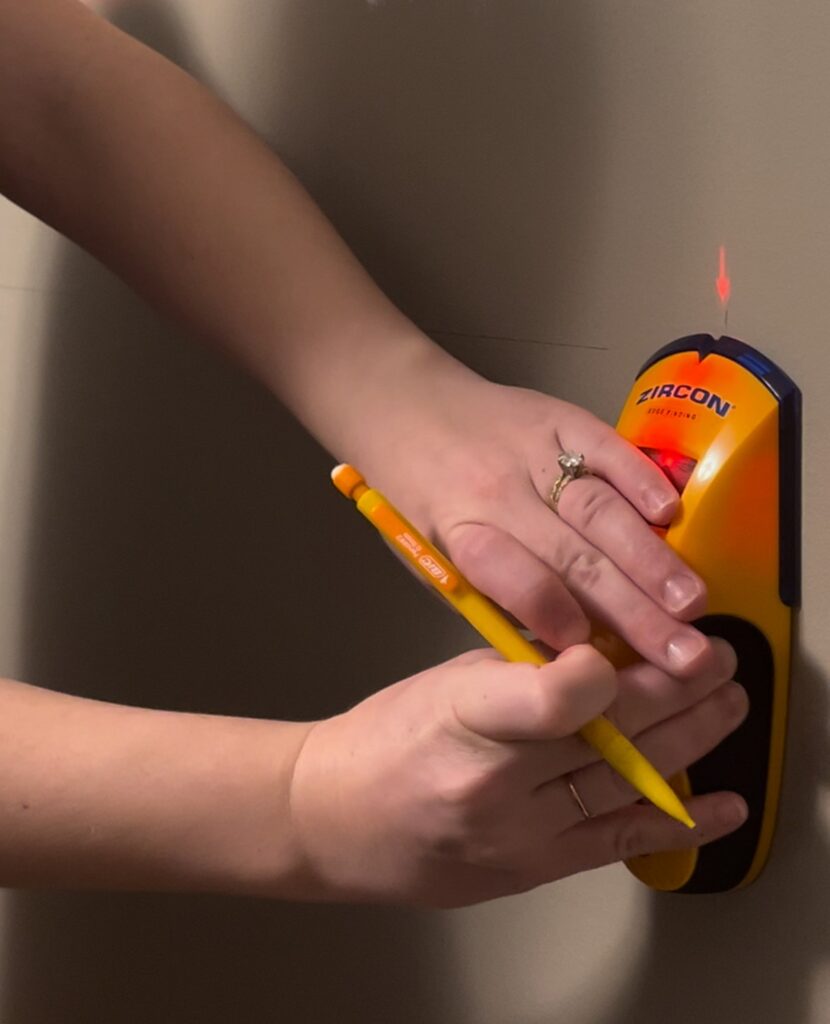
Using a stud finder, mark your studs. Then, using at least 2-inch screws, attach the new bookshelf to the wall – screwing through the wood and sheetrock into the stud.
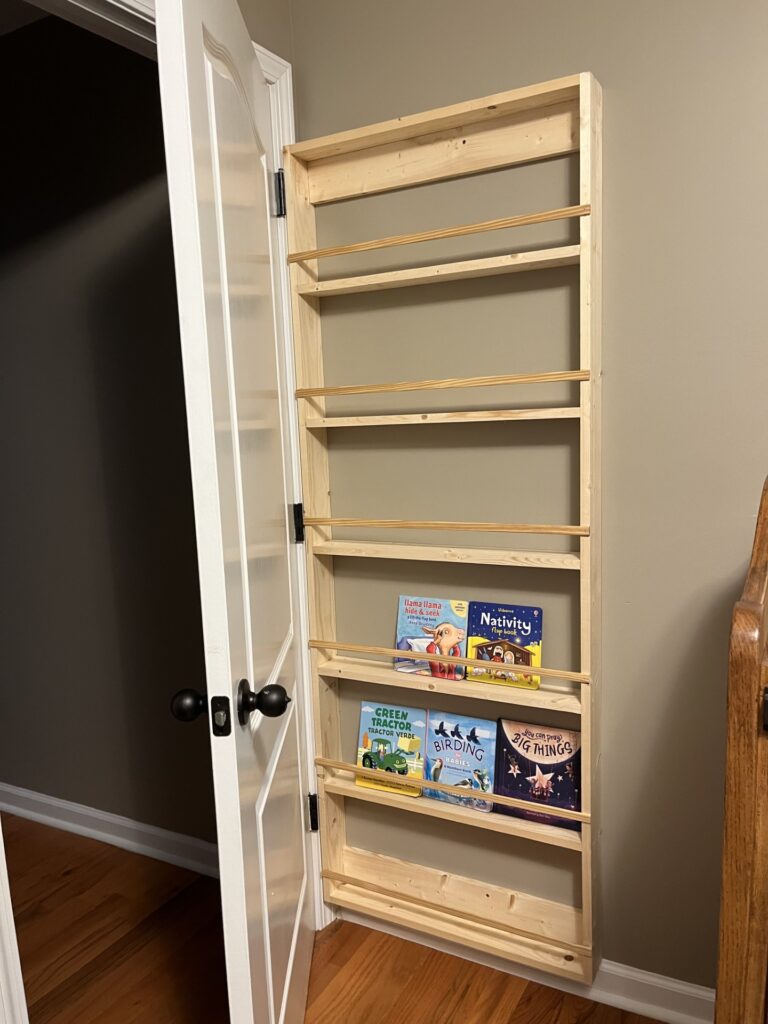
I made my bookshelf go all the way against the door trim and sit on top of the baseboards.
Enjoy Organization!
When the door is open, the shelf is not visible at all. This is a great way to organize books in a way that kids can see all the options, and it makes great use of the seemingly wasted space behind a door! My son loves going in his room to pick out a book!
DIY Behind the Door Bookshelf – Time and Cost
This bookshelf cost me about $30 to make and only took about an hour! If you plan on painting or staining it, that will add a little bit of time to the build. I recommend painting/staining the cut pieces before assembling the shelf. That usually makes the painting/staining process easier for me!
This project can easily be done in one day, and it will bring you one step closer to having a perfectly organized home!
