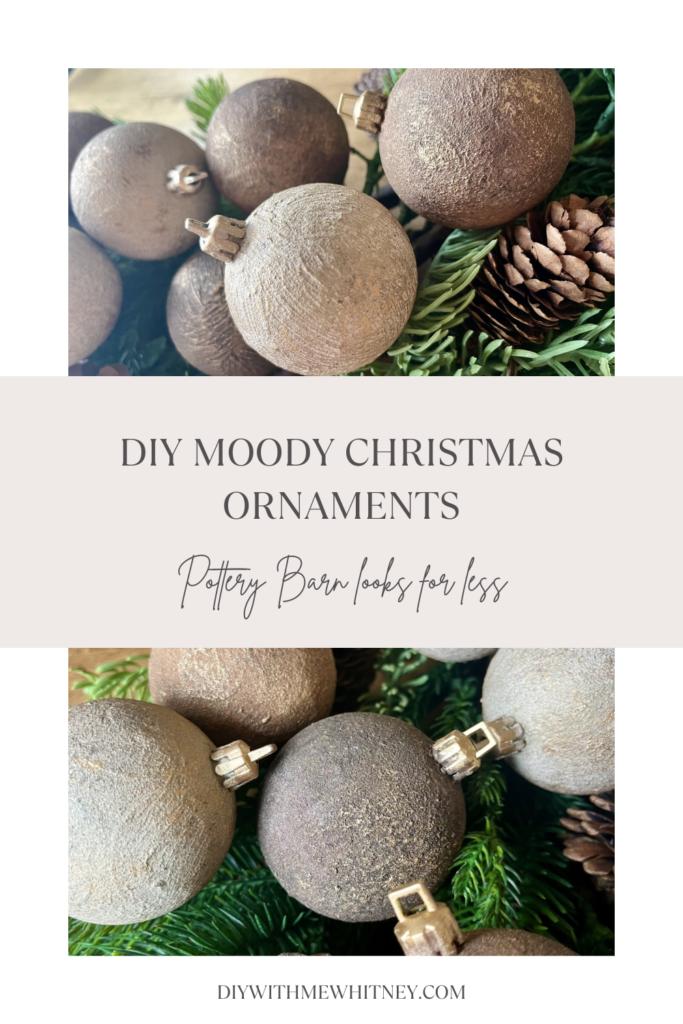
If you love Pottery Barn looks but don’t like the price tag, then these DIY moody Christmas ornaments are for you! They were so easy to make, and you will not believe the before and after photos. You can use this tutorial on any ornament – old ones you already have laying around or cheap blanks from Dollar Tree. You will love this high-end look, and all your holiday guests would never believe how cheap they are!
(This post contains affiliate links, and as an Amazon Associate, I may earn a commission on the sale of qualifying products at no cost to you.)
Don’t have Amazon Prime? Try if for FREE here!
Supplies:
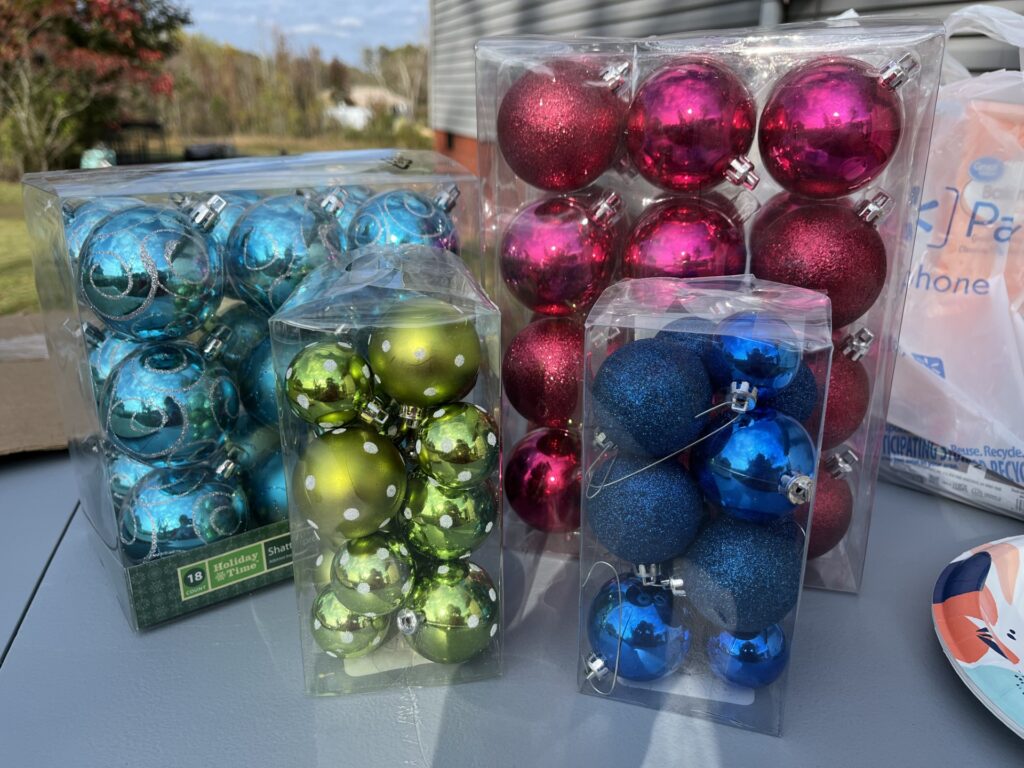
- A variety of old ornaments or ornament blanks such as these or these
- Rough paint brushes
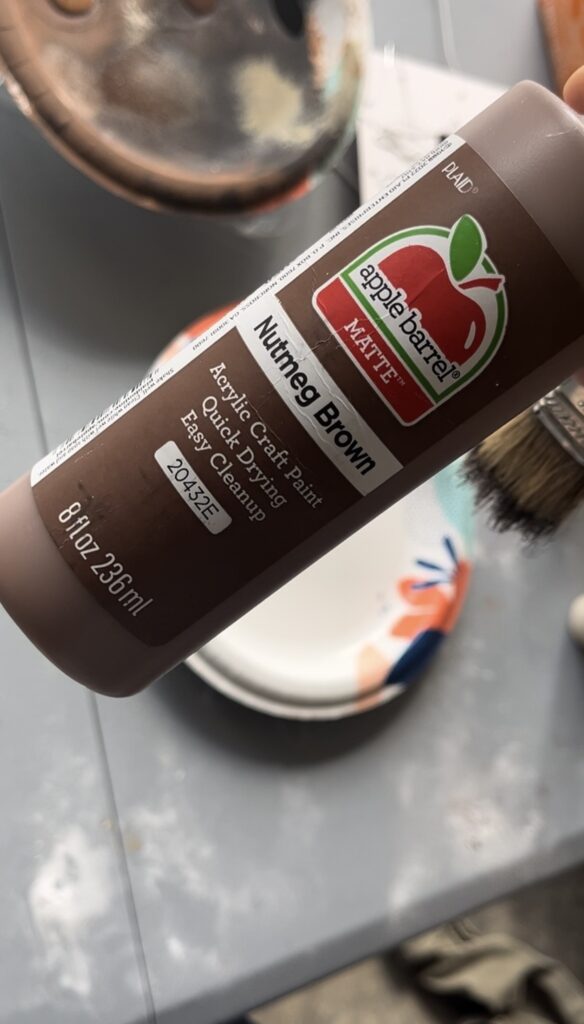
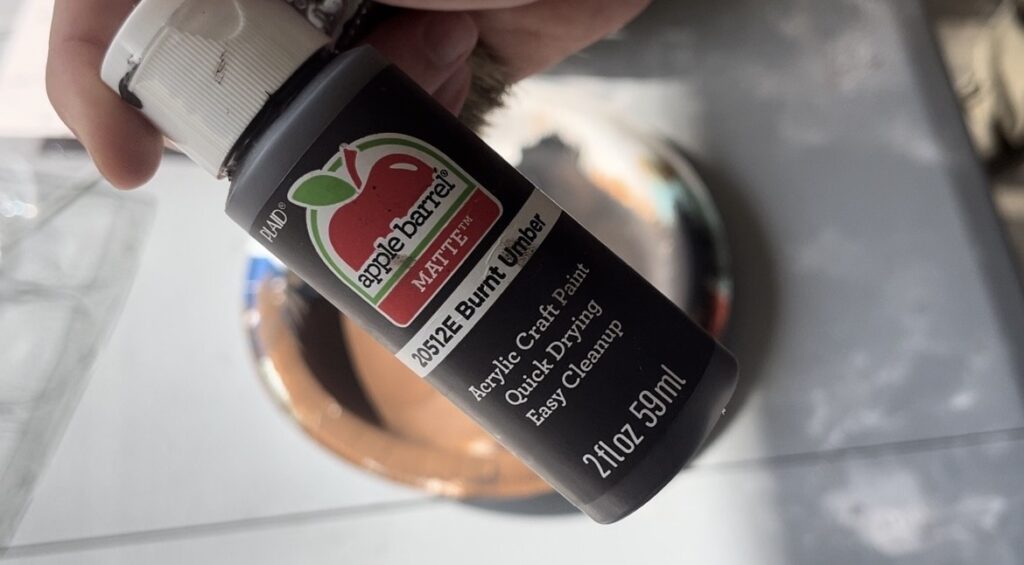
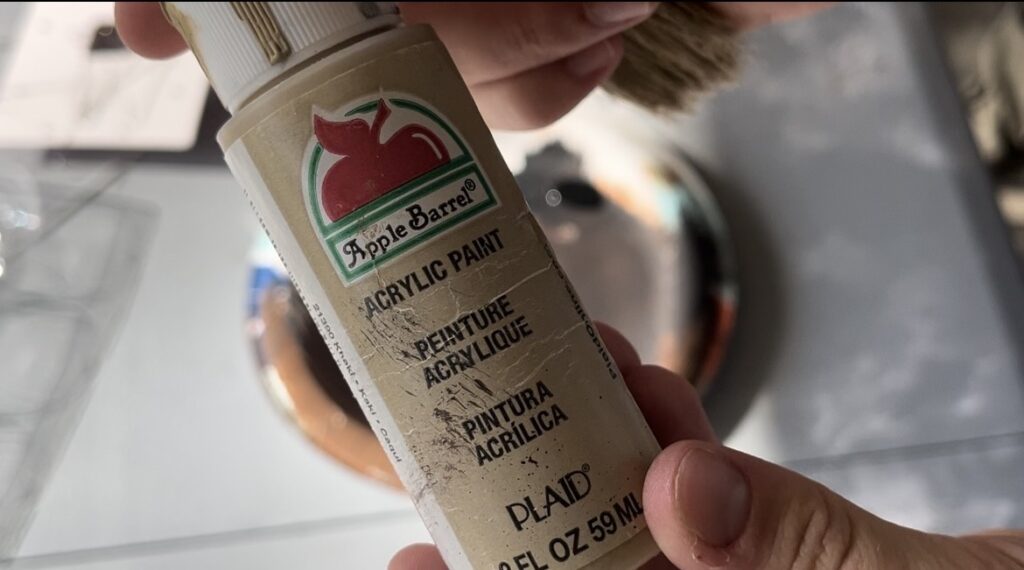
- A variety of craft paints – the colors I used are pictured below. This is a great set that contains the colors I used and a few more that would be perfect.
- Baking Soda
- Gold finishing wax
DIY Moody Christmas Ornaments
Step 1: Paint The First Coat
After deciding which ornaments you want to transform, the first step is to paint the base layer. I chose three different colors to use as base layers – Linen, Nutmeg Brown, and Burnt Umber. The rugged paint brushed I linked above work great to make a solid base layer without having to paint multiple coats.

Step 2: Apply Baking Soda
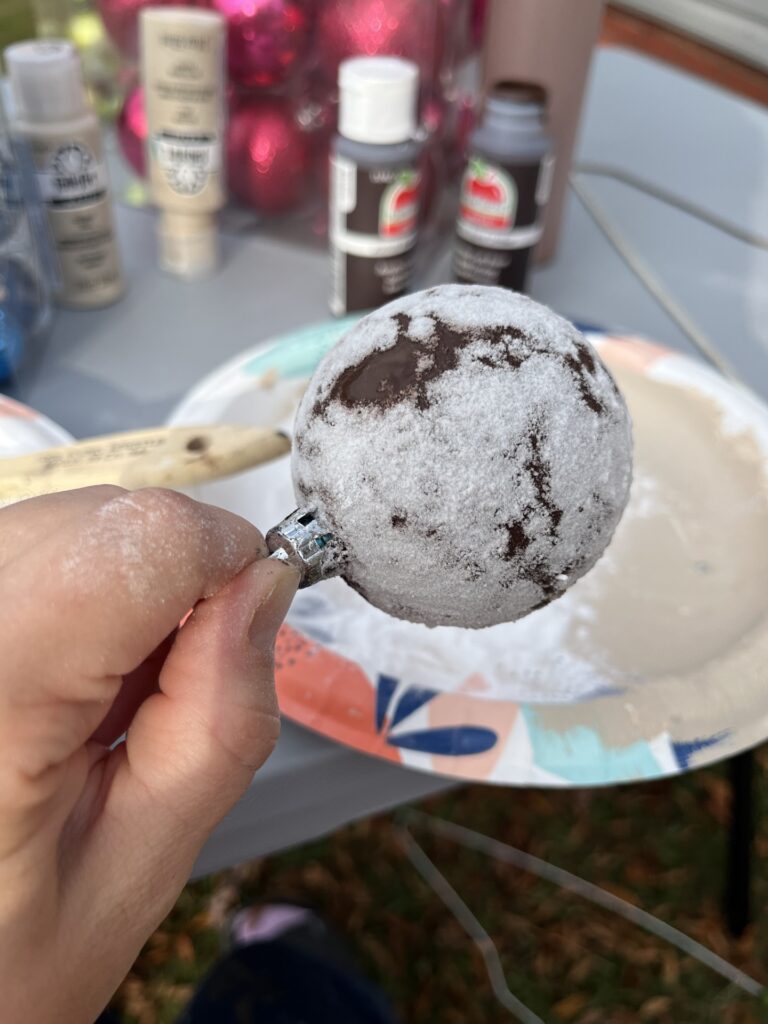
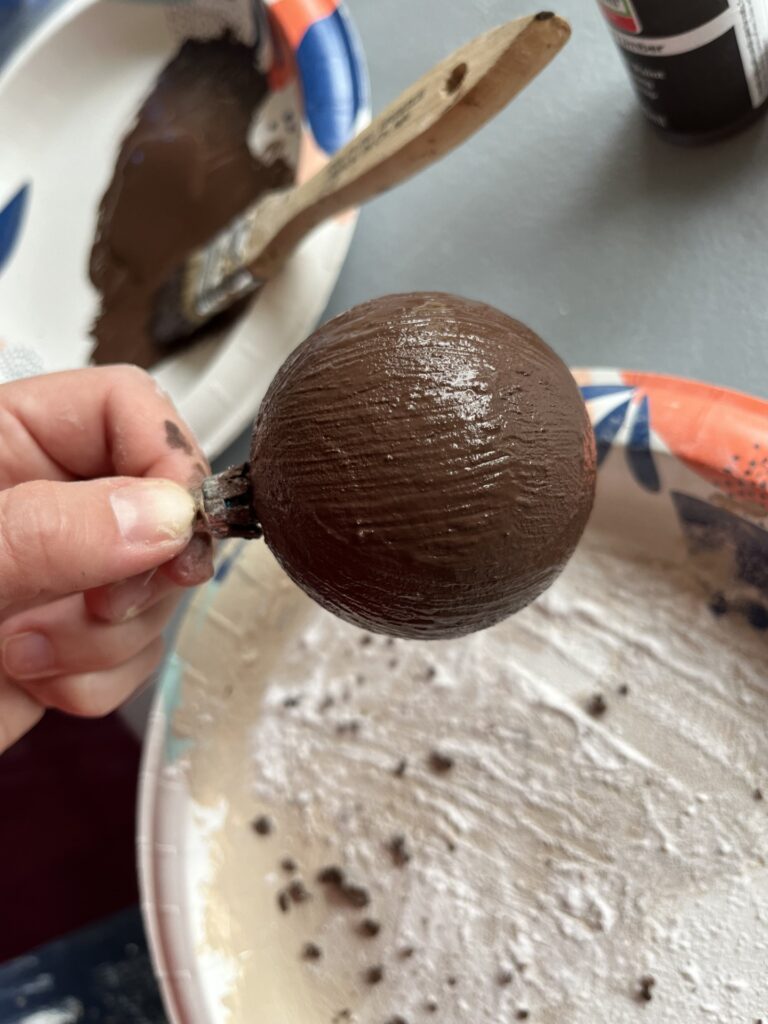
Immediately after painting the first coat of paint, sprinkle baking soda all over the ornament. Baking soda will add lots of texture and cover up any old design that might have been on the ornament. Let the baking soda/paint layer dry completely before moving onto step 3. I tried mixing paint and baking soda together and sprinkling the baking soda, and I decided the sprinkling method works best.
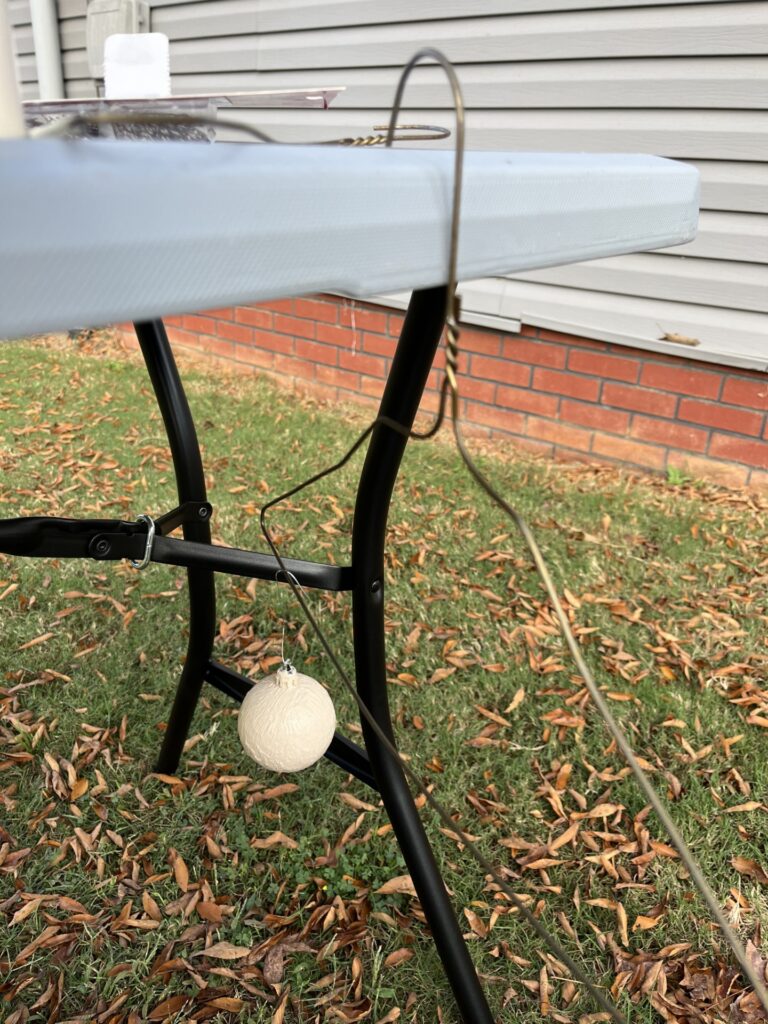
A little hack to help your ornaments dry faster is to get some cheap ornament hangers and a clothes hanger. This will keep the ornaments separated while they are drying as well.
Step 3: Apply Second Coat of Paint
Once the baking soda layer has completely dried, apply a second coat of the same color paint. It is important that the first layer of paint is completely dry. If it is not completely dry, the second layer of paint could pull the first layer up. You will notice a nice texture on the second coat of paint.
Step 4: Add Contrasting Colors
Once the second coat of paint is dry, use the same rough brush to apply some contrasting colors. This is an optional step, but I think it adds a lot of dimension to the ornaments. I used a mixture of Nutmeg Brown, Burnt Umber, Khaki, and Black on all of the ornaments for this layer. You don’t want a thick layer of this paint. Just make sure you do not have too much paint on your brush and dab all over the ornament.
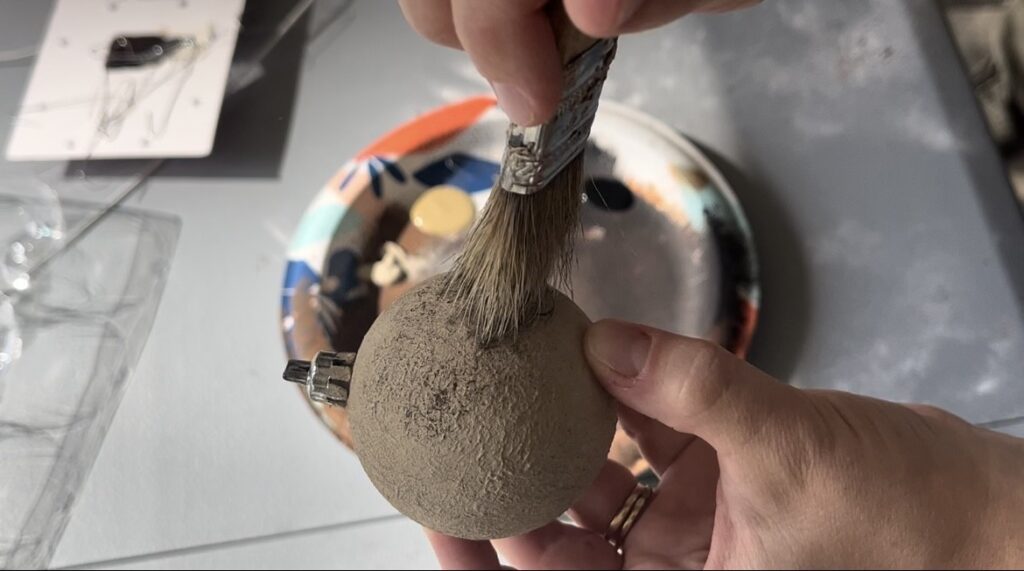
Step 5: Apply Rub N Buff
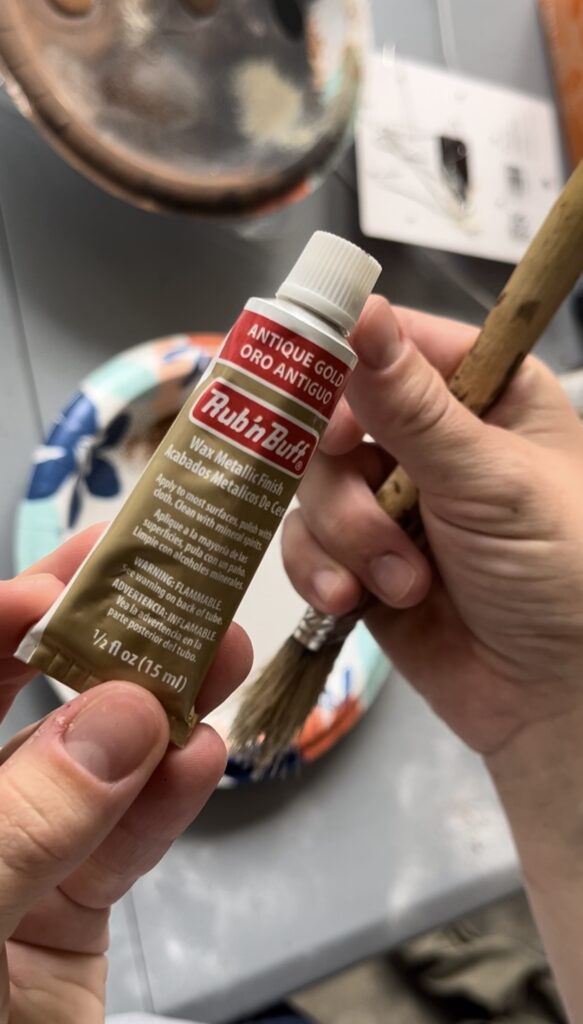
I used Antique Gold Rub N Buff on all the ornaments, but there are so many other Rub N Buff colors to choose from. If you like I brighter gold, I recommend Grecian Gold. If you prefer a more copper color, I recommend Autumn Gold.
Apply the Rub N Buff like the contrasting colors. A little bit goes a long way, so make sure your brush is pretty dry. The gold will hold onto the bumped-out parts of the texture the baking soda created. It is just beautiful! The hanging top of my ornaments were silver, and I wanted them to be gold as well. I simply used a nicer, stiffer craft brush to paint the Rub N Buff onto the tops of each ornament.
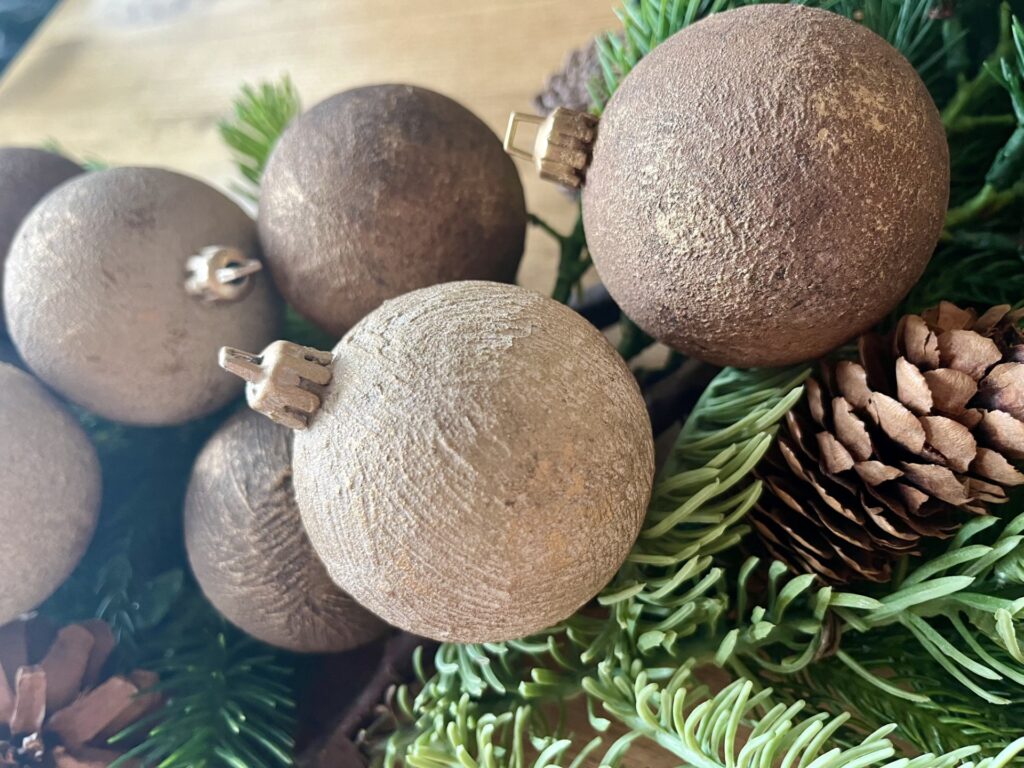
DIY Moody Christmas Ornaments
These ornaments were so much fun to make, and I could not be happier with how they turner out. I chose to hang these on my tree, but they would also be perfect to put in a bowl or make a garland out of. I hope you try this and love them as much as I do! Happy DIYing.

[…] DIY Moody Christmas Ornaments […]