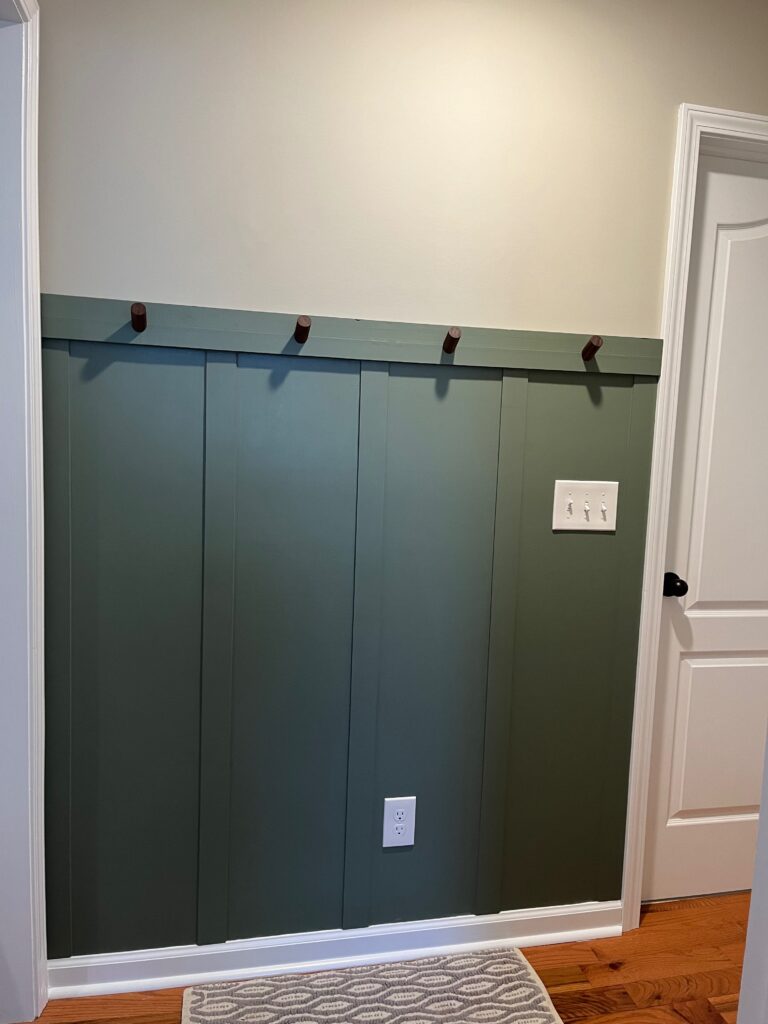
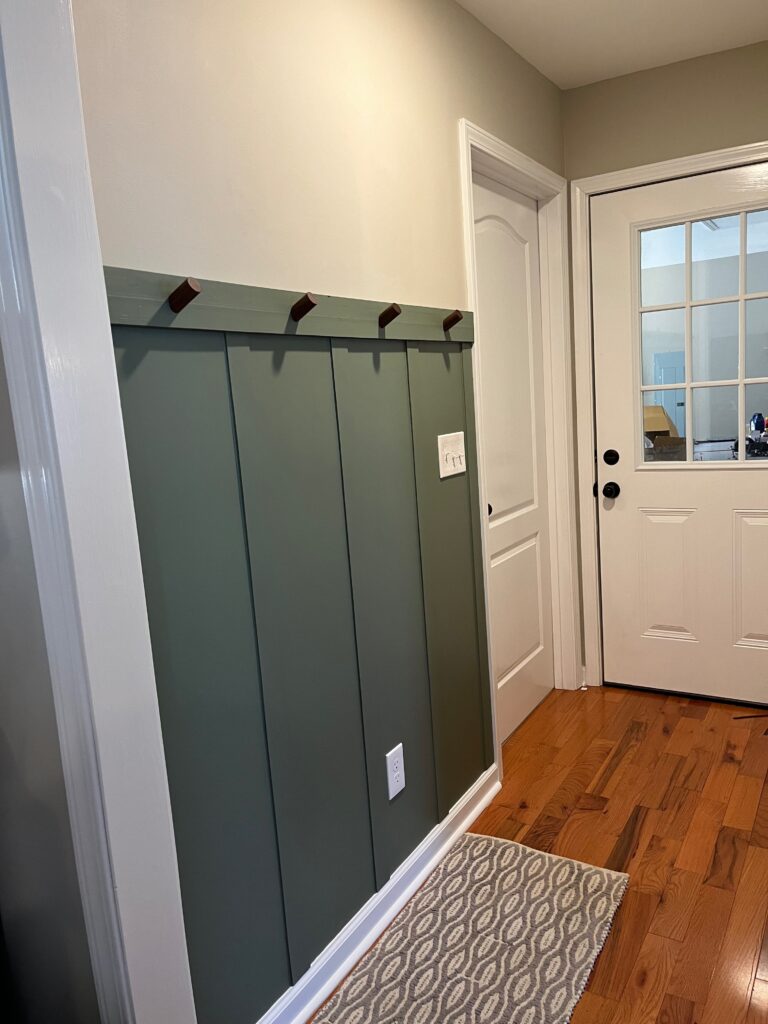
A simple board and batten wall treatment can upscale any wall, hallway, or hanging area. There are so many options when it comes to board and batten accent walls! It is one of the easiest ways to add character to you home! Read more to find out my tips and tricks on how to install a simple board and batten wall treatment to your space.
(As an Amazon Affiliate, I may earn a commission on the sale of items at no cost to you.)
Board and Batten Inspiration
Board and batten is so versatile and can bring a lot of character to a variety of spaces. Some ideas include:
- Hallways
- Accent Walls
- Hanging Area/Drop Zone
DIY Board and Batten Tips and Tricks
- Use a Board and Batten Calculator – When planning out your board and batten, using a board and batten calculator such as this one is a no brainer! All you have to do is decide on the width of the batten boards and measure the length of the wall where the treatment is going to be placed. If you want to line the batten strips up with the studs on the wall, you can enter in the width you want between the strips, and it will tell you how many you need. You can also enter how many strips you want on the wall, and it will tell you the distance that needs to be between them.
- Pre-Paint as Much as Possible– It is so much easier to do detailed painting when everything is in pieces. First, paint the wall and be sure to get a good, straight line along the floor or baseboard. Then, paint all the batten strips and the trim that goes along the top. After everything is put together, just do touch-ups.
My Goals For This Project
My family was in need of a stylish yet functional hanging area on the wall next to the entrance from the garage. We had a small set of hooks on the wall but they were cheaply made and just didn’t serve the purpose we needed them to serve. I also needed to complete this project without spending much money at all. I had picked up some beautiful green paint at Lowe’s a while back but never found a good place to use it, so I already had the paint. The batten strips and top board were also scrap pieces of wood I had laying around from previous projects. All I had to buy was the wood peg hooks from Amazon, some caulk, and liquid nails. So, all in all I spent less than $30 on this project!
Tools & Supplies
- Liquid Nails
- Caulk
- Wooden Wall Hooks
- Caulk Gun
- Air Nail Gun – I used this one, but if you do not have access to an air compressor, I highly recommend this batter powered one.
- Stud Finder
- Paint – I used the color Fields of Green by Valspar
- Batten Strips – I used 2.5′ wide strips of 1/4′ luan left over from another project; however, this is an incredibly cost effective way to create batten strips for you wall. You can also get furring strips from your local Lowe’s or Home Depot for less than $3 a piece.
- 1×4 board to go horizontally across the top
- Wood Filler
- Small Handheld Level
How to Install Board and Batten Wall Treatment
Step 1: Decide on the size of the boards that will be used.
Once you decide on the size of the boards that will be used and know the length of the wall the treatment will be installed, then you can use a board and batten calculator website such as this one to decide on the best configuration for your project.
Step 2: Paint
It is a good idea to pre-paint the wall and all of the batten strips and trim pieces. It is easier to do detailed painting when everything it is separate pieces. You will still have to paint after everything is installed but it will be a lot easier.
Step 3: Mark studs and mark where all the boards will go on the wall
If you are wanting the batten strips to line up with all the studs, you’ll want to mark the studs at the beginning before you decide on the configuration of the wall. The top trim piece will need to be nailed into the studs, so it is important to know where they are. I also like to mark the studs just so I can know which batten strips are going into a stud.
Step 4: Attach the boards to the wall
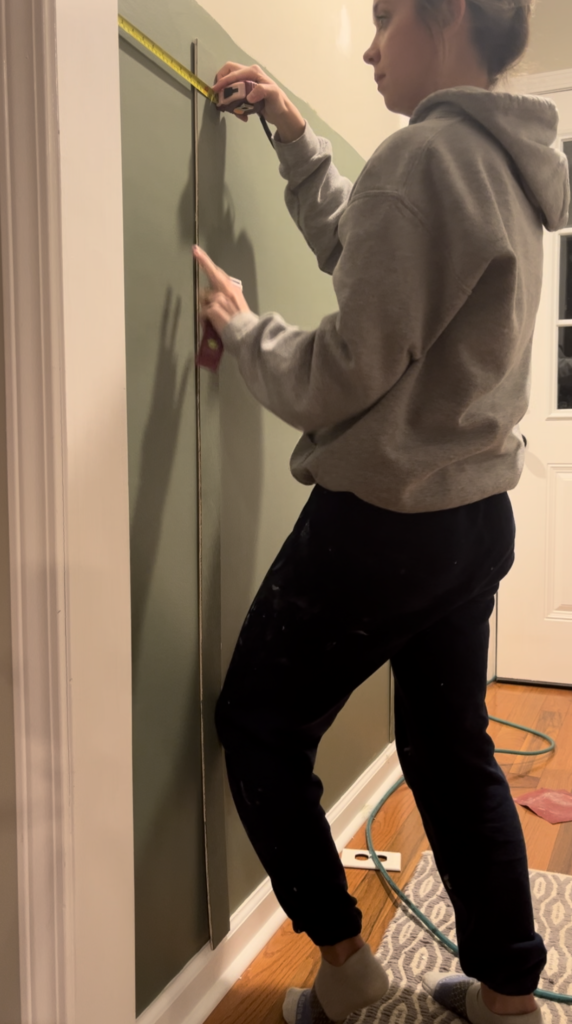
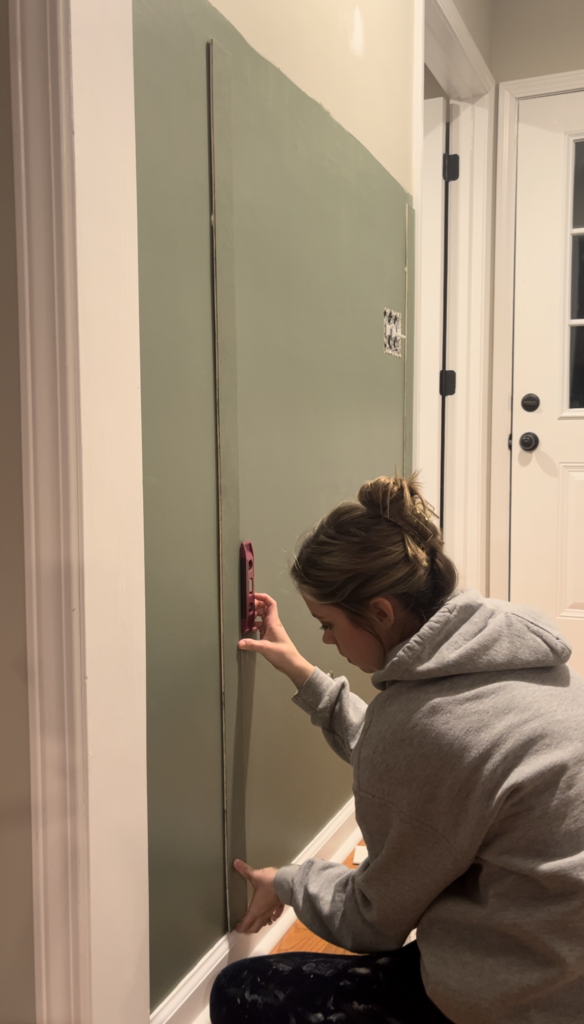
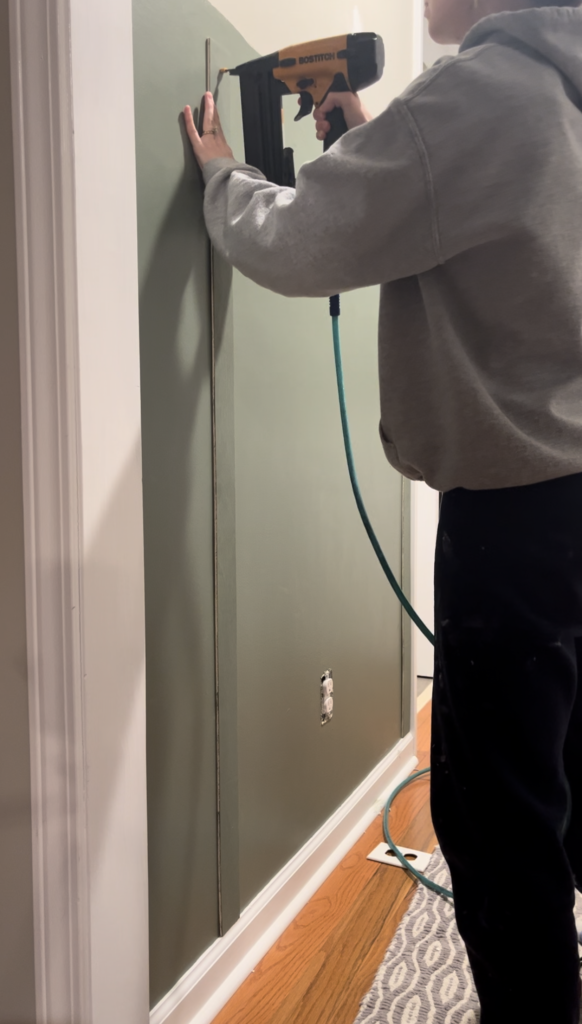
Start with the batten strips. Use liquid nails along the back and brad nails to attach them to the wall. Run a level along the side of the batten strips to make sure they stay plumb. Once all the batten strips are nailed to the wall, set the horizontal 1×4 on top. Make sure it is level, and attach it to the wall on the stud locations.
Step 5: Caulk and fill nail holes
Caulking is one of my least favorite things of all time, but it is necessary to create a finished look.
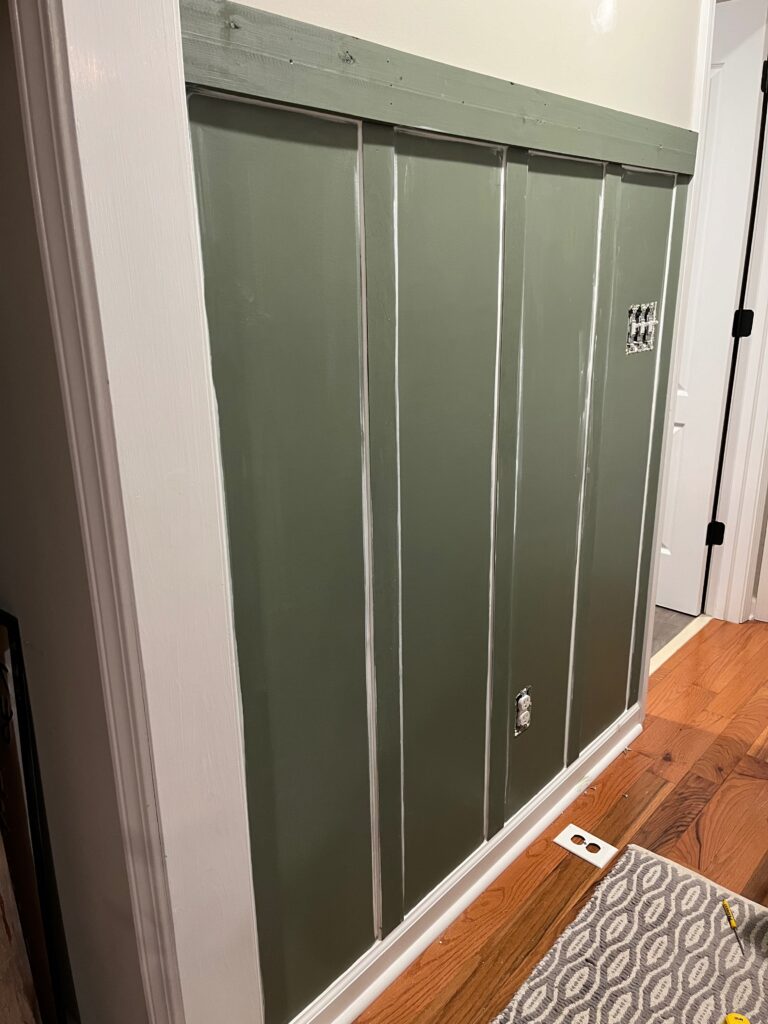
Caulking tips: cut a small angled hole in the end of the caulk container. This will help to make not spread too much caulk. Keep plenty of damp paper towel available to wipe down the caulk beads. Once you use a piece of the wet cloth, don’t use it again. Keeping your towel clean will help keep the caulk lines clean.
Step 6: Touch-up painting
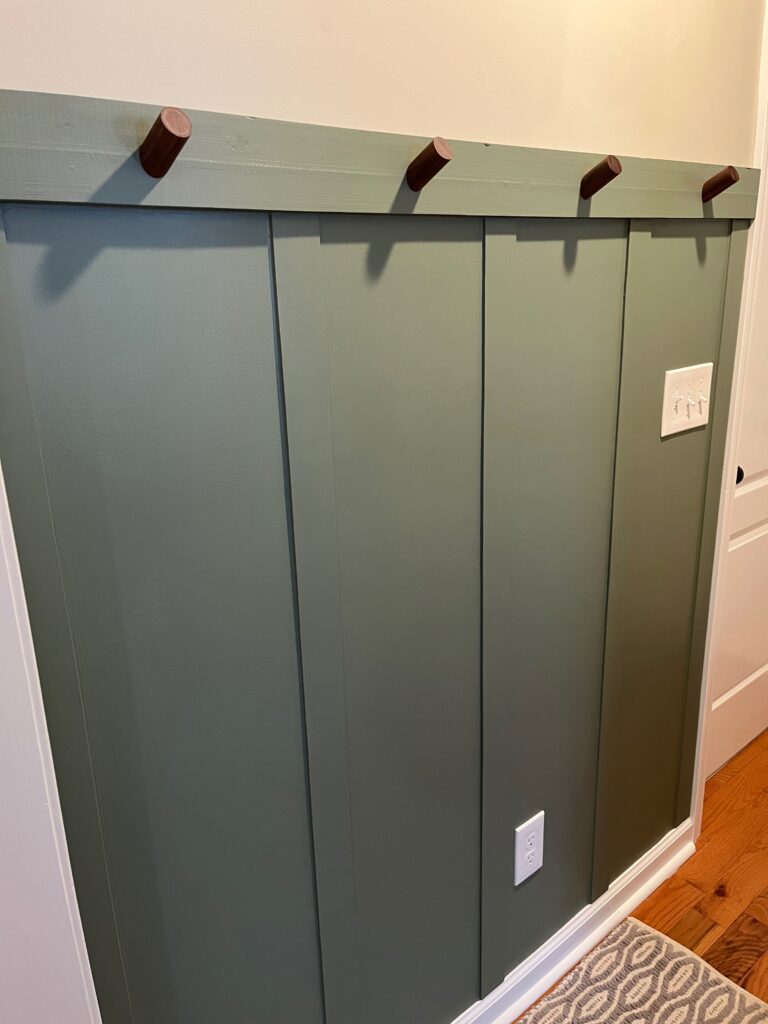
Now its time to add the finish coat of paint and any little finishing touches. My board and batten wall treatment was used in an entry area. I attached these wooded wall hooks in the center of each open area for hanging coats, hats, etc.
Board and Batten Wall Treatment Inspiration Photos
This is one of my favorite DIY projects I have done! I hope it inspires you to try something new and do something fun with your space!
