Photos are one of the best things you can have to remember sweet moments, especially in your growing kids’ lives! Hiring a photographer can get expensive. Thats why I want to show you how to do a DIY photoshoot. Having your own photoshoot does not have to be hard or expensive. All you need is a place to take photos, a few props (if you want), and a camera.
(As an Amazon Associate, I may earn a commission on the sale of qualifying products at no cost to you.)
Embracing Imperfection
Let’s be honest, the main reason most people have professional photos done is so they will have perfect pictures to post on social media. If that’s what you want, that is totally fine! Sometimes I just want to take pretty pictures of my son, and I don’t want to have to pay hundreds of dollars or wait a long time to get a booking. The beauty of doing a DIY photoshoot is that you an make it your own. You can do it anytime you want, and if your child throws a huge fit instead of cooperative, you’re not out a ton of money!
Finding a Setting for DIY Photoshoot
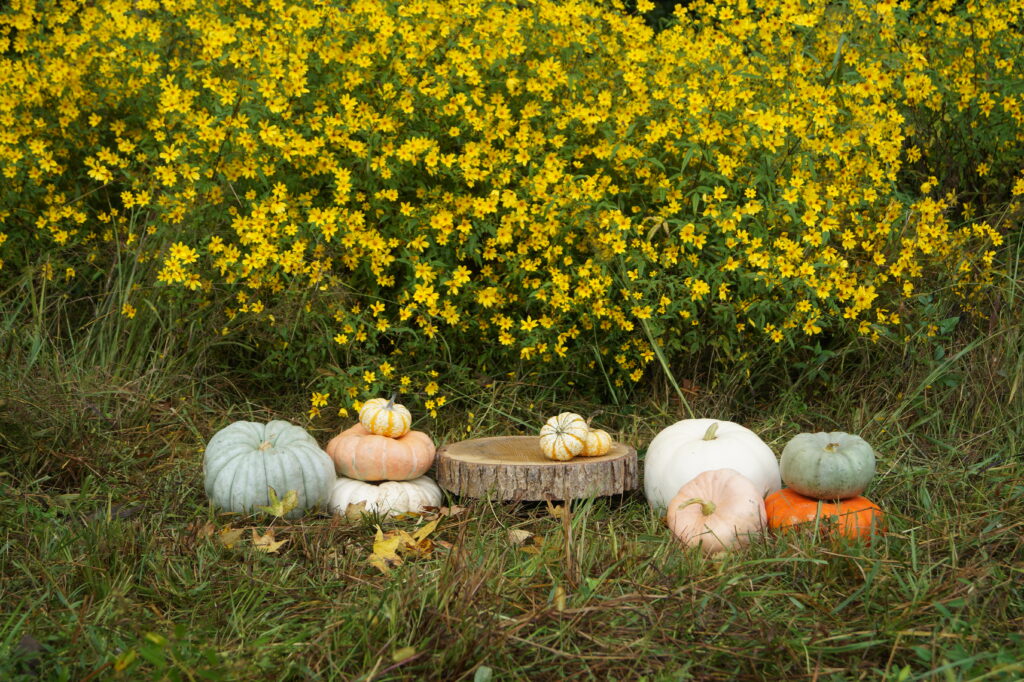
Even if you don’t have access to a ton of private land, finding a setting for your DIY photoshoot shouldn’t be hard. Most towns have parks or historical districts that create pretty photo backgrounds. Thankfully, I live in a town with several beautiful parks, a state park, and a national military park. All of these locations make pretty photography scenes. For the fall photos I recently did of my son, I just found a small yellow flower patch on my family’s farm. In the fall, there are plenty of great pumpkin patches or apple orchards that would be great places to take photos and also have some family fun!
DIY Photo Prop Ideas
If you want to add a few props to your photoshoot, I recommend going with something simple so the focus of your photo is you, your child, or your family.
Fall Photo Prop Ideas
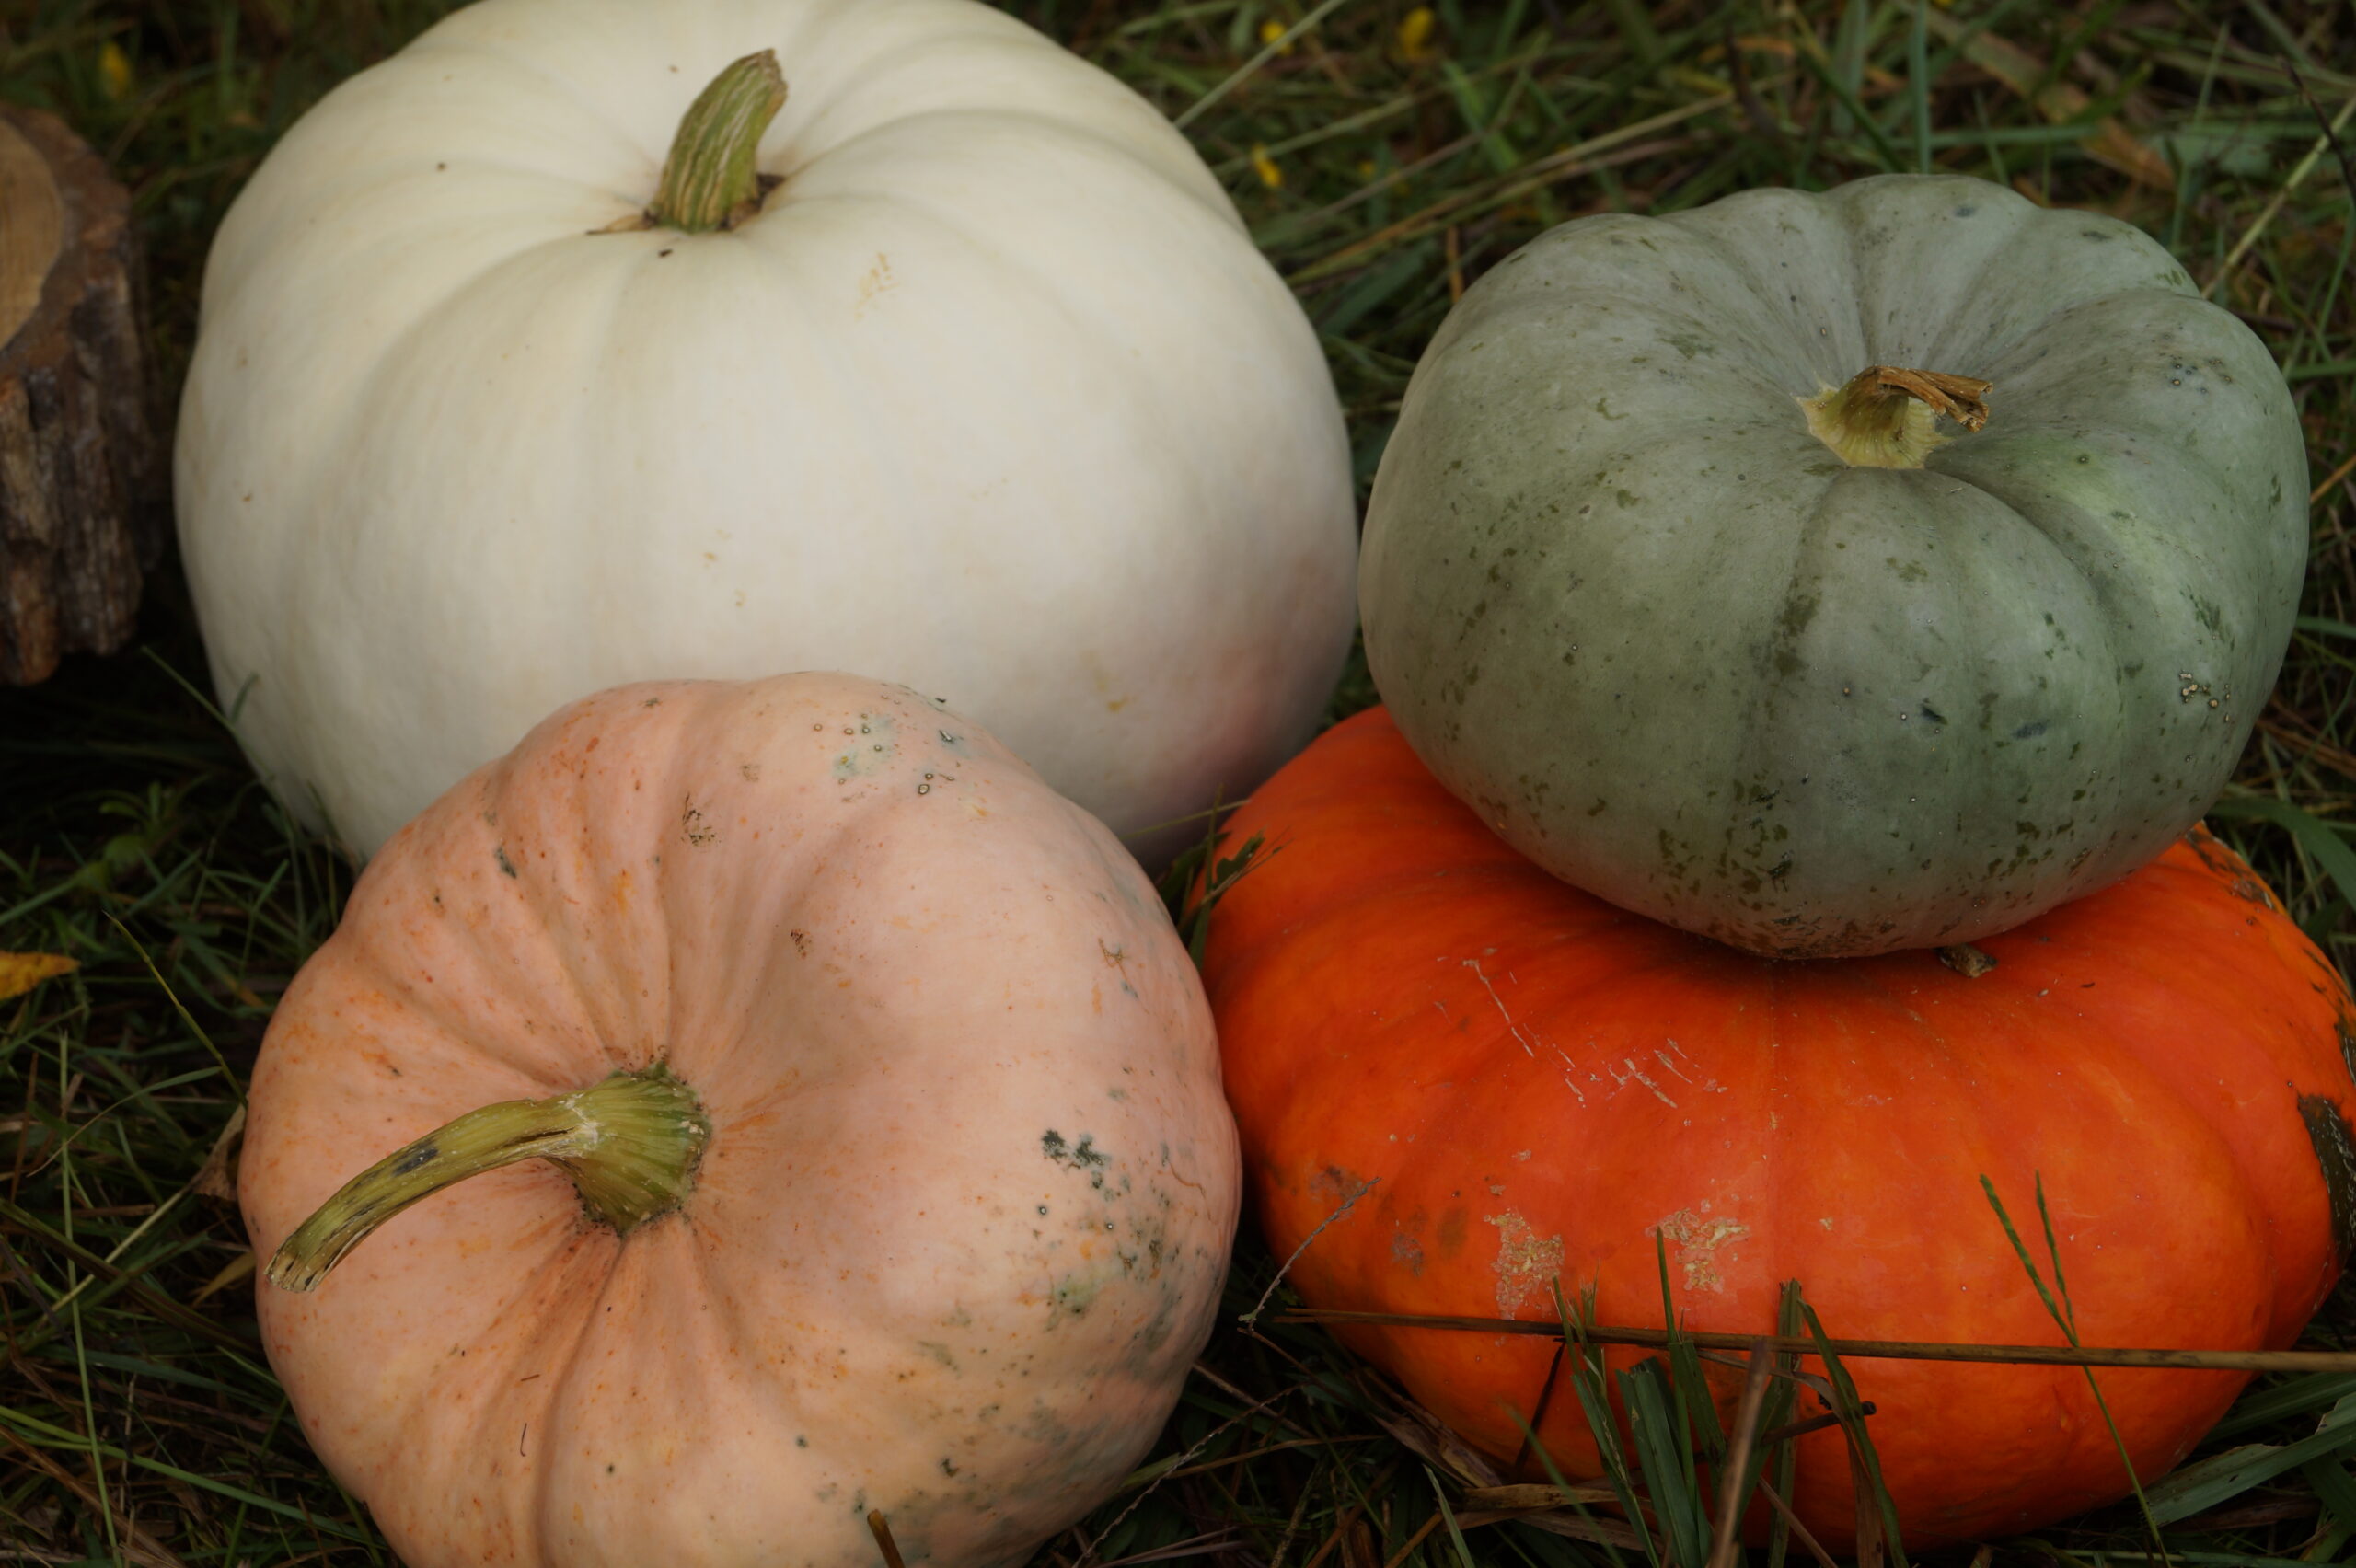
- Pumpkins – This is probably the most obvious thing you can get for a fall photo session. Pumpkins are not hard to find in the fall. You can get them in several different colors and sizes in order to add dimension to your decoration. For my fall photoshoot, I grabbed a few real pumpkins from my local Co-op, and I got a few small ones for my son to play with during the photos.
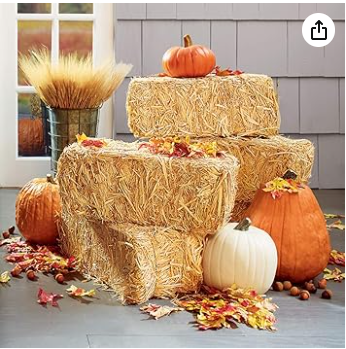
- Hay Bales – Usually hay bales are not hard to find in the fall either. They are very popular for fall decorations. If you have a local farm supply store or Co-op, you’ll be able to find large square bales of hay there. However, if you don’t have access to a store like that or want smaller bales, you can order some here.
- Fall Leaves – you can either gather a few freshly fallen leaves up from the ground, or you can buy a 300 pc pack from Amazon for just $7.48!
Winter/Christmas Photo Prop Ideas
- Christmas Tree – Christmas trees are the first thing I think of when I think of Winter. This can be a cedar tree growing out in the wild, or a decorated Christmas tree inside your home.
- Cookie Decorating – A cookie decorating photoshoot would be so sweet! (pun intended) Just clear off your kitchen counter and set your kids up there with some cookie dough or baked cookies and icing! What a great tradition that could become!
Spring/Summer Photo Prop Ideas
- Fresh Bouquet of Flowers – Beautiful fresh flowers can usually be found in local grocer stores at very reasonable prices. Nothing says spring more that vibrant fresh blooms.
- A Blooming Bush – Simply find a flowering shrub in your yard, or at a park. In season blooms can be one of the most beautiful photo backdrops.
Camera for DIY Photoshoot
You do not have to have a fancy camera to take great photos. Most new smartphones have great cameras on them, and you can also find great editing apps. If you’re looking to buy a good camera, I have this Sony A58 camera, and I love it. It has a variety of settings to choose from, and it also has a “smart setting” where it automatically chooses the best setting for your lighting. I usually stick with the smart setting option, and my pictures always turn out crystal clear!
IPhone Photo Editing Hack
If you have an iphone, this is a hack I use to edit my pictures. It just clarifies the photos and gives them a more professional look.
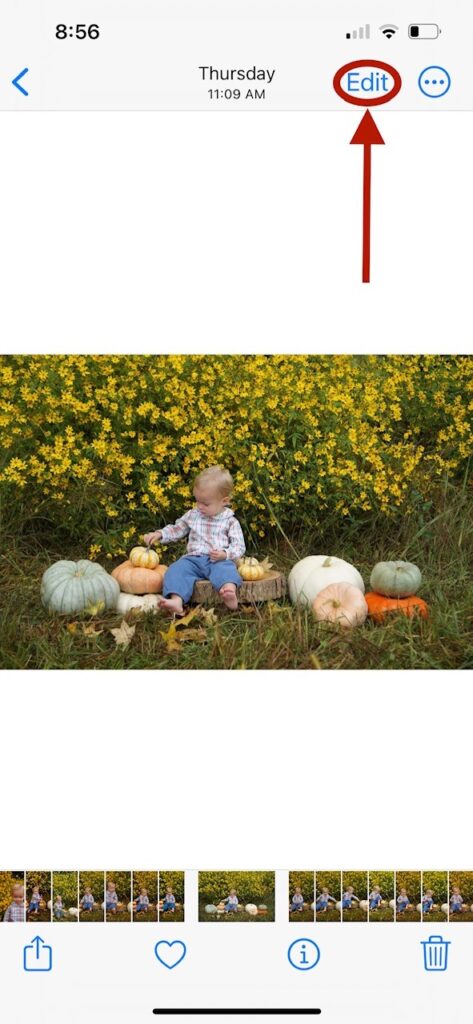
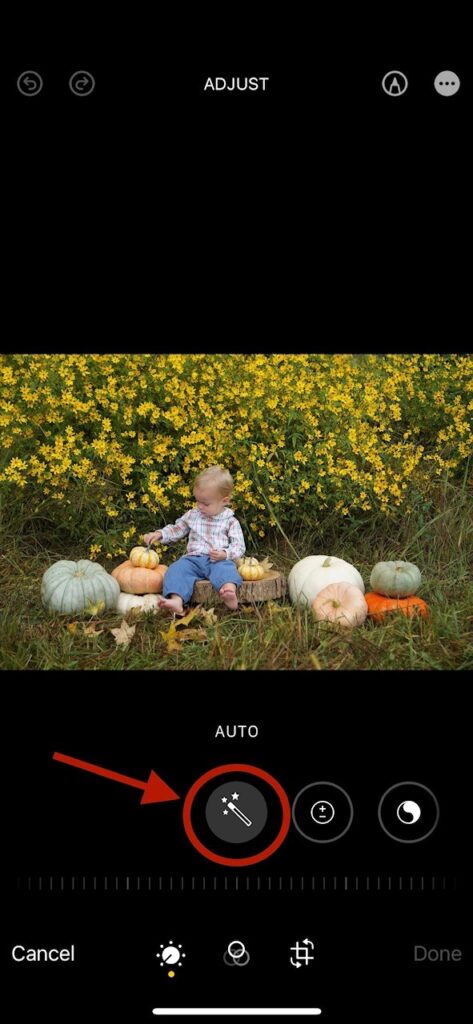
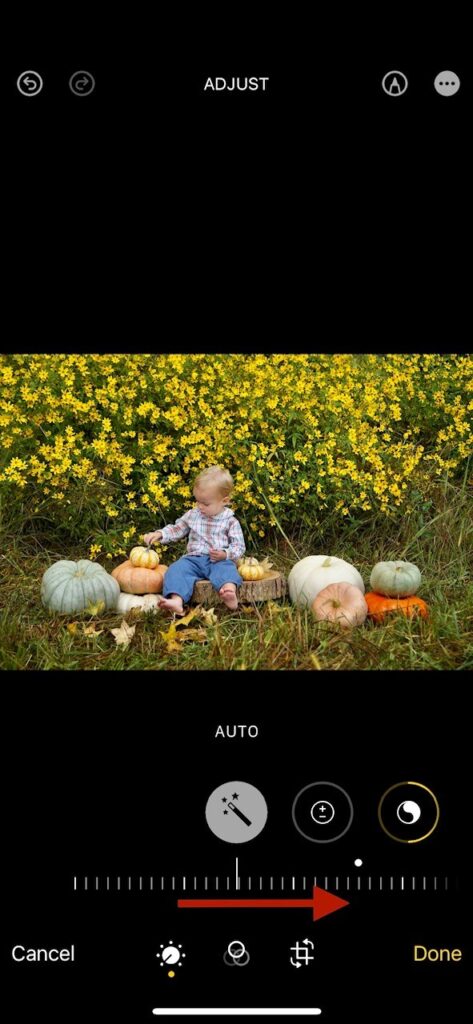
First you are going to hit the edit button in the top right corner. Then hit the enhance button in the center of the bottom. After you hit the enhance button, the photo will change a little bit. Sometimes just enhancing the photo helps, but if you want to alter it a little bit more, slide your finger to the right on top of the dashed lines. This usually makes the colors of the image darker or brighter.
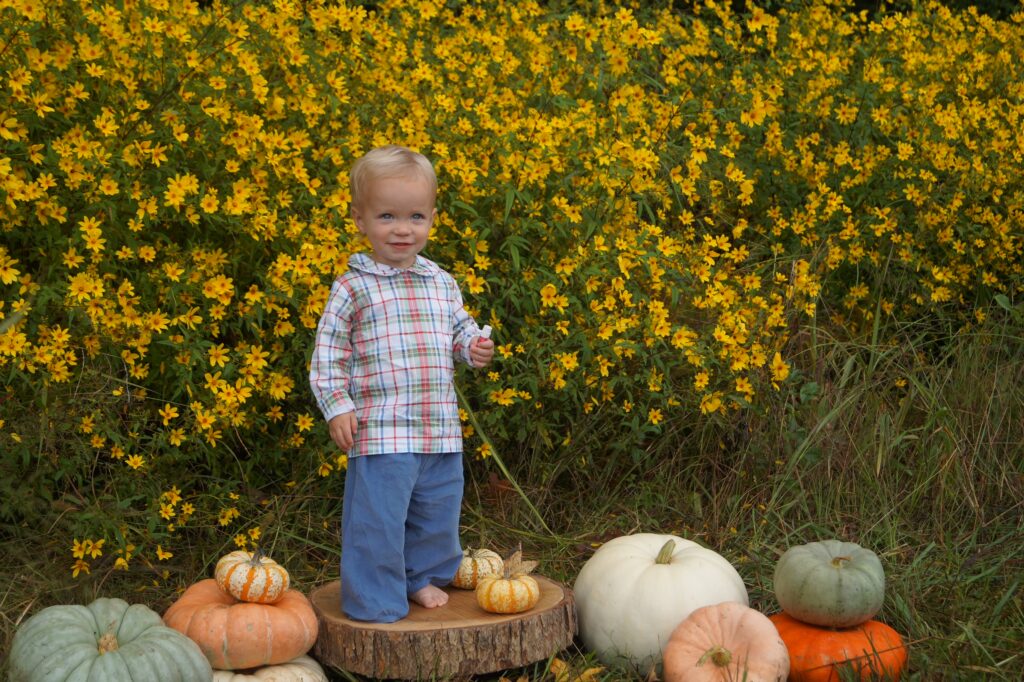
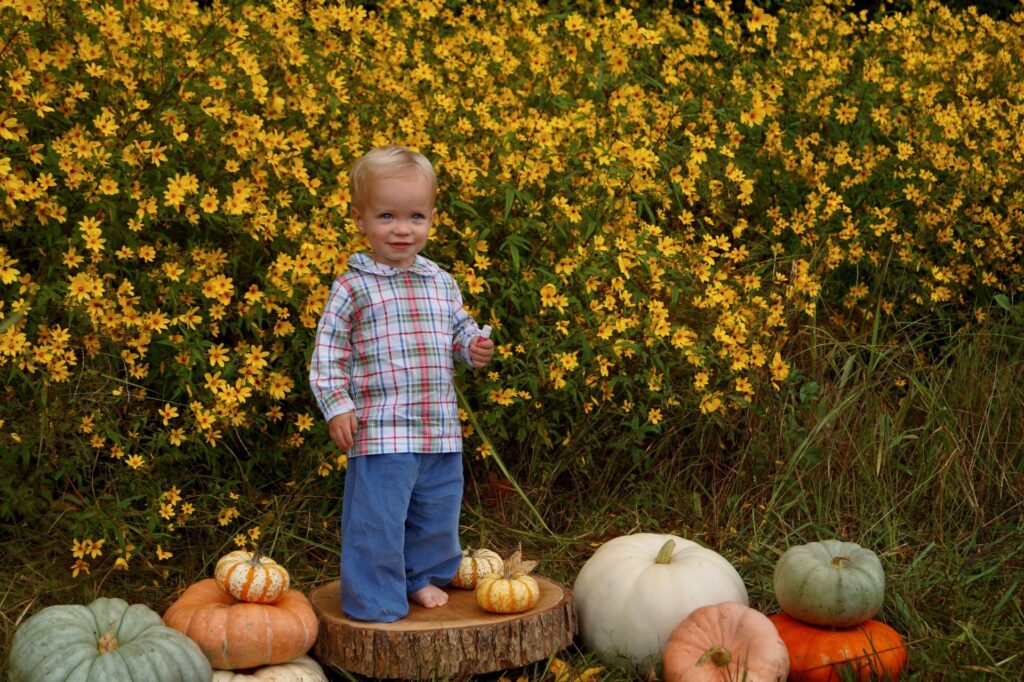
Here’s a side by side before and after. As you can see, the colors are a little richer in the after photo.
Outfits
My son is wearing an outfit from Little English. We love Little English! They have the most darling boy/girl matching sets. Their clothes are very comfortable and so cute for little ones to wear. Little English offers a great rewards program, and you can even use my link to get $10 off an order of $50 or more!
Hopefully this post inspires you to save some money and have some fun with a DIY photoshoot! Photos are one of the best ways to remember, and don’t let not wanting to spend money on an expensive photographer keep you from cherishing great memories!
