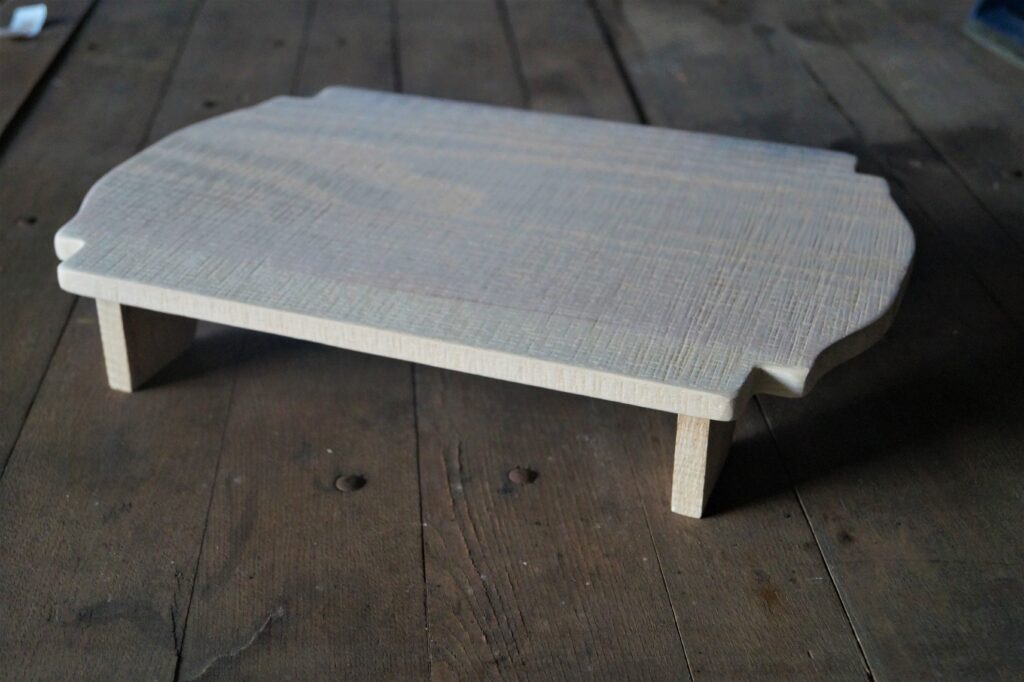
This Magnolia Homes inspired footed wood serving board is easy to build and so, so pretty. It is sure to bring simple elegance to any dining table or island countertop. The raised feature adds dimension and texture, which is an important element in decorating. Top is with finger foods or seasonal decor, this wood riser is a timeless handmade piece that can be used for years to come.
Gathering Inspiration
I love building things for my home, so I often surf the web for inspiration. I like looking at expensive home decor sites like Restoration Hardware, Pottery Barn, etc. for ideas I can replicate at a fraction of the cost. It is one of my favorite hobbies.
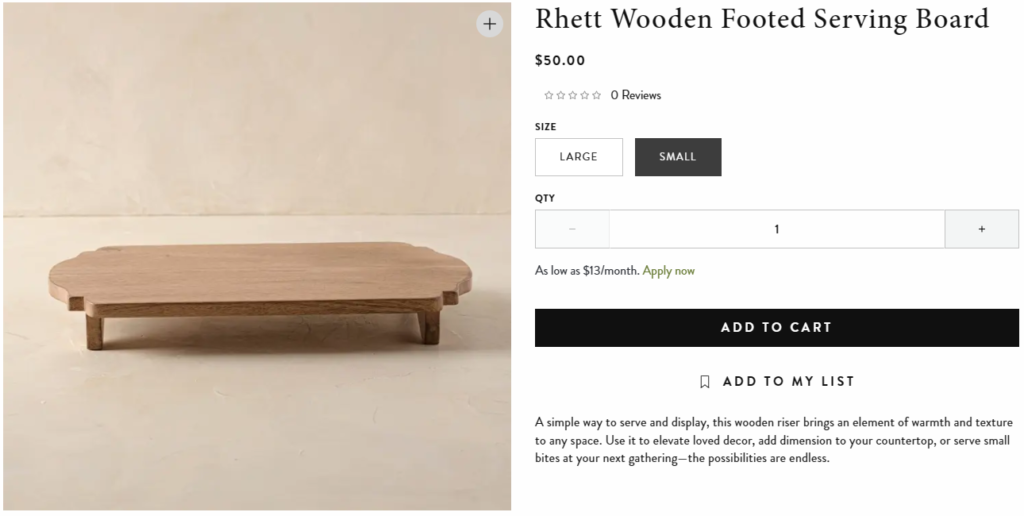
While looking at Joanna Gaines’s Magnolia website I found this footed wood serving board that I thought was beautiful! At $74 dollars for the large size and $50 for the smaller size the prices were not too outrageous, but I knew I could build it a lot cheaper – so I got to work planning it out.
Materials
(As an Amazon Affiliate I may receive commission from qualifying purchases.)
For this project you will need the following tools and materials:
- Wood – I used some thin oak boards my grandpa milled for me. They are about 1/4 inch thick and 11 inches wide, but any thin wide board will work – even a 1×12.
- Wood Glue – I like using Titebond III Ultimate Wood Glue which you can find here.
- Scroll Saw – If you like doing simple yet detailed woodworking projects and don’t have a scroll saw you are missing out! In my opinion a scroll saw is a MUST. I have a Kobalt scroll saw but this one is comparable and at a reasonable price.
- Pnuematic Nailer – I have this one, and I love it. Air nailers are so useful and versatile when doing small, decorative wood projects. You can find a variety of finish nails here – it’s always good to have a few sizes on hand.
- Paper for a Pattern – I like to keep my projects to the size of a sheet of copy paper because that makes it easier to draw a pattern, but if you want something wider than 8.5 inches or 11 inches parchment paper works well, too.
How to Make a Footed Wood Serving Board
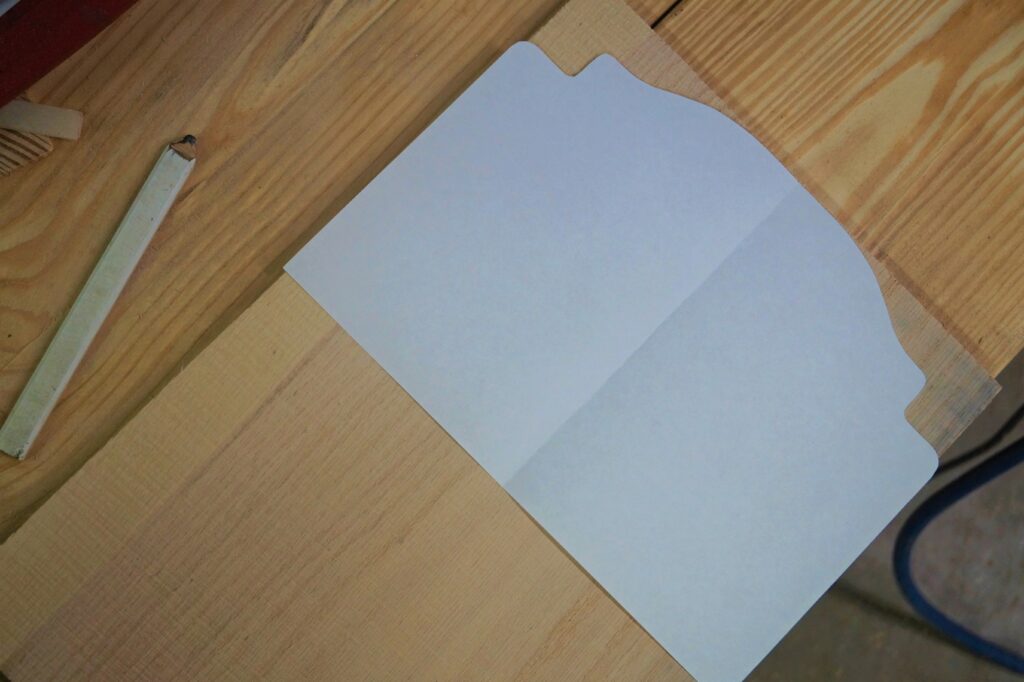
The first thing I did was cut a piece of wood to the length I wanted my riser. Mine is about 16 inches long. Then I took a sheet of paper and drew a pattern. My board is about 11 inches wide, so I used the 11 inch side of a sheet of paper to draw a scalloped pattern.
- Pro Tip: fold the paper in half to sketch and cut half the design on one side. When you unfold the paper, both sides will match. You can see where I folded my paper in the image below.
Once I got the design like I wanted it, I sketched it onto both ends of my piece of wood.
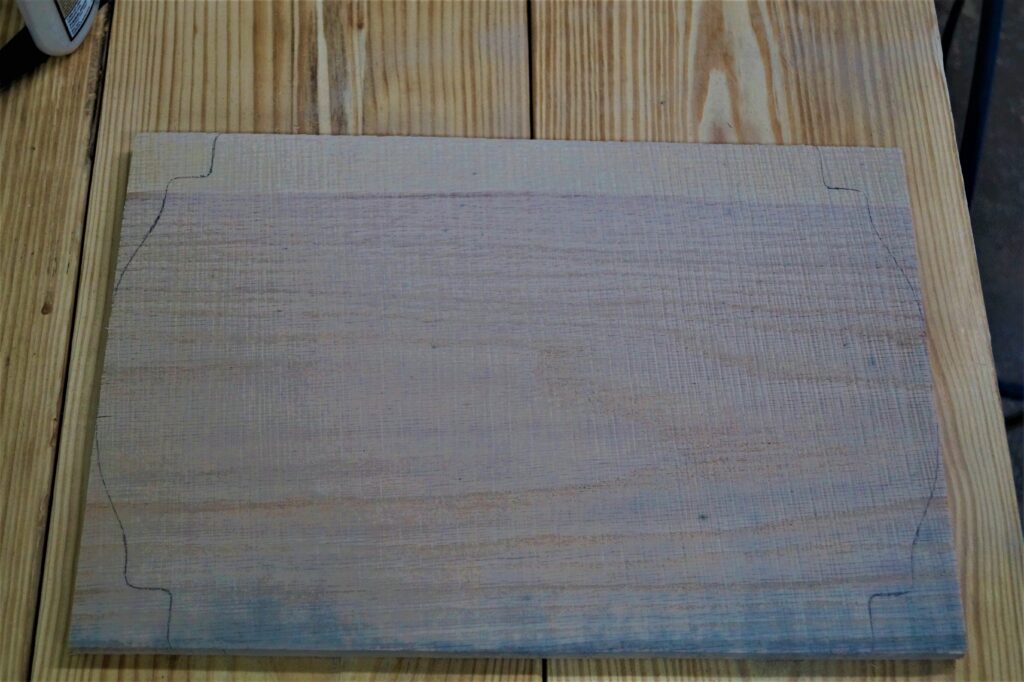
Next is the fun part: cutting out the design with a scroll saw.
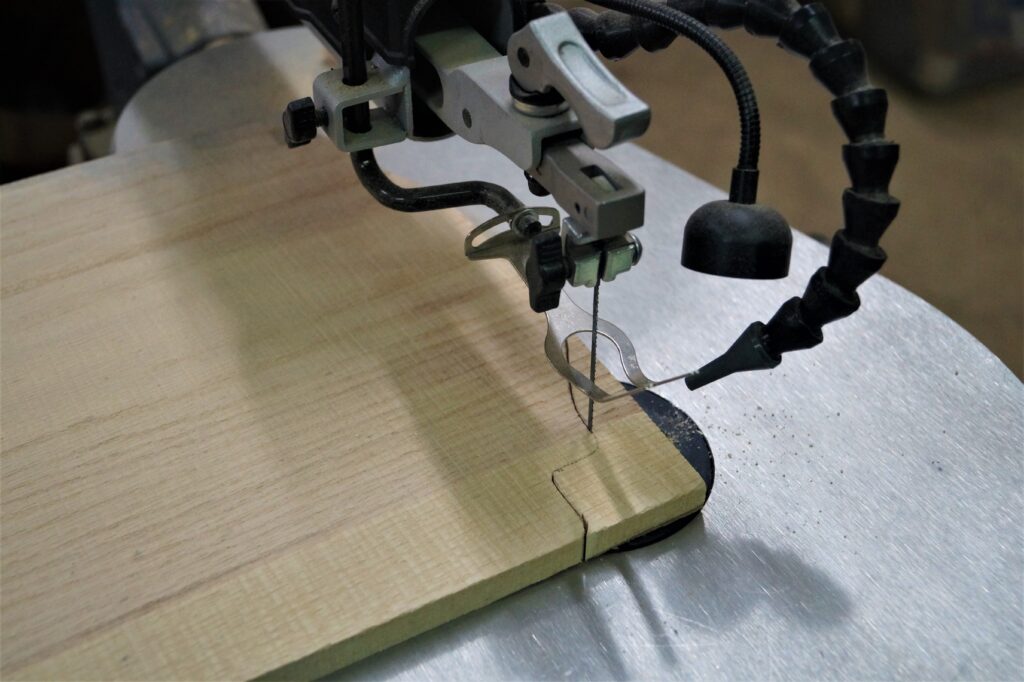
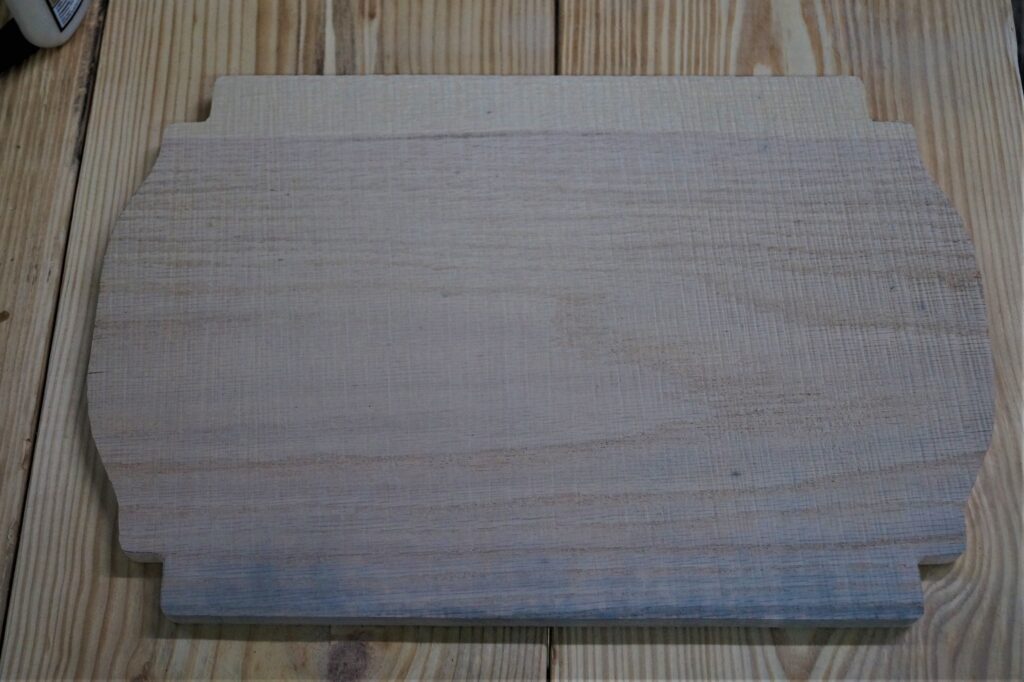
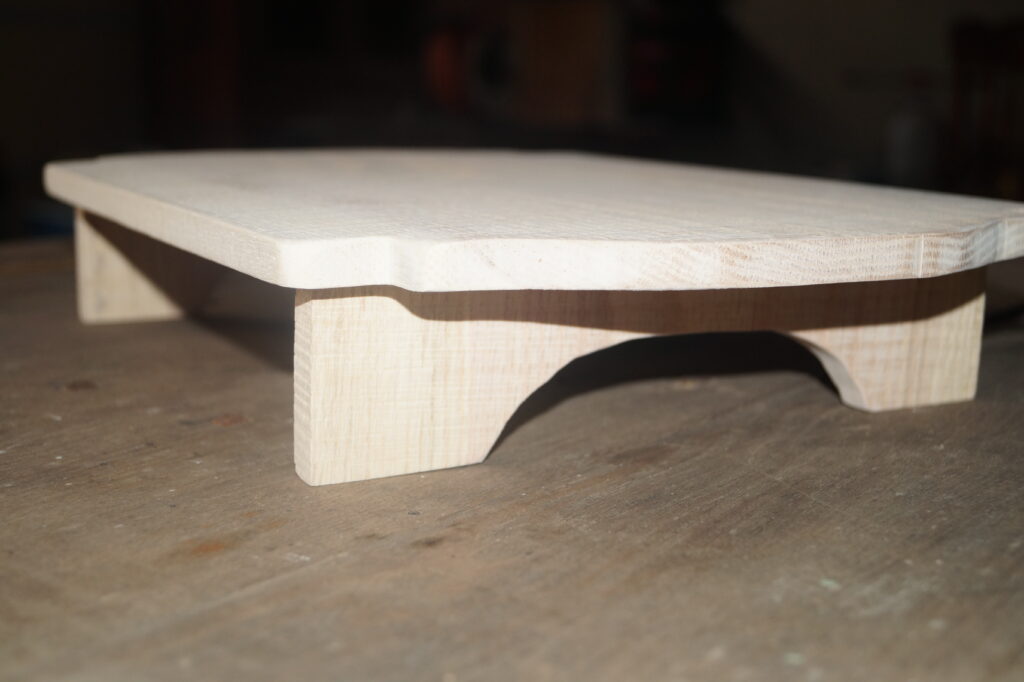
Now that the top of the raised wood serving board is cut, it is time to add the feet. First I cut a piece of wood to the height I wanted my serving board to be. I chose 2.25 inches. After that, I used the same folded paper trick to design the curved feet. This time I used the 8.5 inch side of the paper because it was closer to the width of the board I was using for the feet.
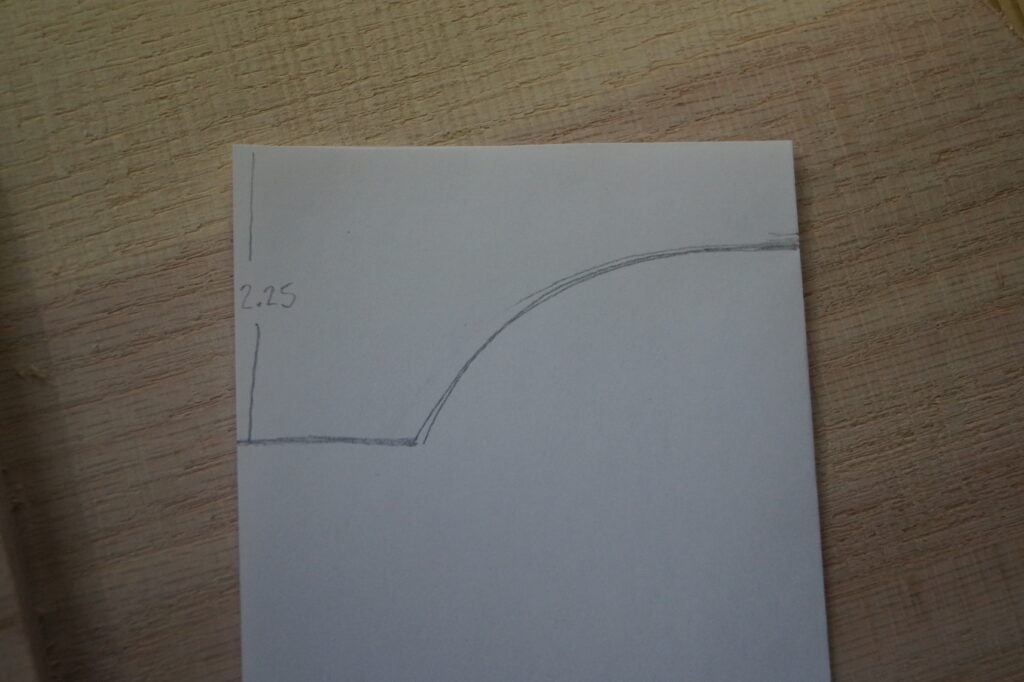
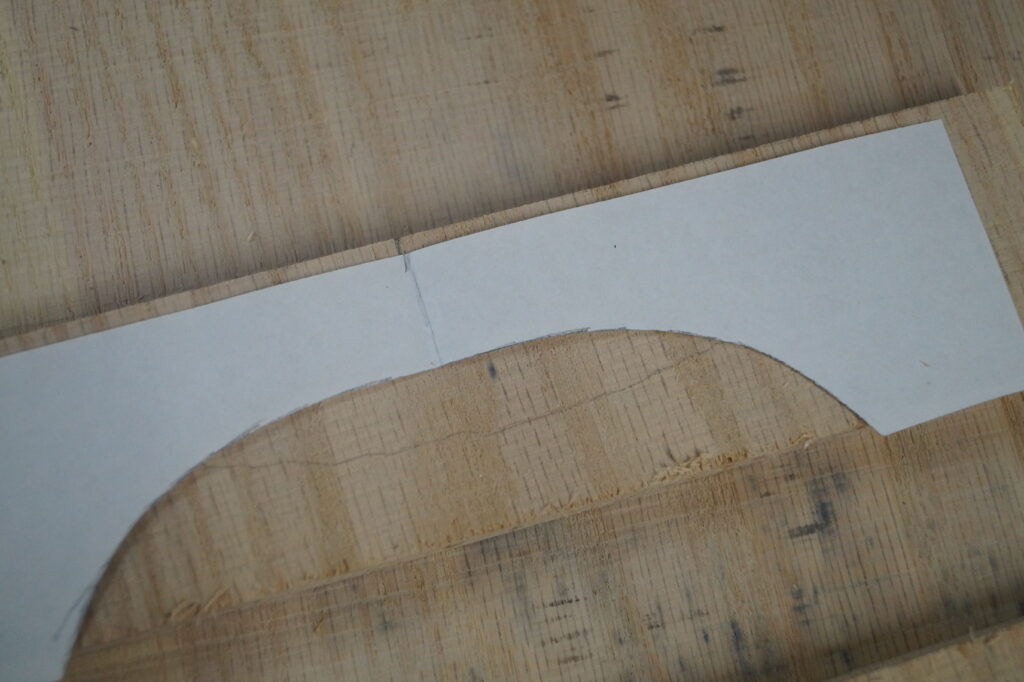
My piece of wood was a little wider that the paper, so you can see where I marked the middle of the wood and aligned it with the middle of the paper.
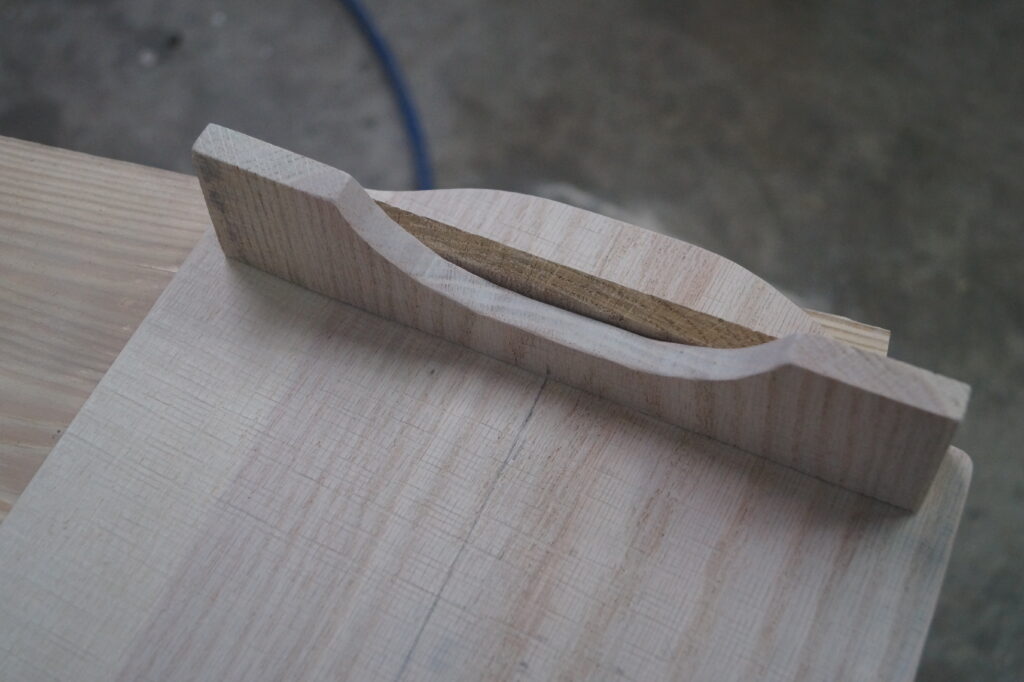
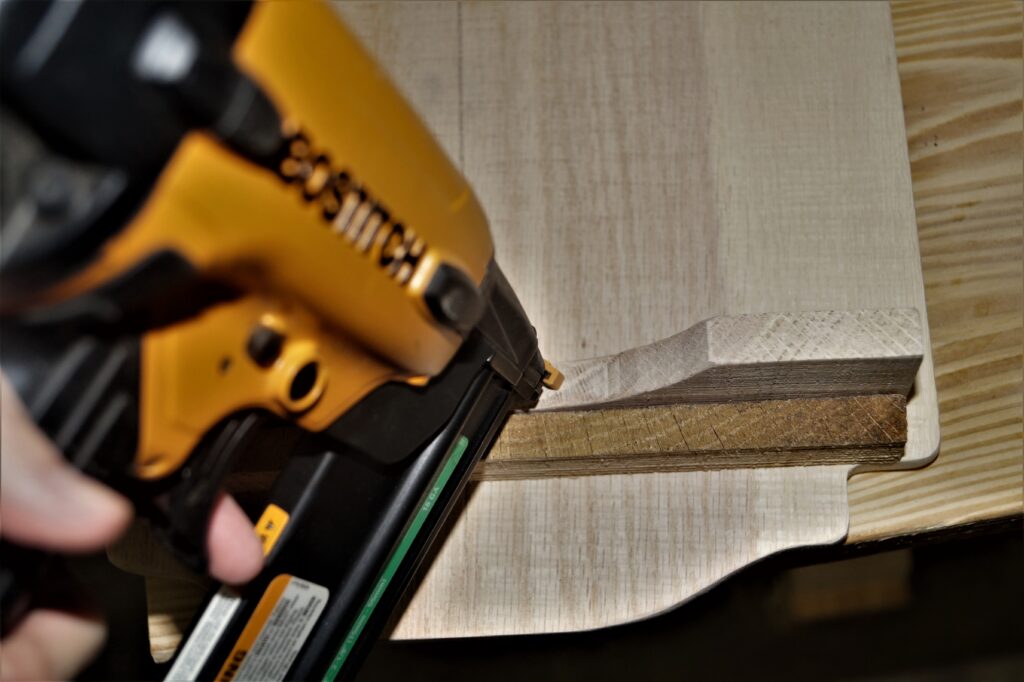
After cutting out two of these pieces with the scroll saw, I used some wood glue and my pneumatic brad nail gun to attach the feet to the top. The feet are offset from the closest curve by about 1/4 of an inch. In the image below, you can see how I centered the foot board by aligning the pencil marks of the center of the foot board with the mark showing the middle of the top board.
Now this beautiful piece just needs a day or two for the glue to dry! I love the sleek beauty and versatility of this Magnolia Homes inspired footed wood riser. Because I already had the necessary tools and materials, I was able to make this piece for only a few cents – just the cost of the brad nails that were used.
I plan to put a stain and polyurethane finish on the wood before I use it, but I haven’t decided on the color yet. I will definitely keep you updated!
